Today's modeling session.
Will be jumping into the clothing next in Marvalous Designer.


My mood board, going for a EMO/Punk look:
https://i.imgur.com/eZpqG4c.jpg
Today's modeling session.
Will be jumping into the clothing next in Marvalous Designer.
My mood board, going for a EMO/Punk look:
https://i.imgur.com/eZpqG4c.jpg
During the past two weeks, I was involved in the making of a tv commercial, more specifically, responsible for animating and assembling scenes for the shots in 4 different versions of the same commercial.
The process itself is fun and I had an opportunity to collaborate with other MODO artists, but there was significant downtime in between reviews and render times. Because of that, I decided to challenge myself, taking one concept design all the way to a fully 3D rendered image, during my lunch time and downtime in between projects.
I didn’t want to spend this precious time doing concept work, so I decided to go through my list of favorite 2D and concept artists, to find a cool concept/illustration that would look cool in 3D.
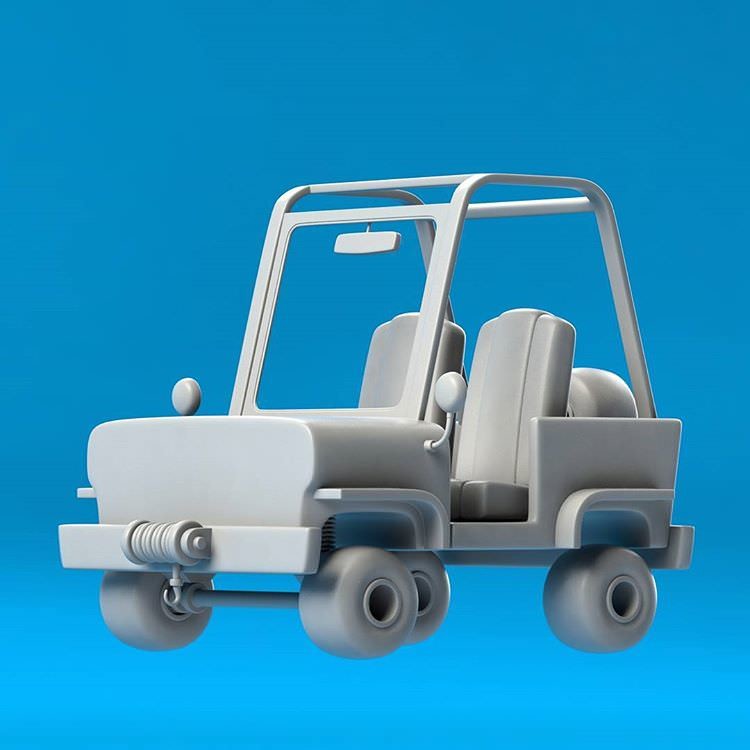
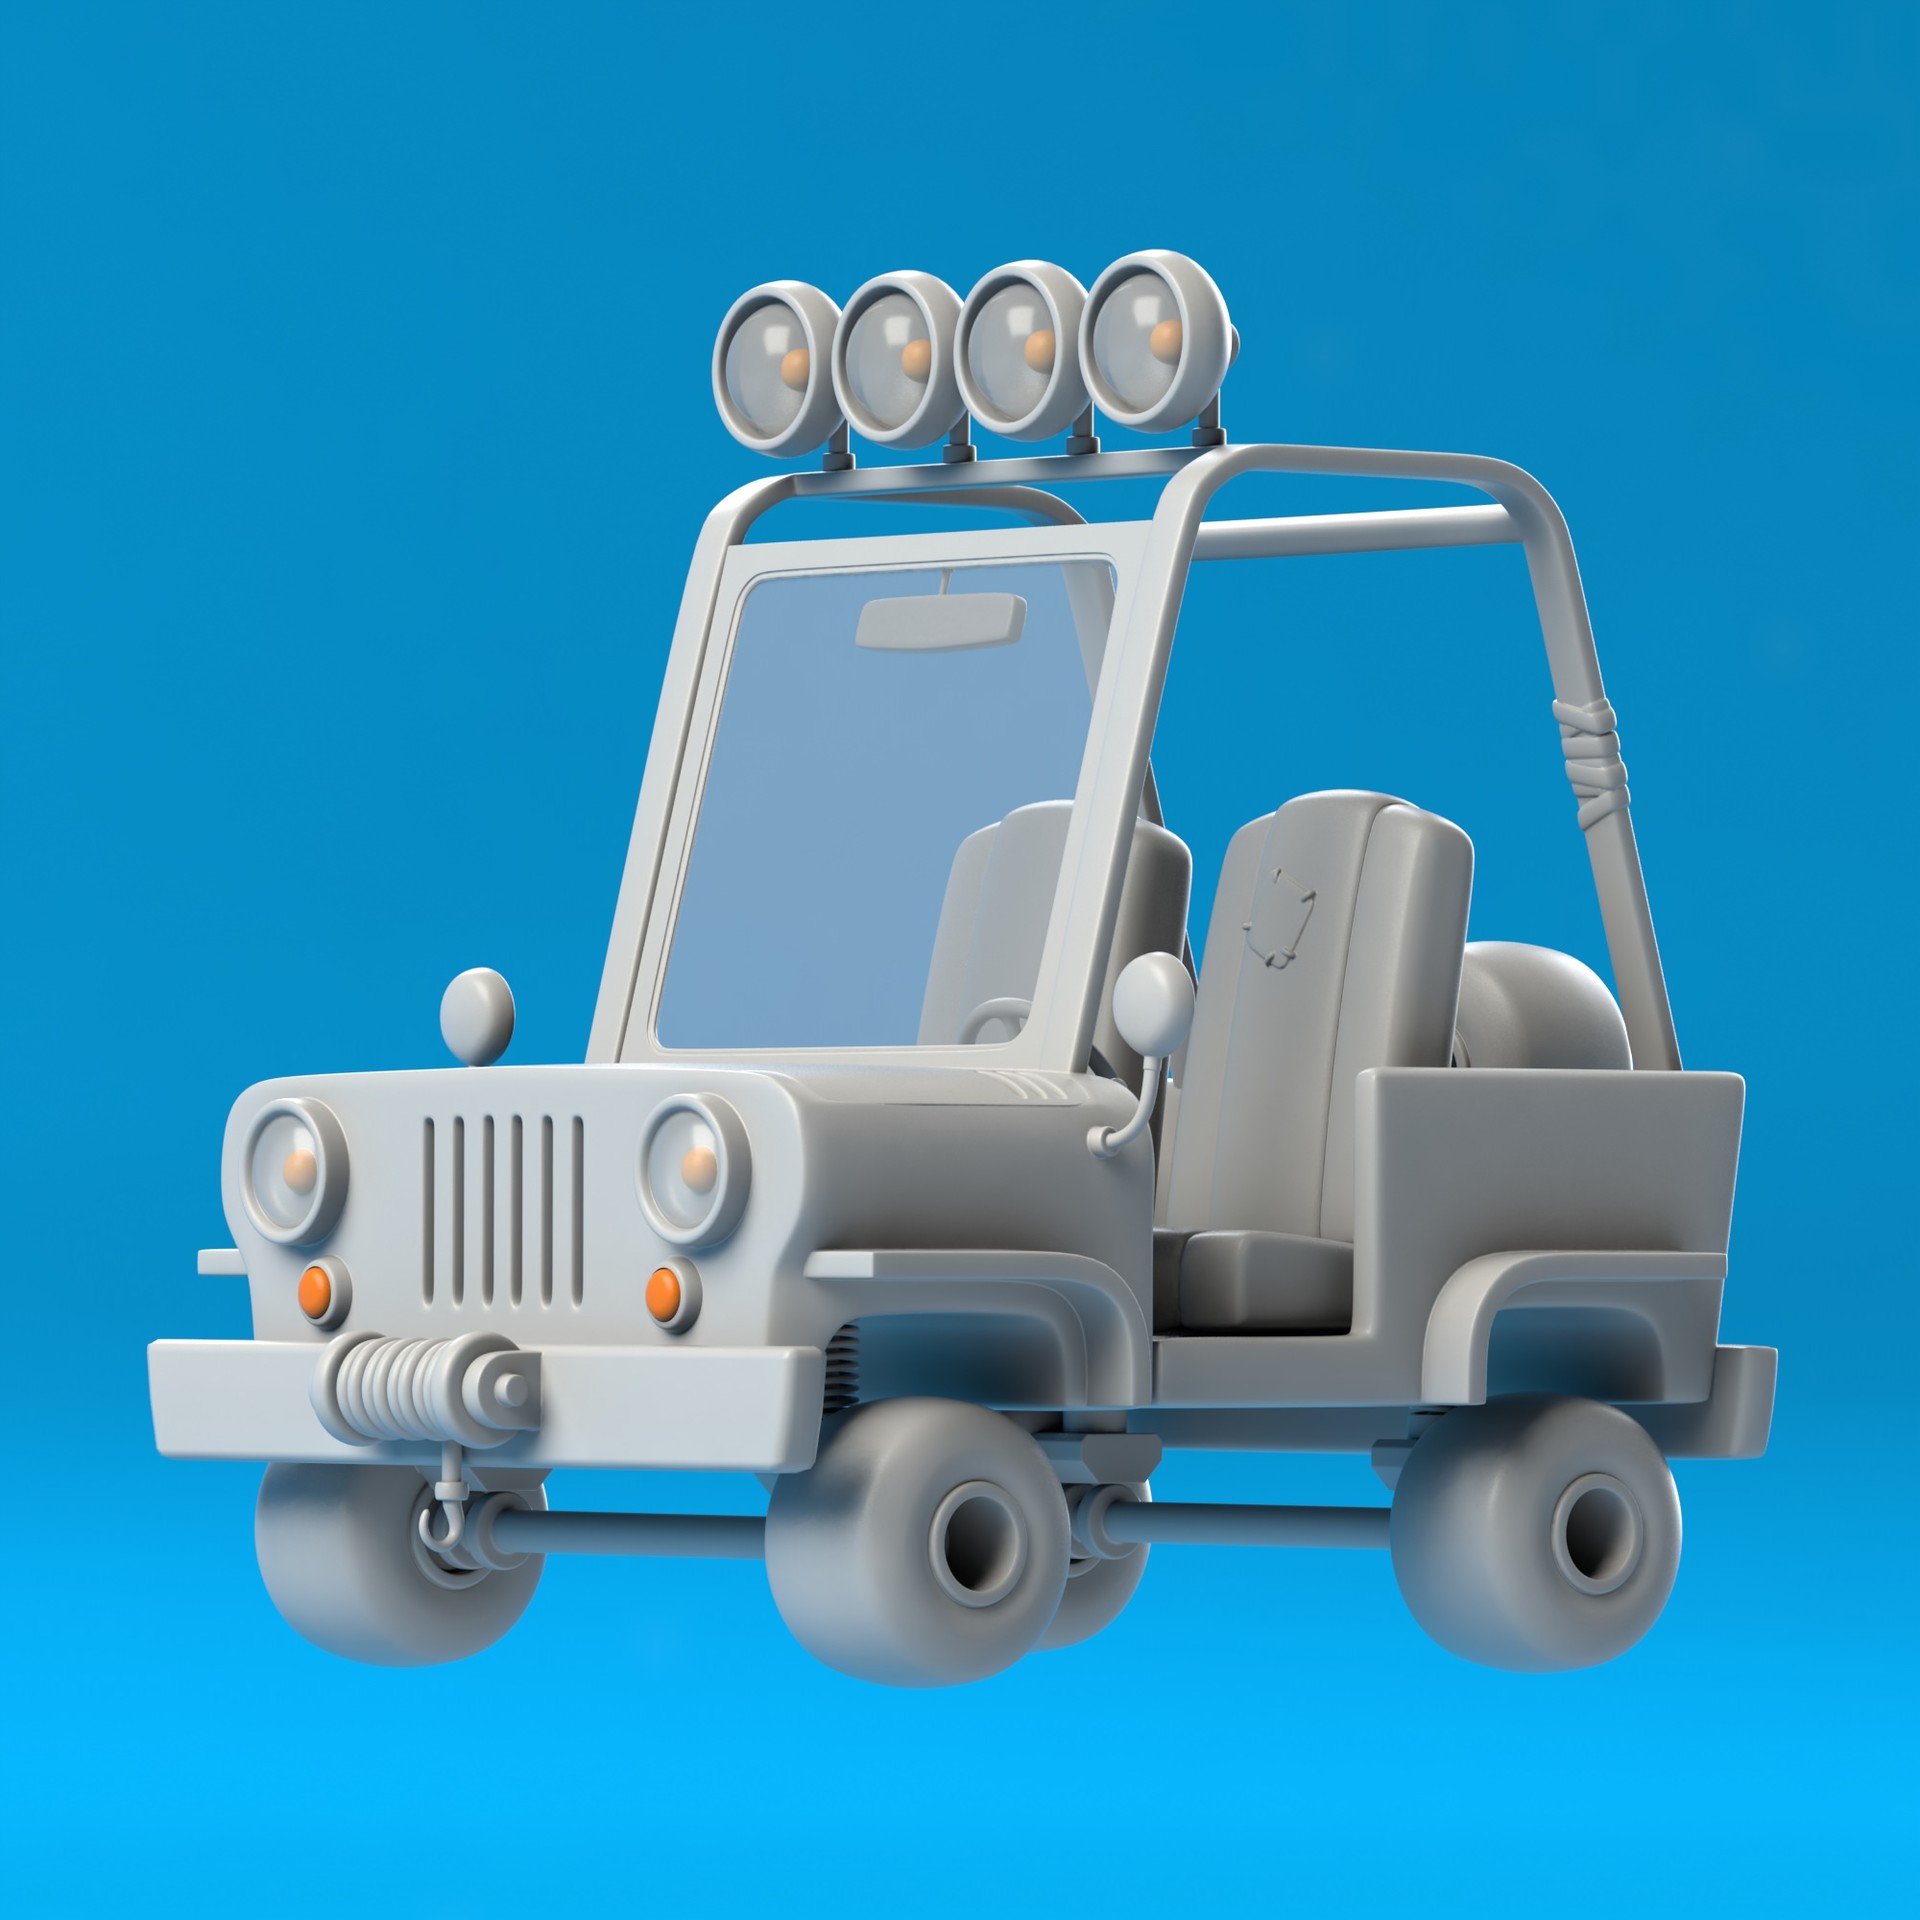
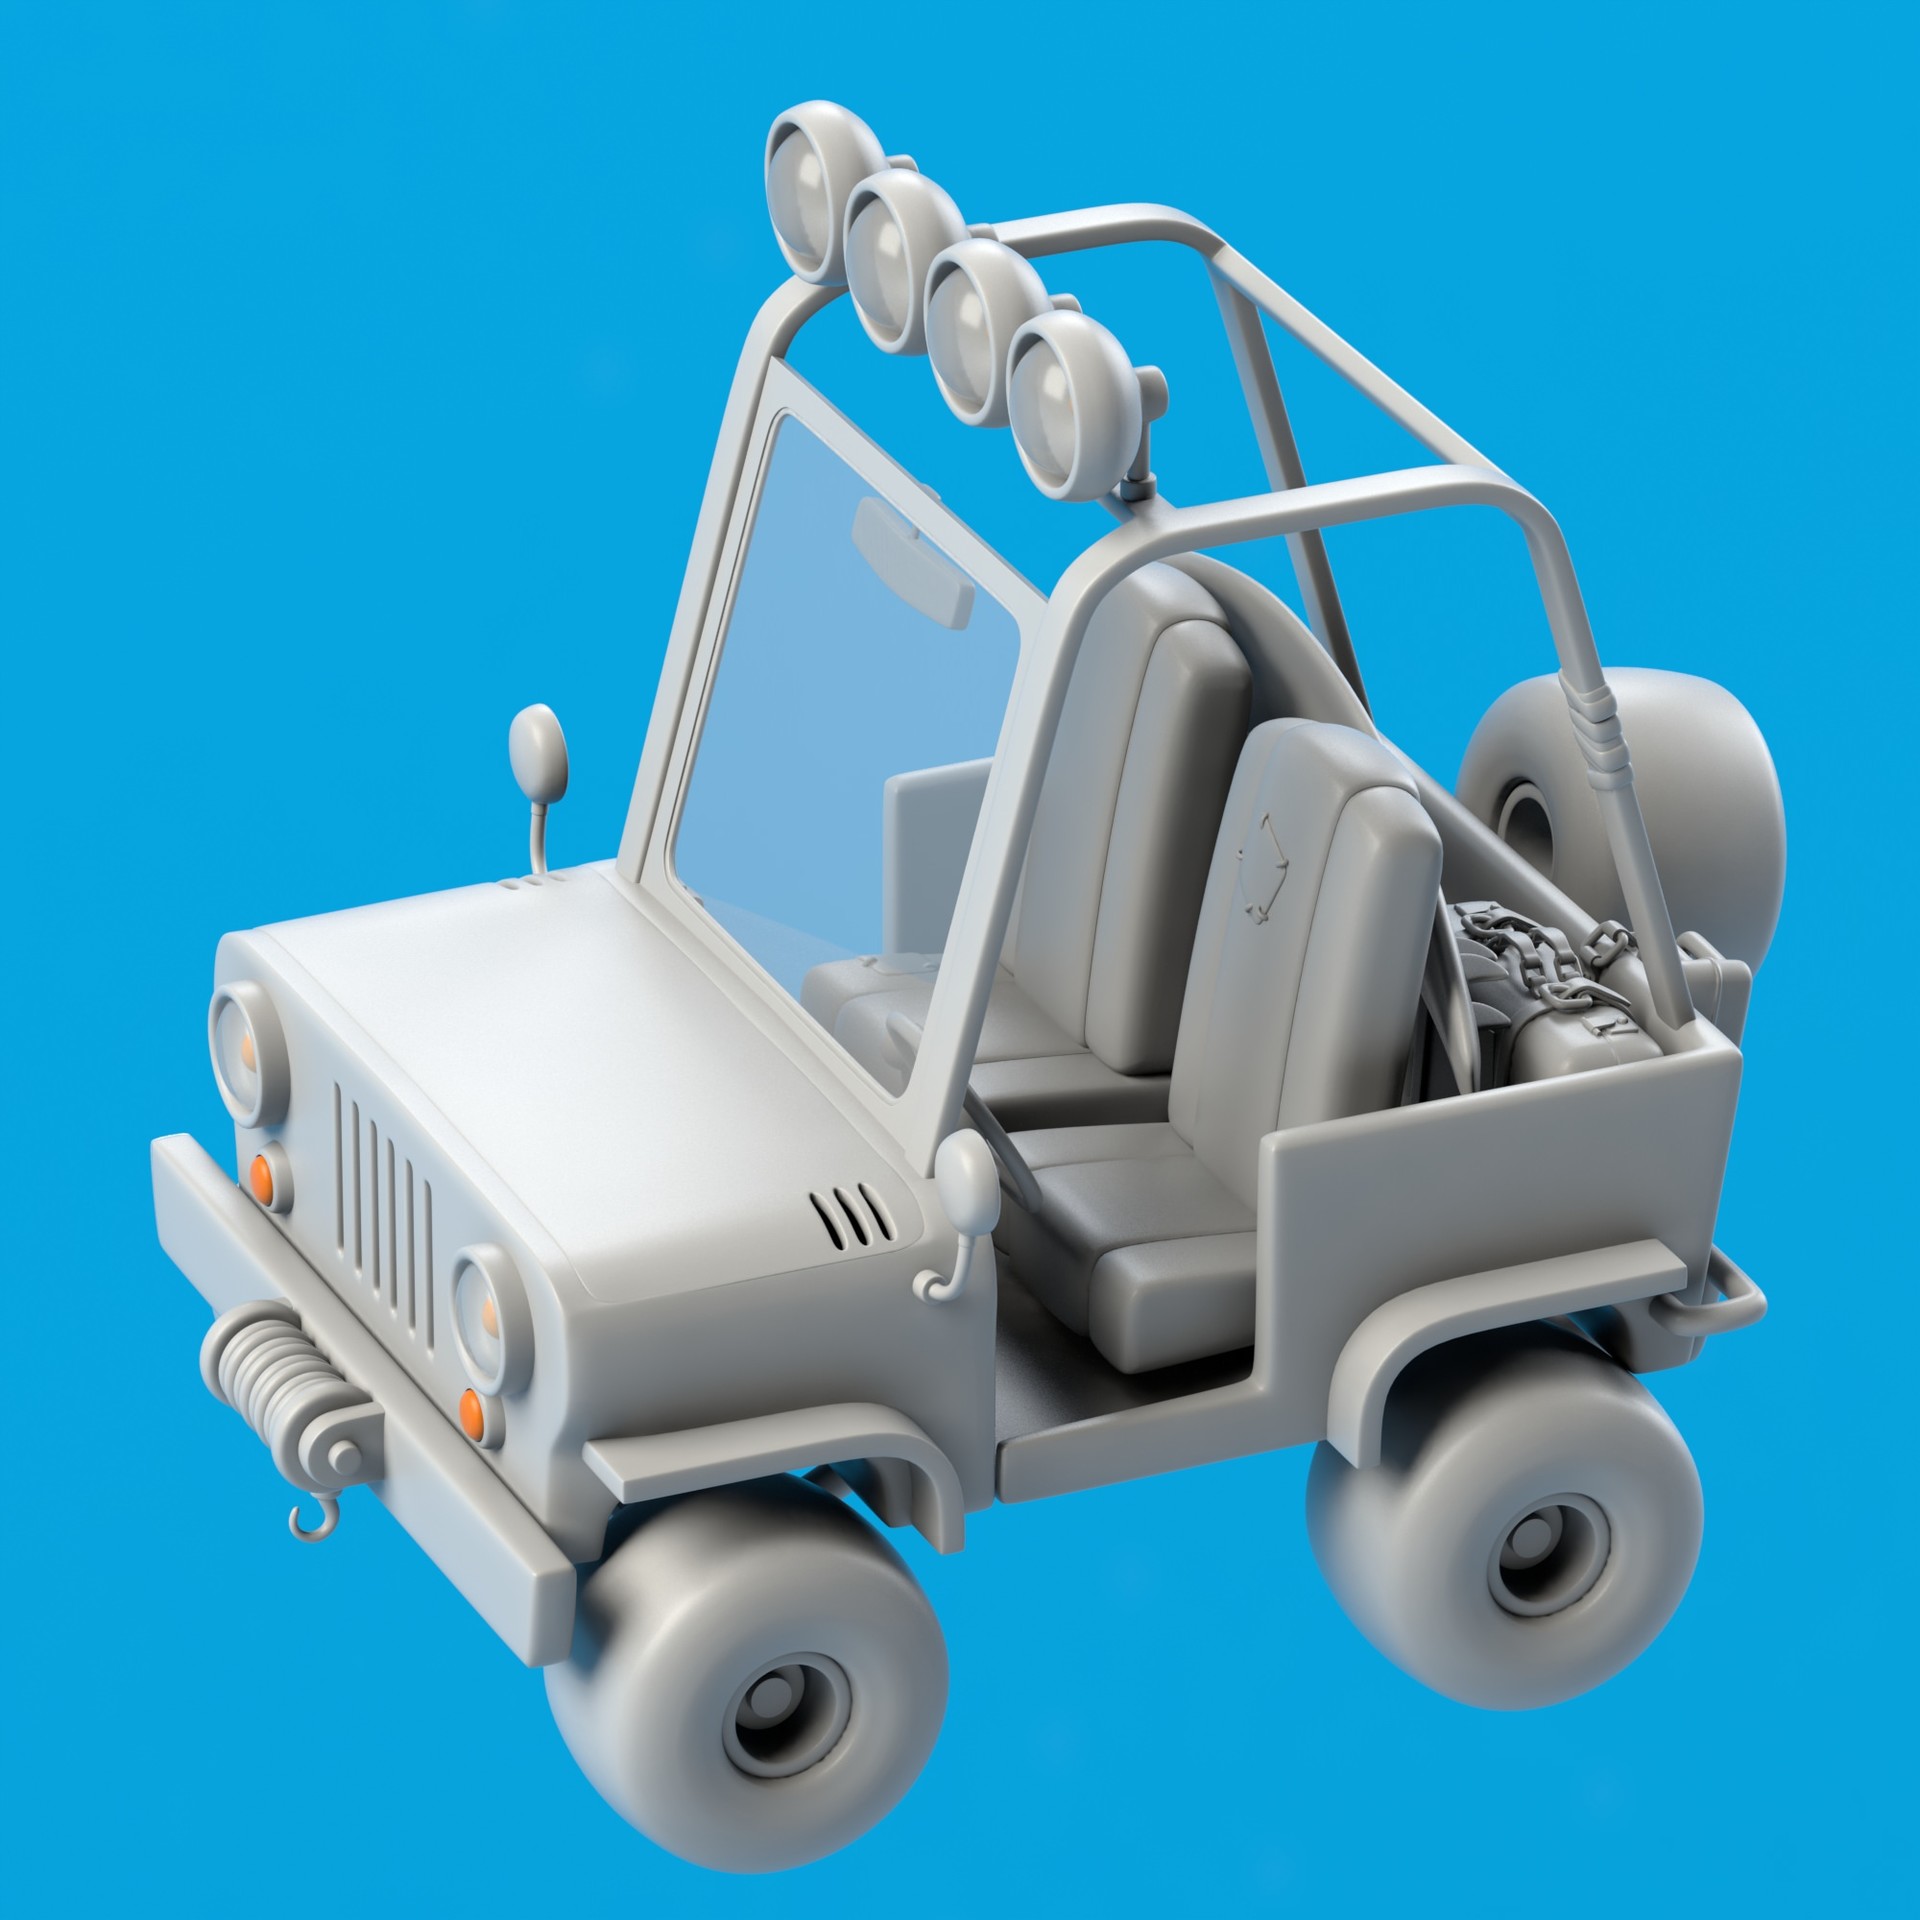
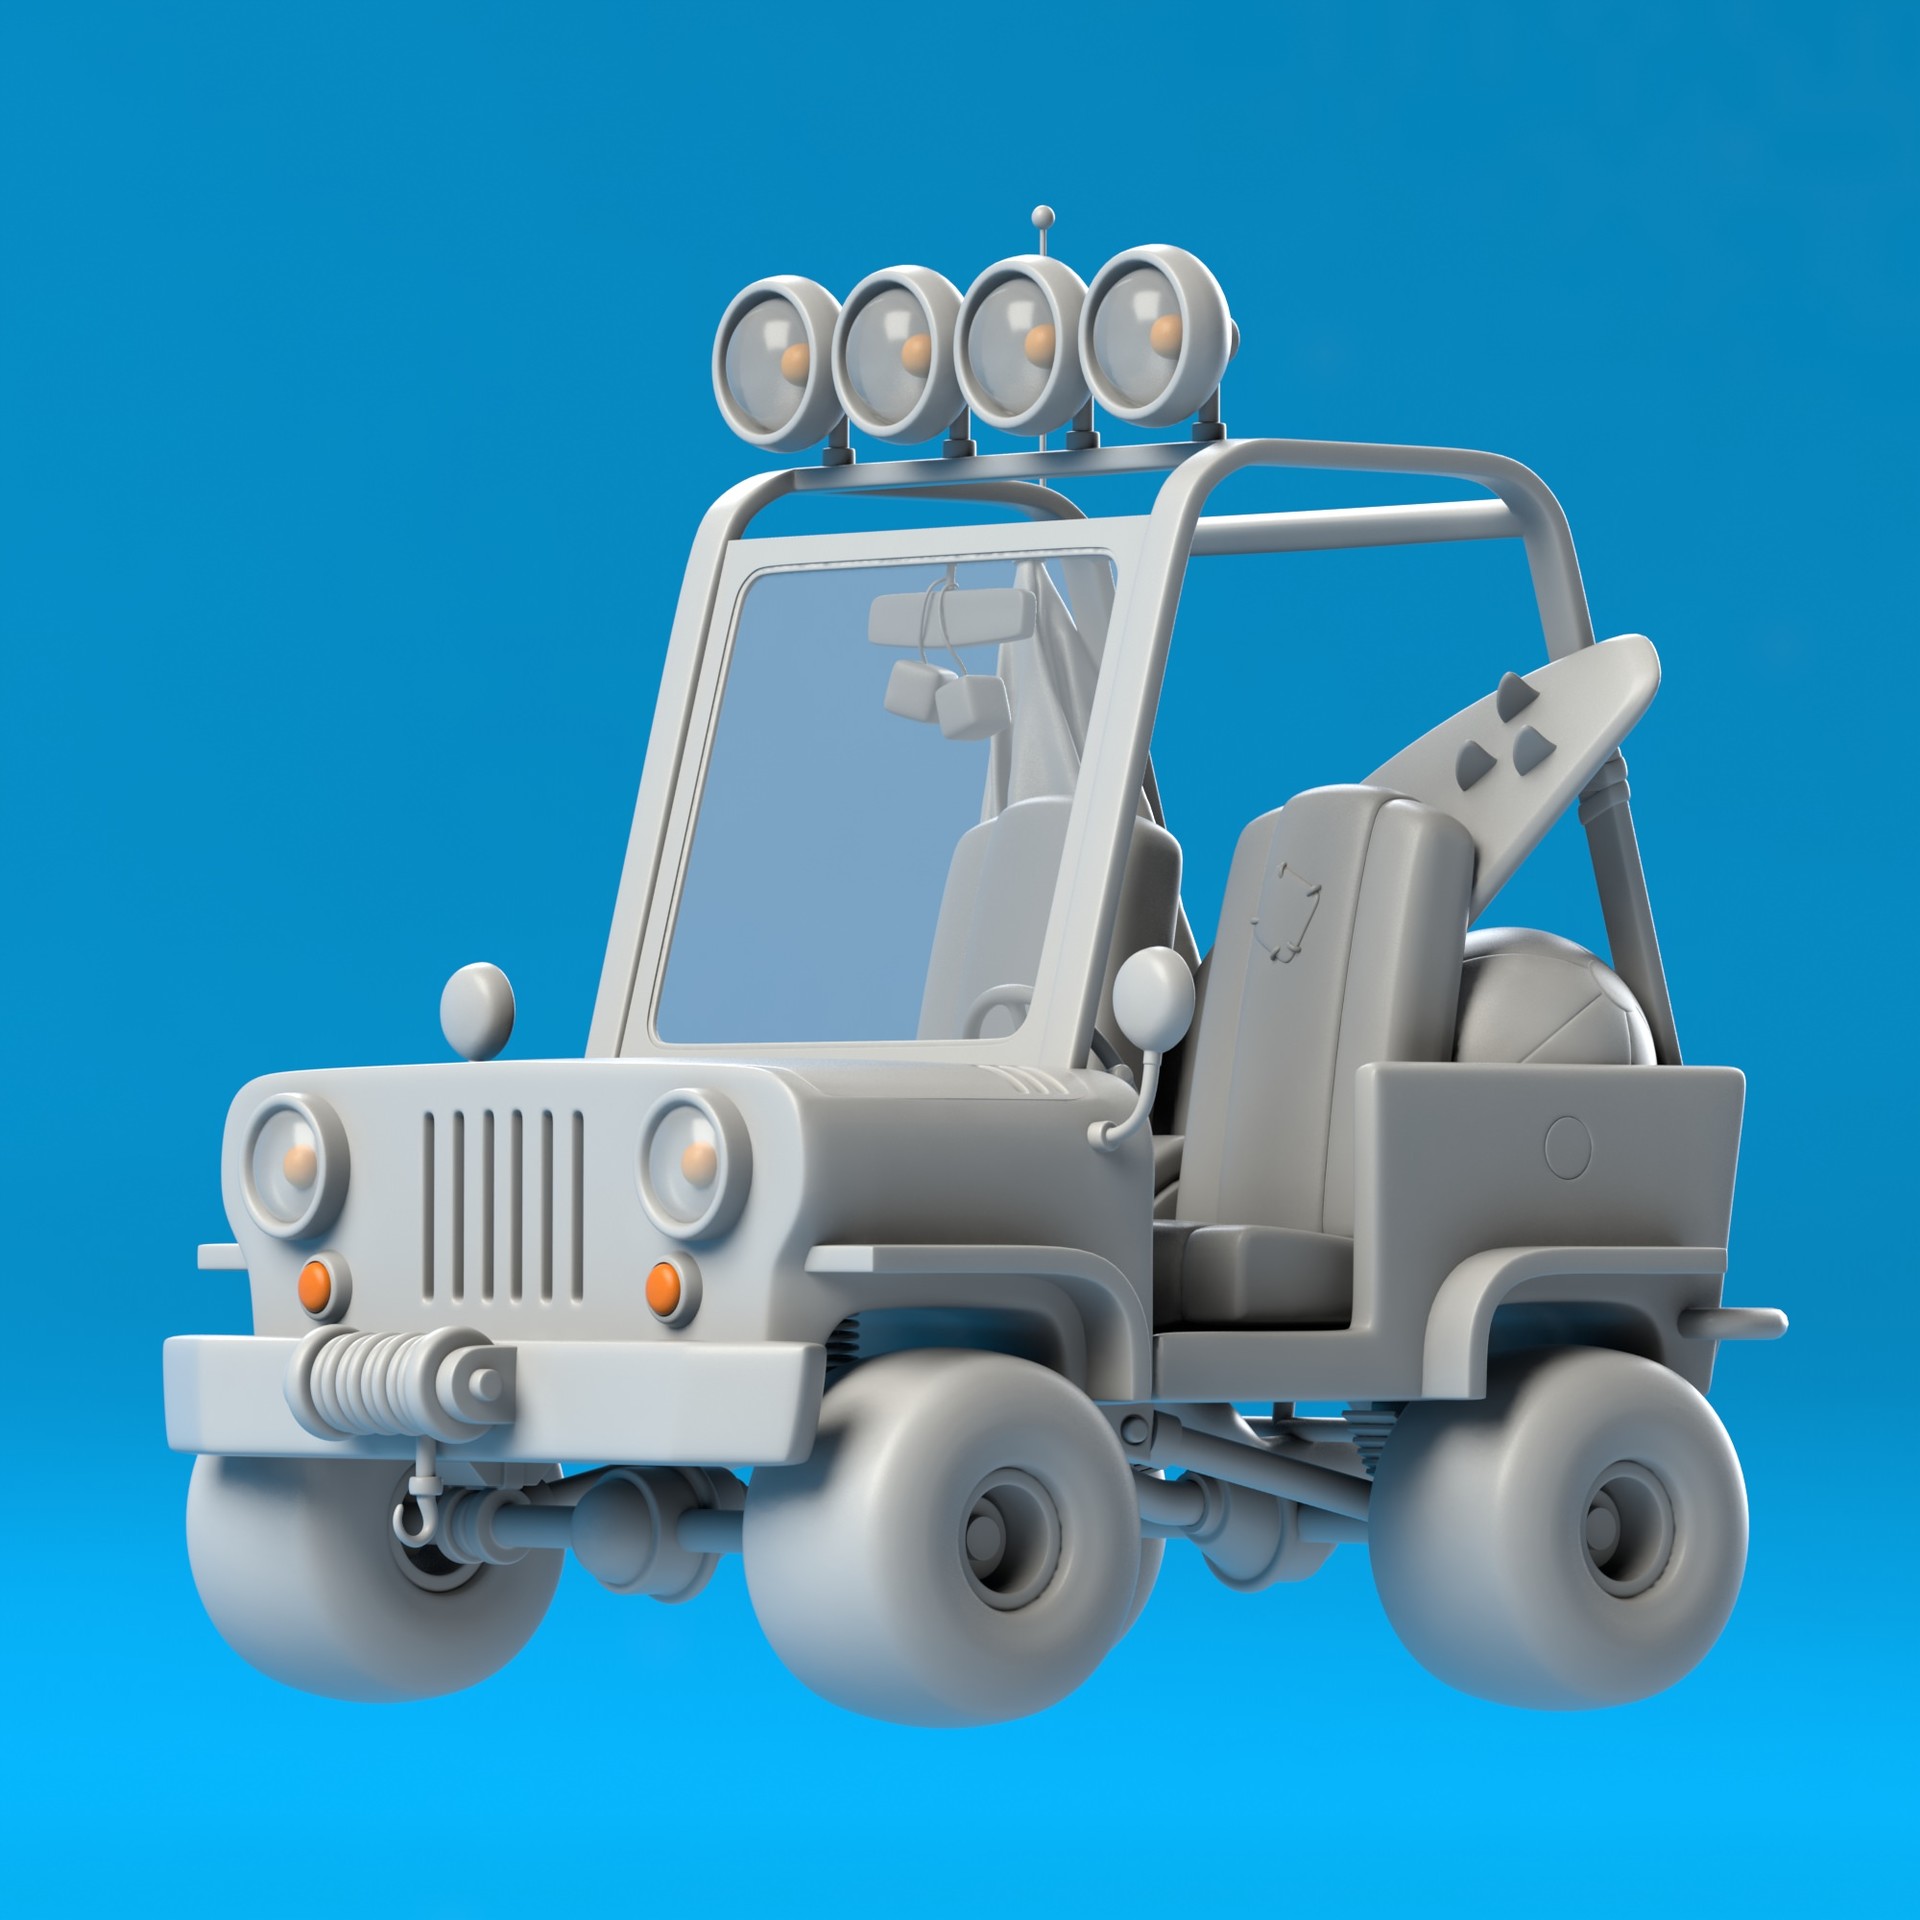
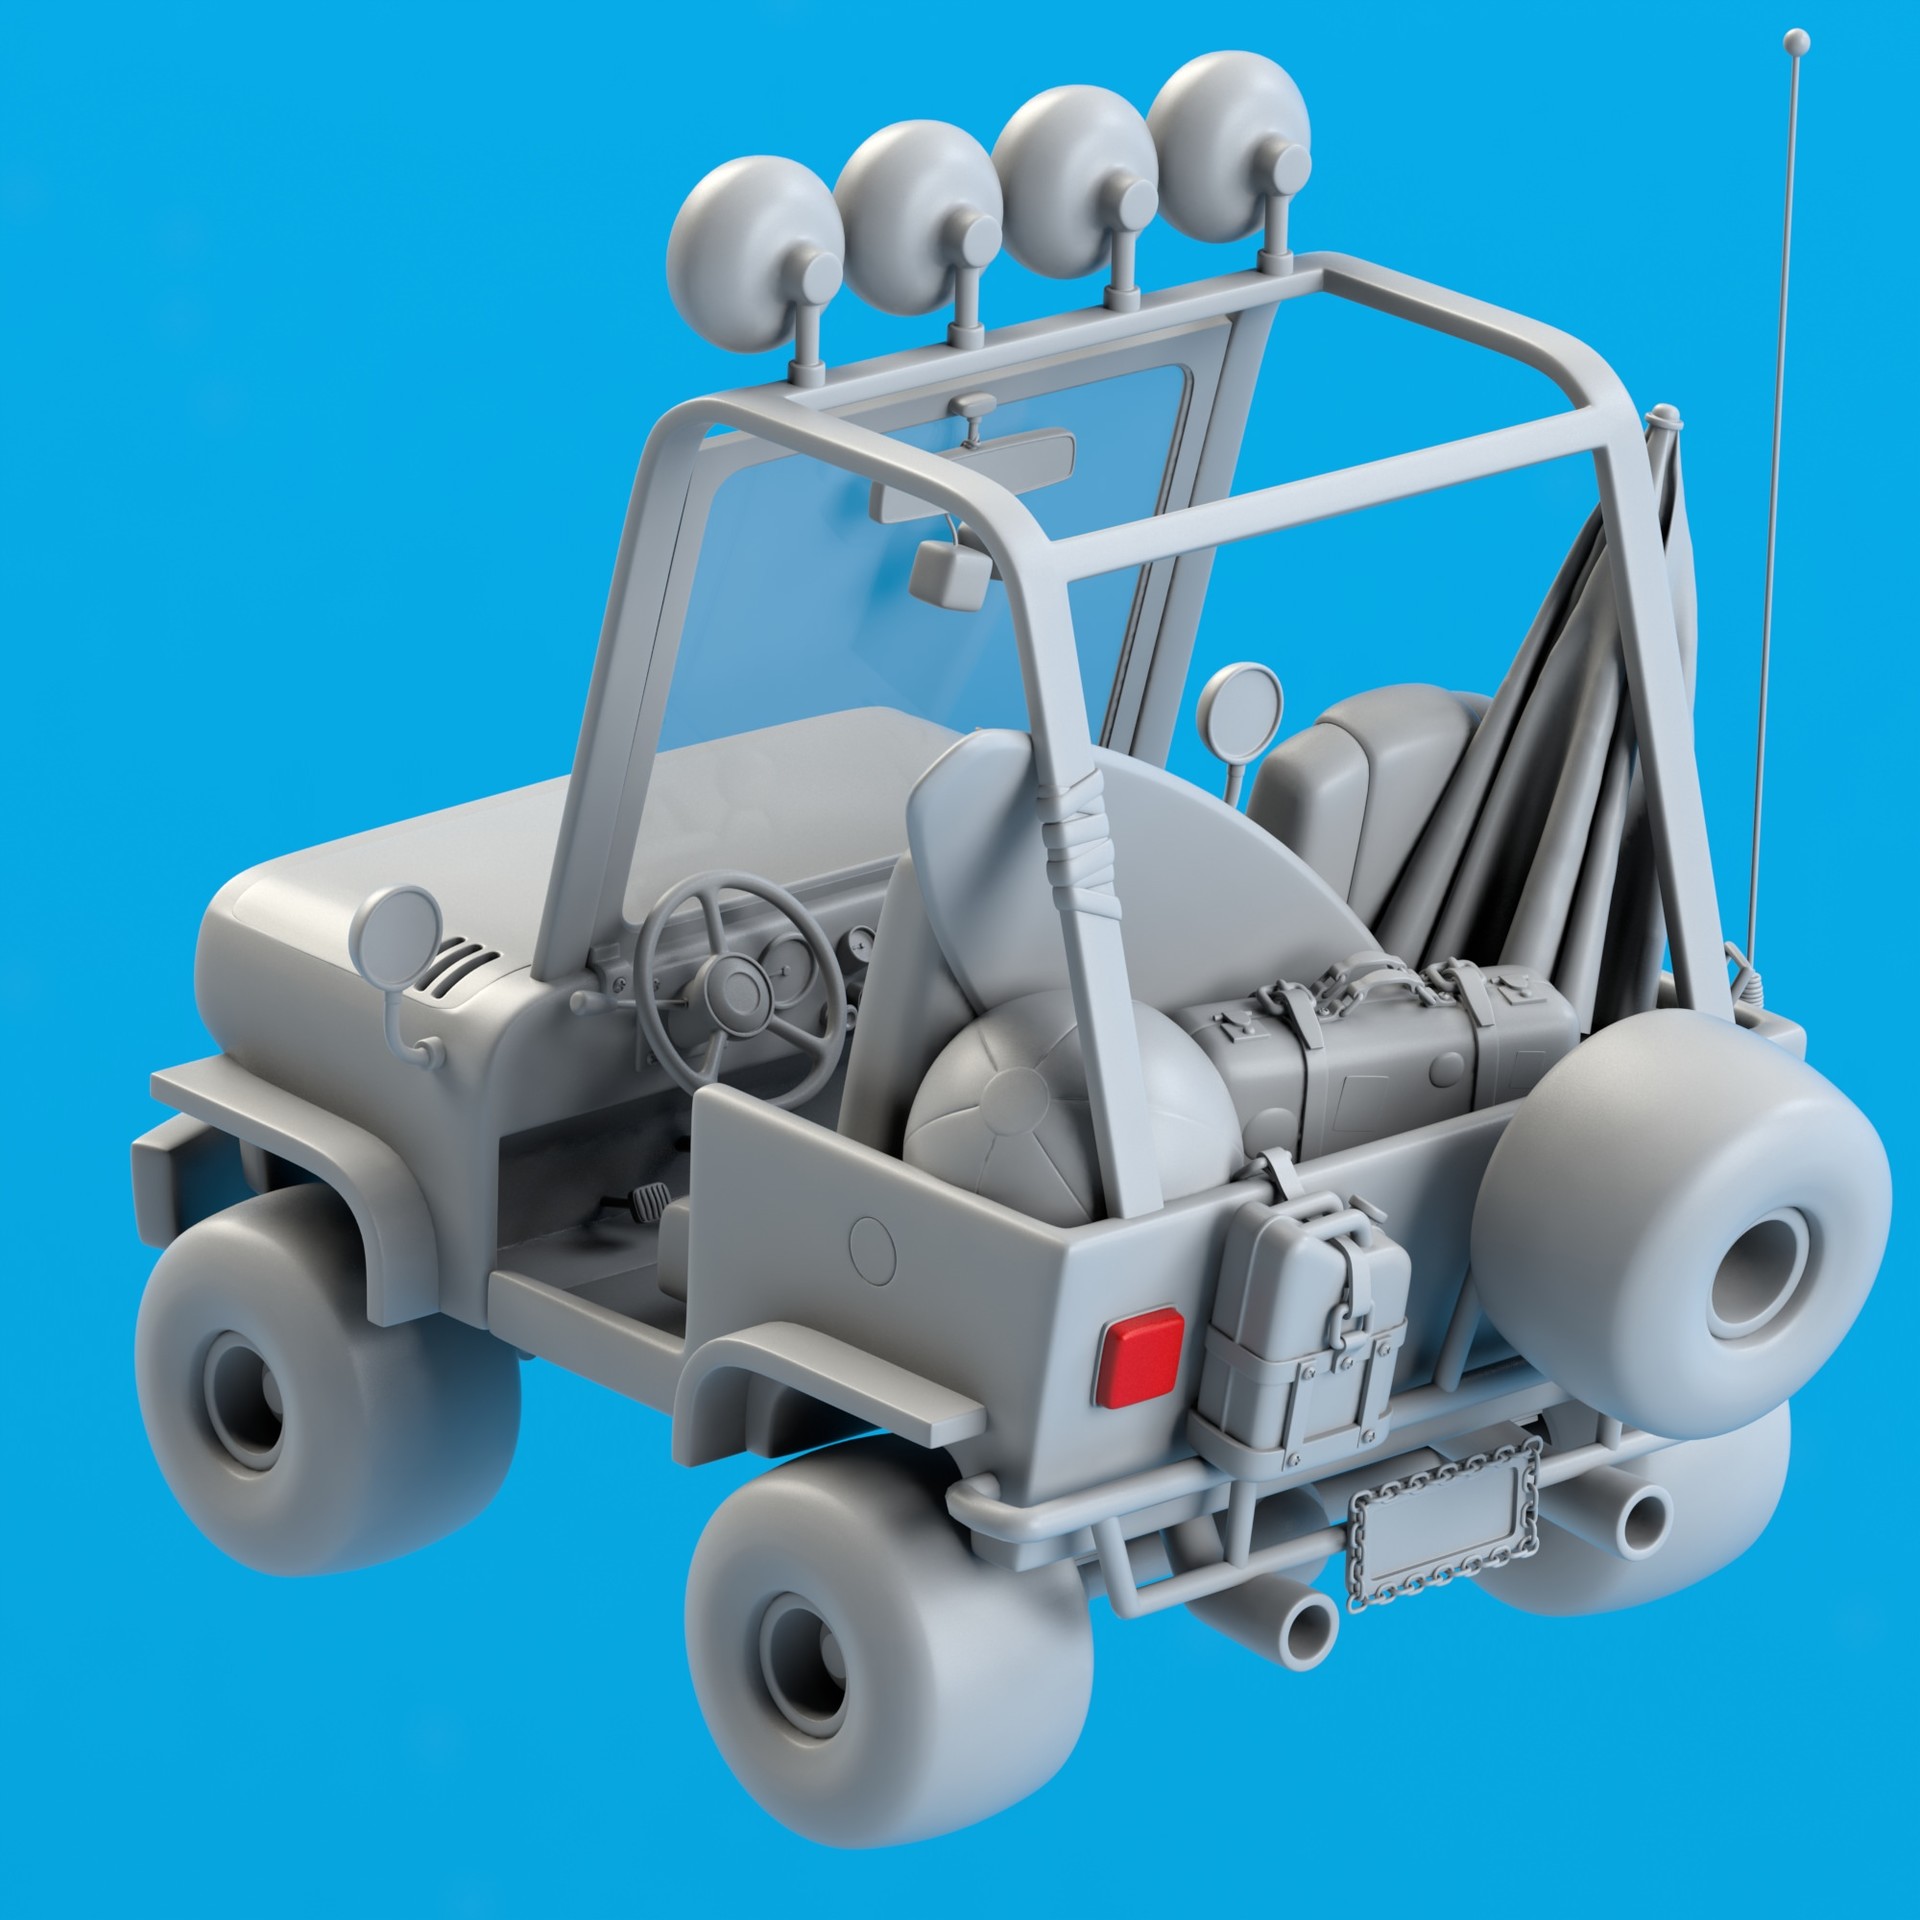
I really love Aleksandr Pushai‘s work. He’s a Spanish Art Director, Concept Artist, and Illustrator. His series of concepts on cartoon-like cars is incredible, and I decided to use his jeep design.
I ended up making some changes to the forms and proportions to look better on 3D and since there was no view from the back I used some reference from real Jeeps on the design.

It was important for me to maximize the use of my time. Which means not waste time with anything that wasn’t modeling. But in order to post my updates daily on social media, I needed to figure out a workflow that would allow me to render several different cameras at the same time and the fastest way possible.
Luckily, MODO allows me to create different shots and render passes, it’s essentially the same workflow as the AOVs in Maya, but more streamlined and at a software level. That means changing cameras, textures, HDRs, model placement, animation, anything really.
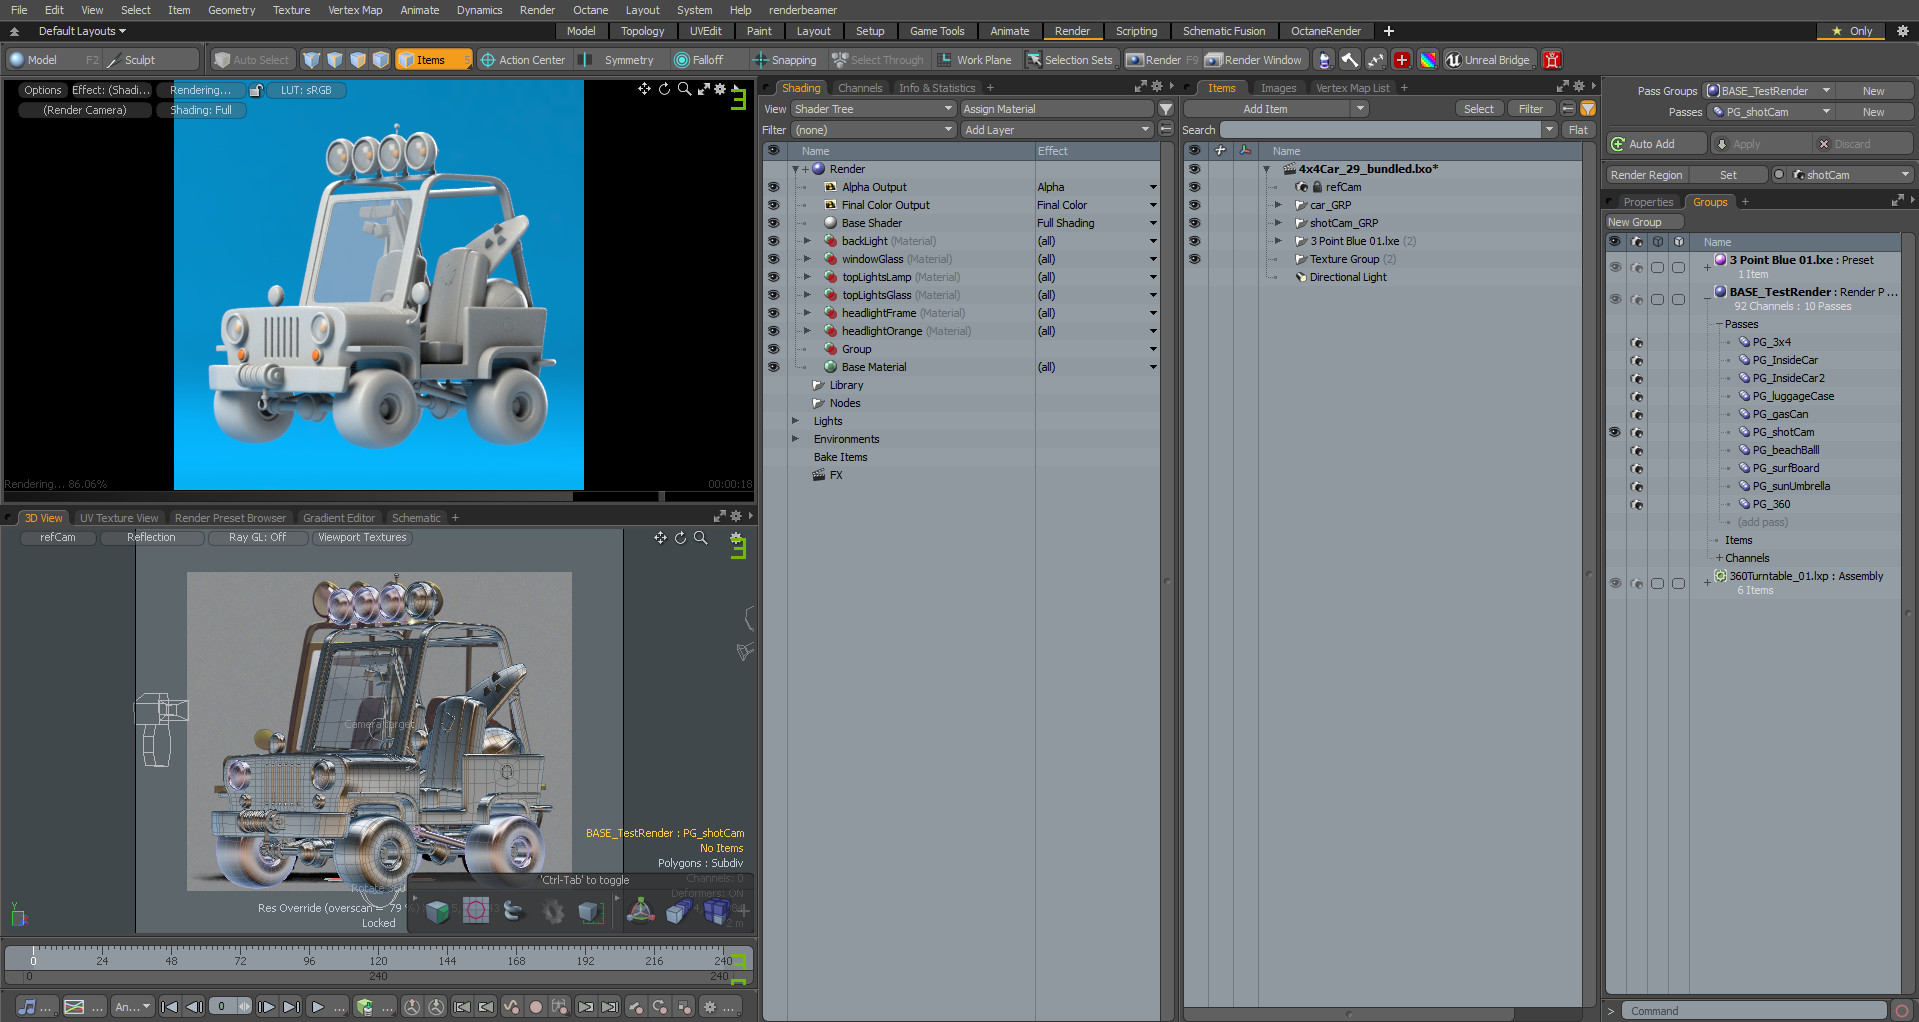
By using this system I was able to click render once and sit back and relax. Unfortunately, on my machine, each frame/camera shot was taking an average of 5 minutes. This doesn’t seem much but when you have 8 cameras and you’re making progress constantly, this adds up to 40 minutes of downtime, working 1 to 2 hours a day on this project.
Because of that, I decided to use a render farm to do the rendering work. After looking for all the options available and thinking about my experience as a freelancer with several of them, I decided to go with RenderStreet.
What I like about RenderStreet is that they’re focused on Blender and Modo for now, and the support they provide is impressive. If you have any problem, there’s always someone online to answer your questions and assist you in a short period of time. They also keep up to date with both Blender and Modo versions, and for Modo they also support render groups and passes! Oh, not to mention that they have extremely competitive prices and a dedicated plugin for Blender to upload scenes and all necessary files to their server for rendering.

By using my lunch time, I managed to get an average of 2 hours of work on each day. And to document the whole process I decided to use my Instagram to send daily updates to my followers, on my work in progress.
There’s not much to explain about the process itself since it’s basically speed modeling in Modo, but I think it would be interesting to share anyway so you can see how the model looked like on each day of the week.
I spent most of my time at the first day looking for the concept and blocking up the shapes.
After blocking up the main shapes, my next task was to add the big details that make up for the silhouette of the model.

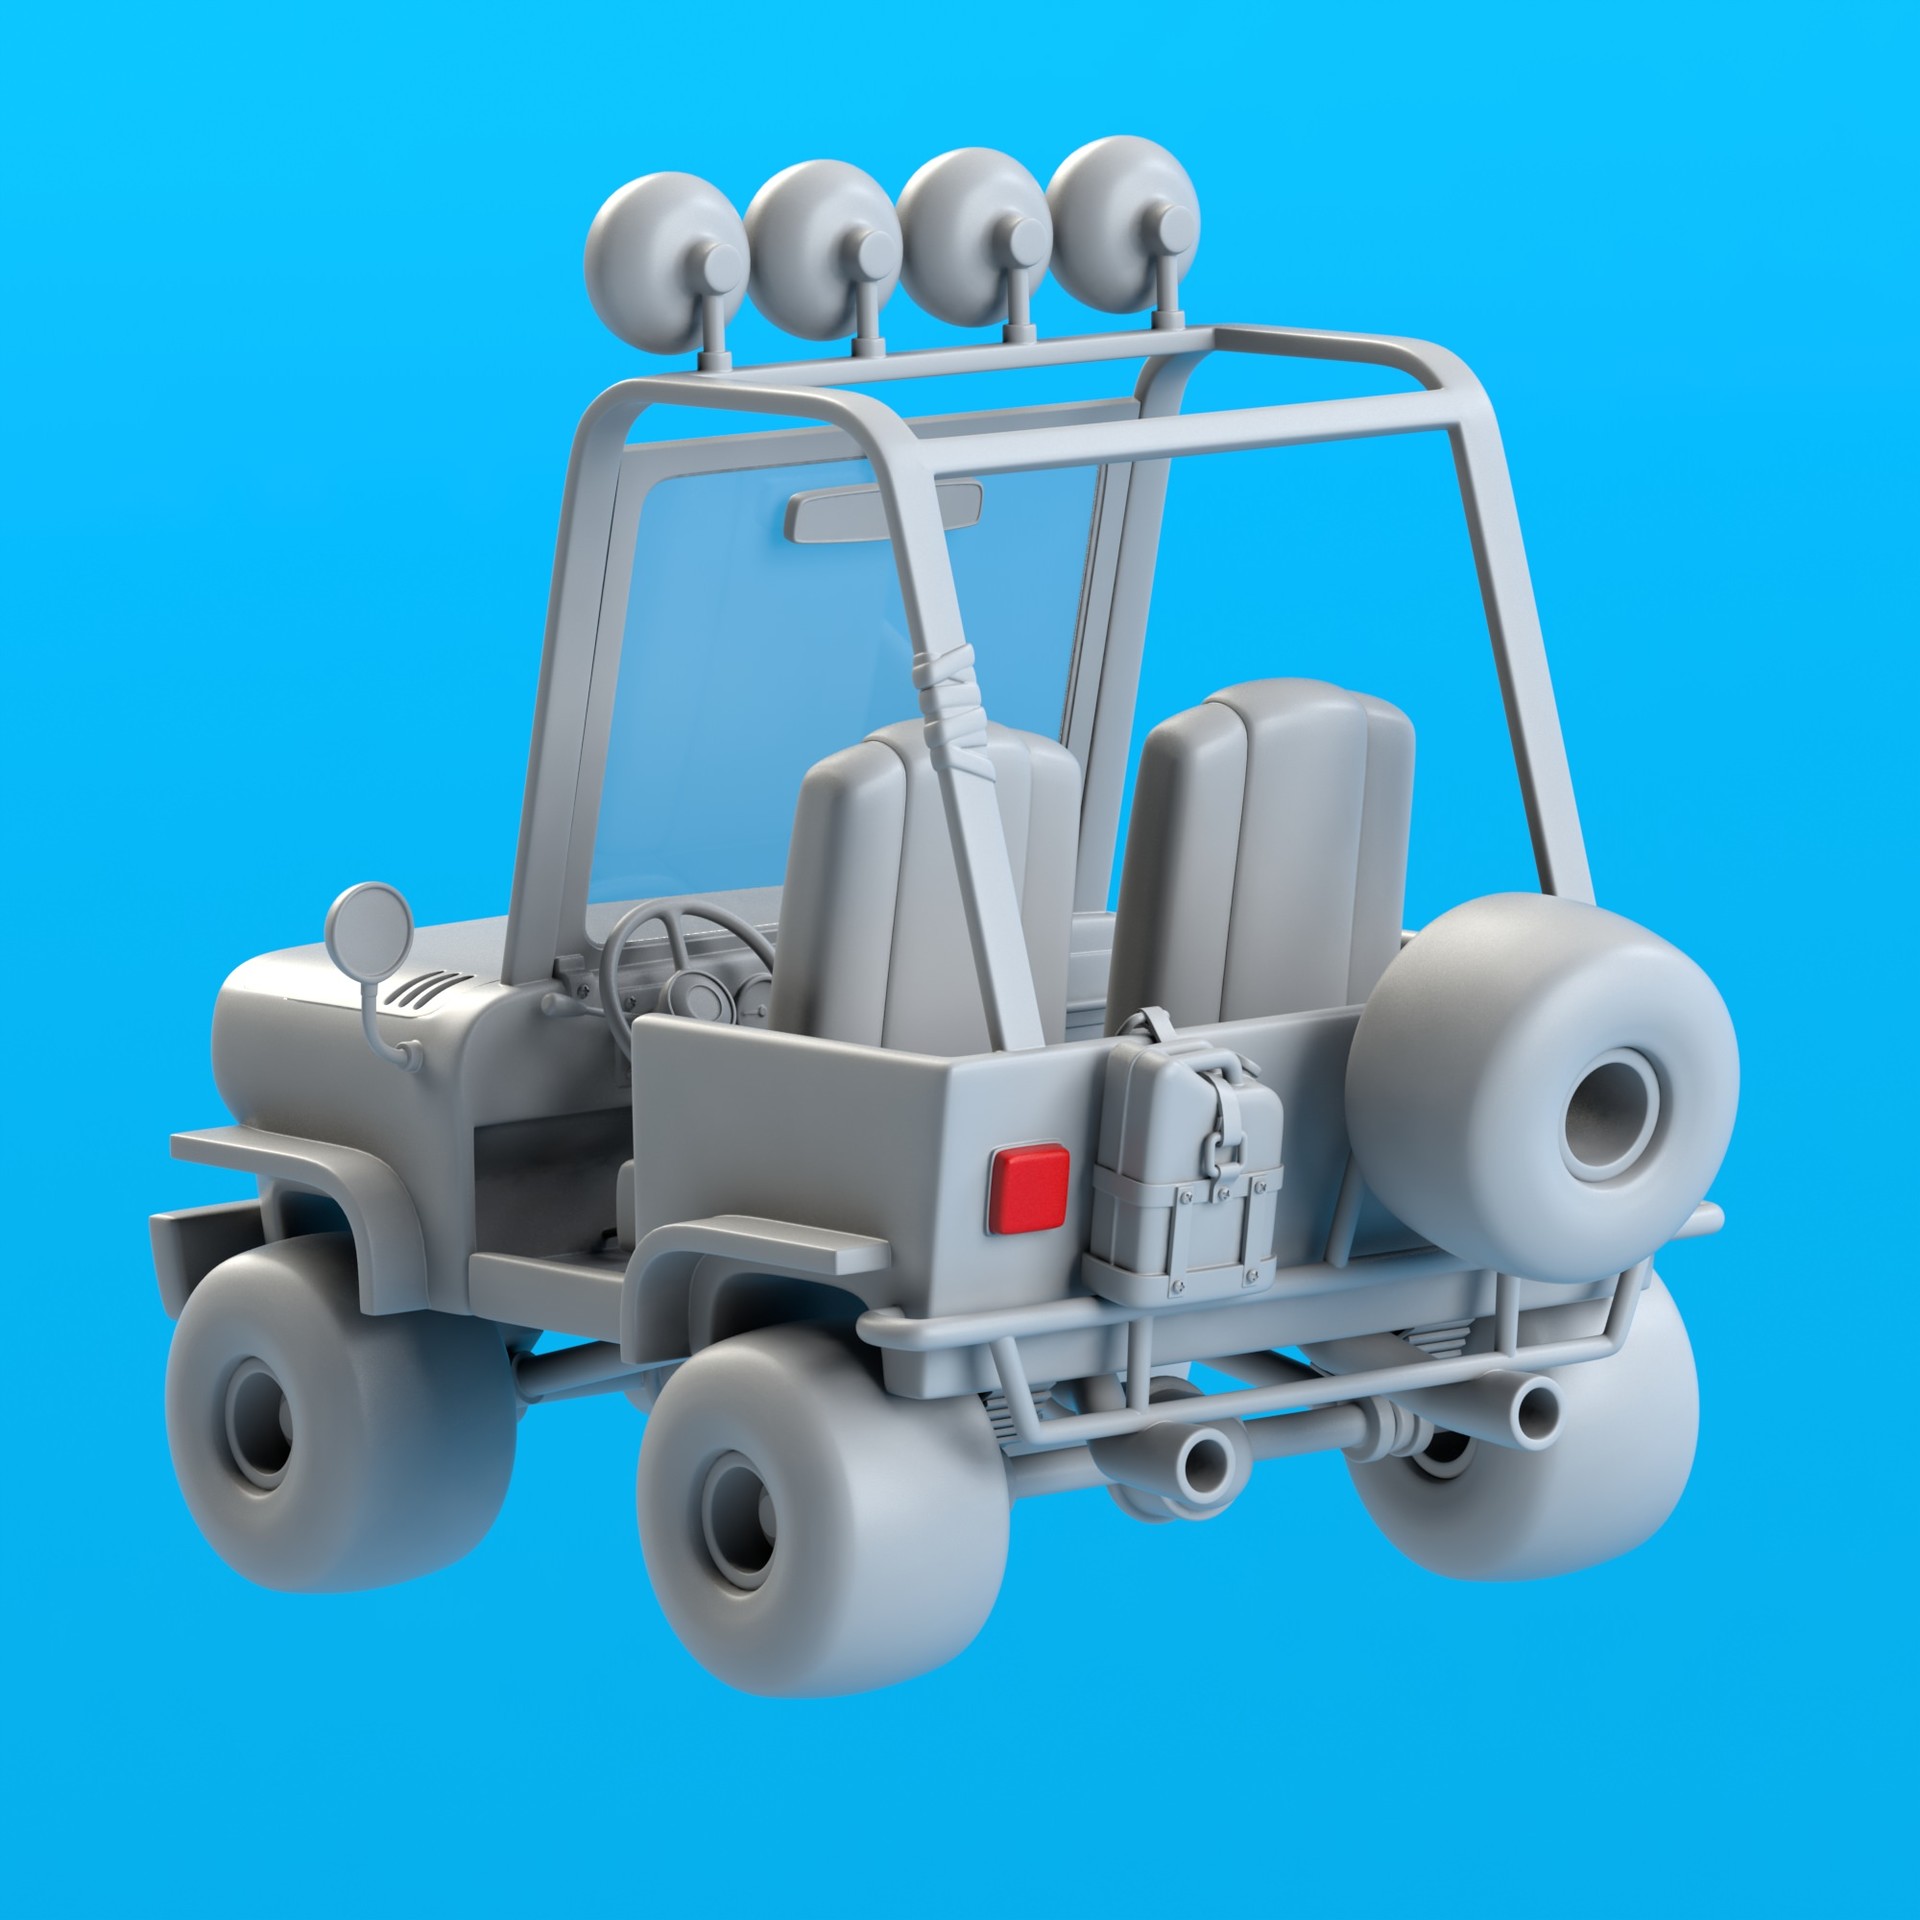
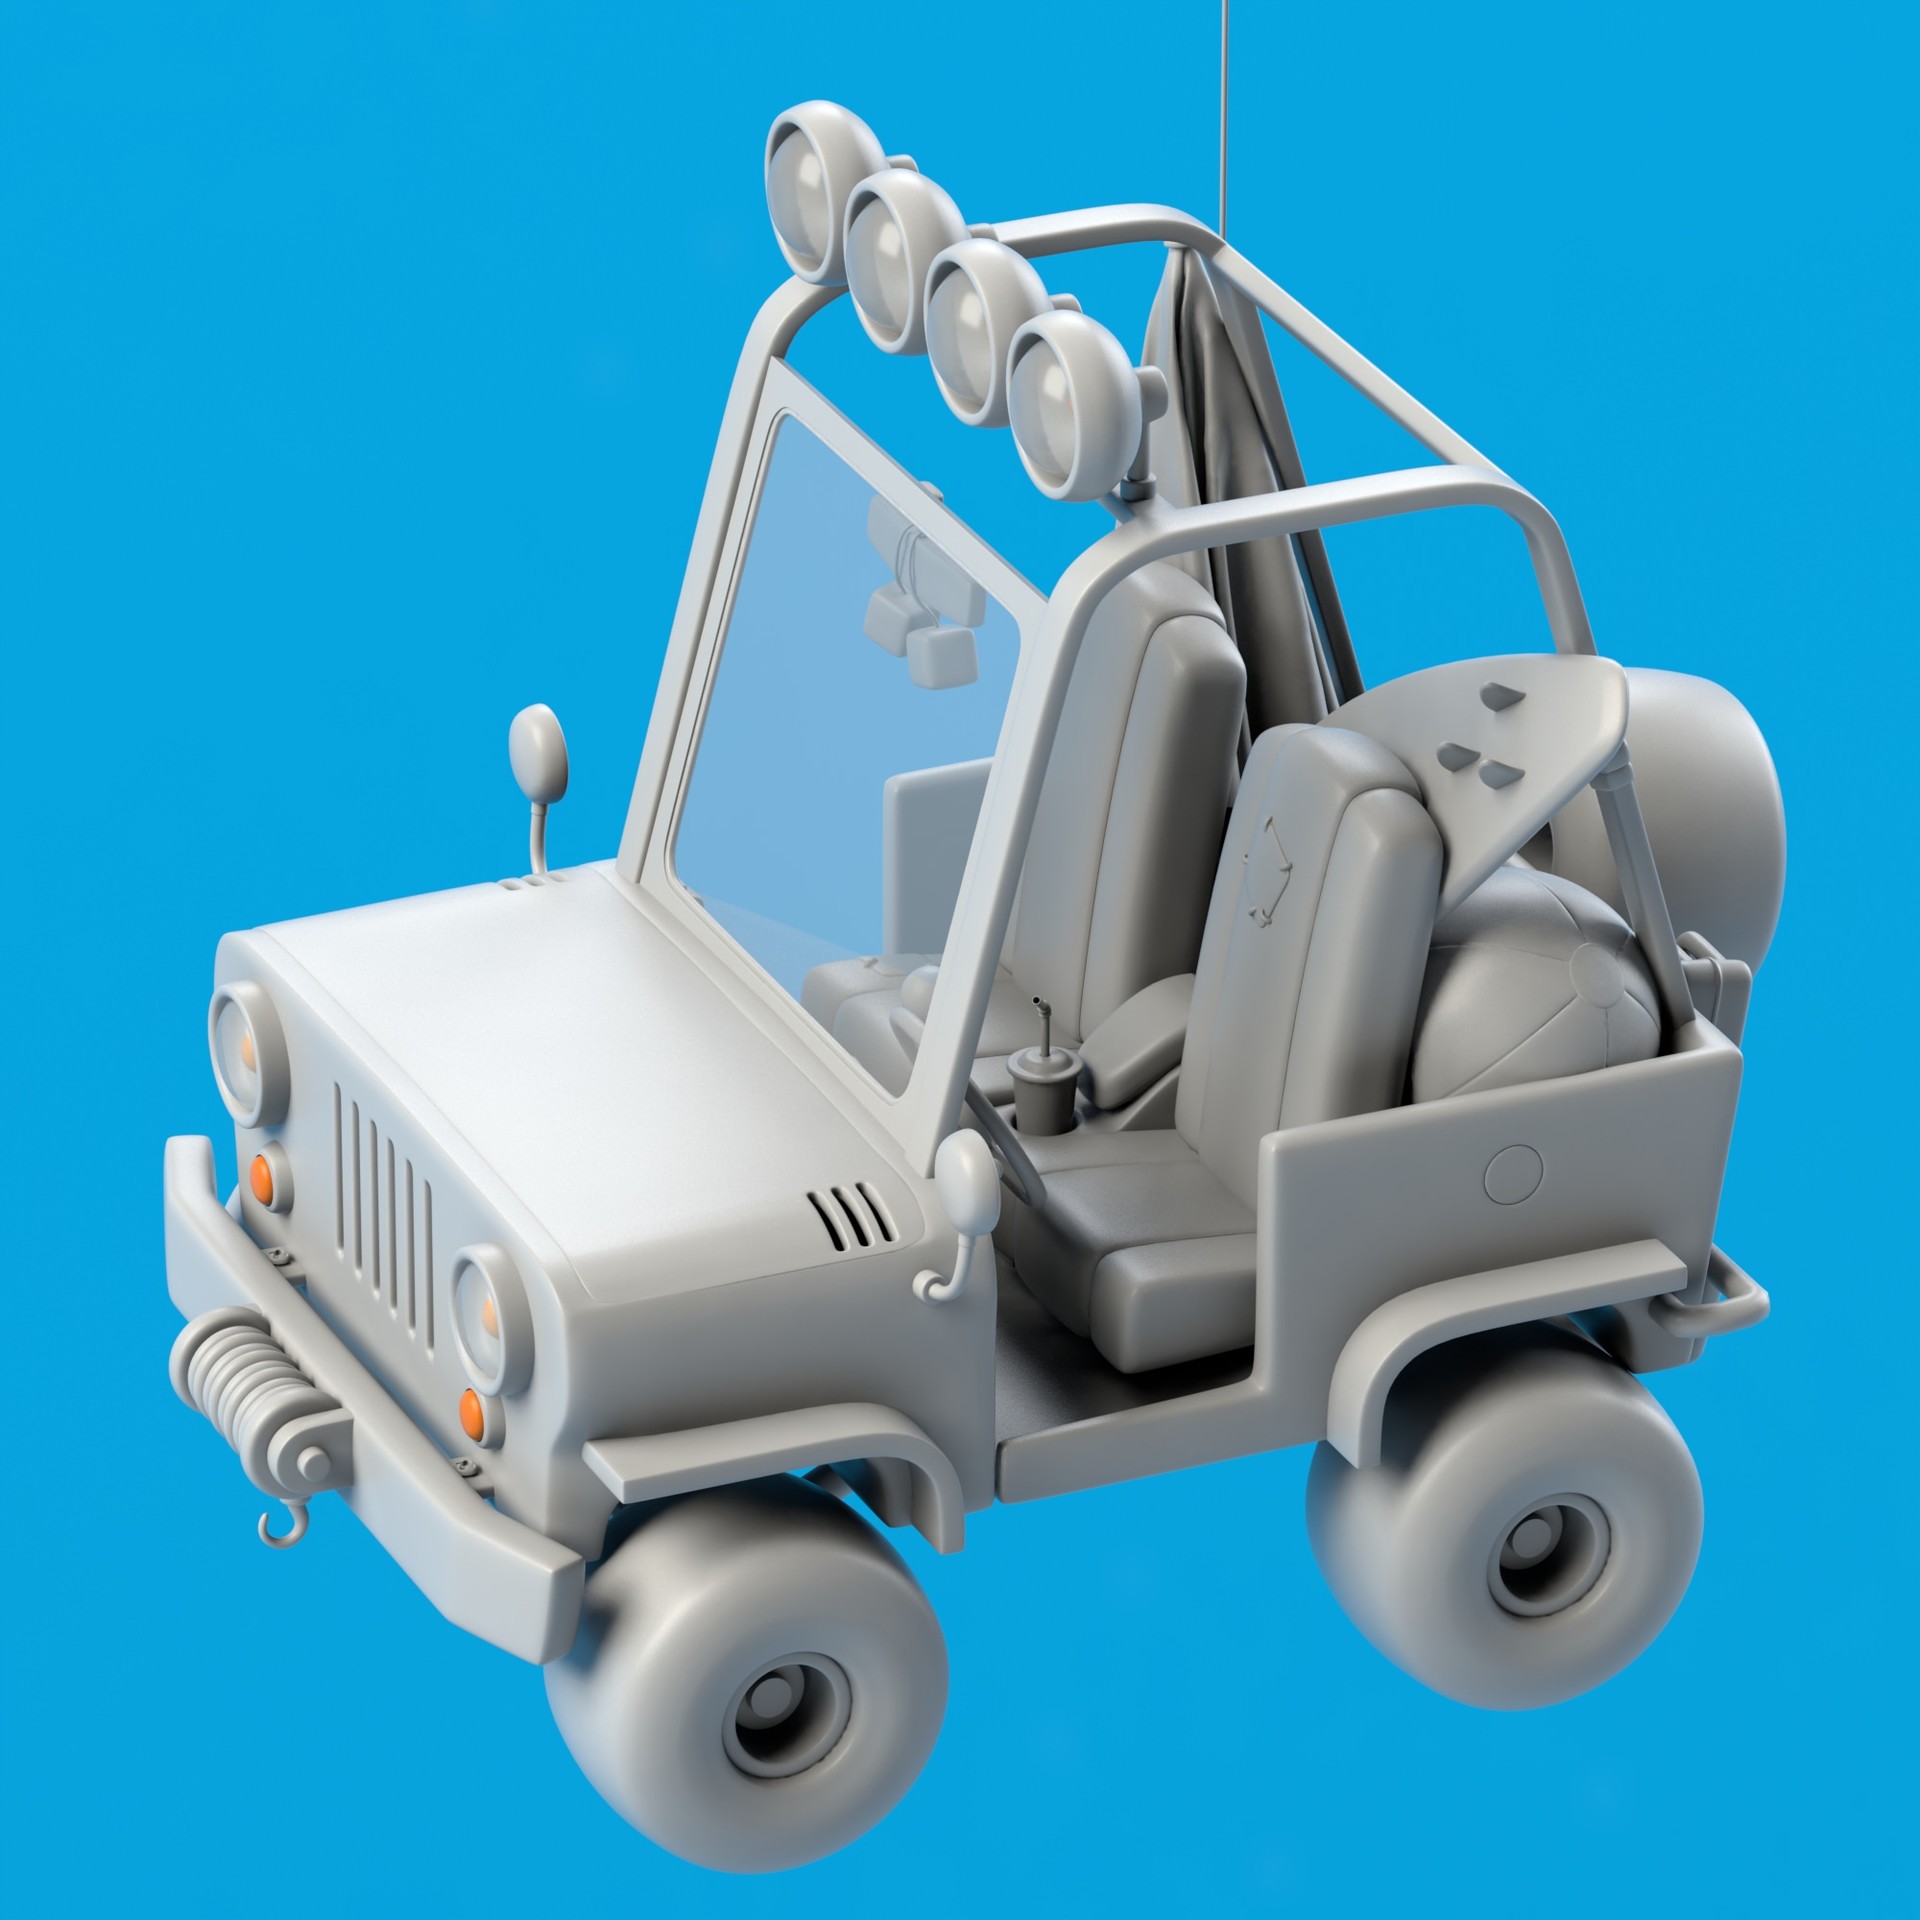
In the original concept, there was no information about the back of the car or it’s inside. On the third day, I focused on creating this from scratch by analyzing other concepts and real photos of a vintage jeep.
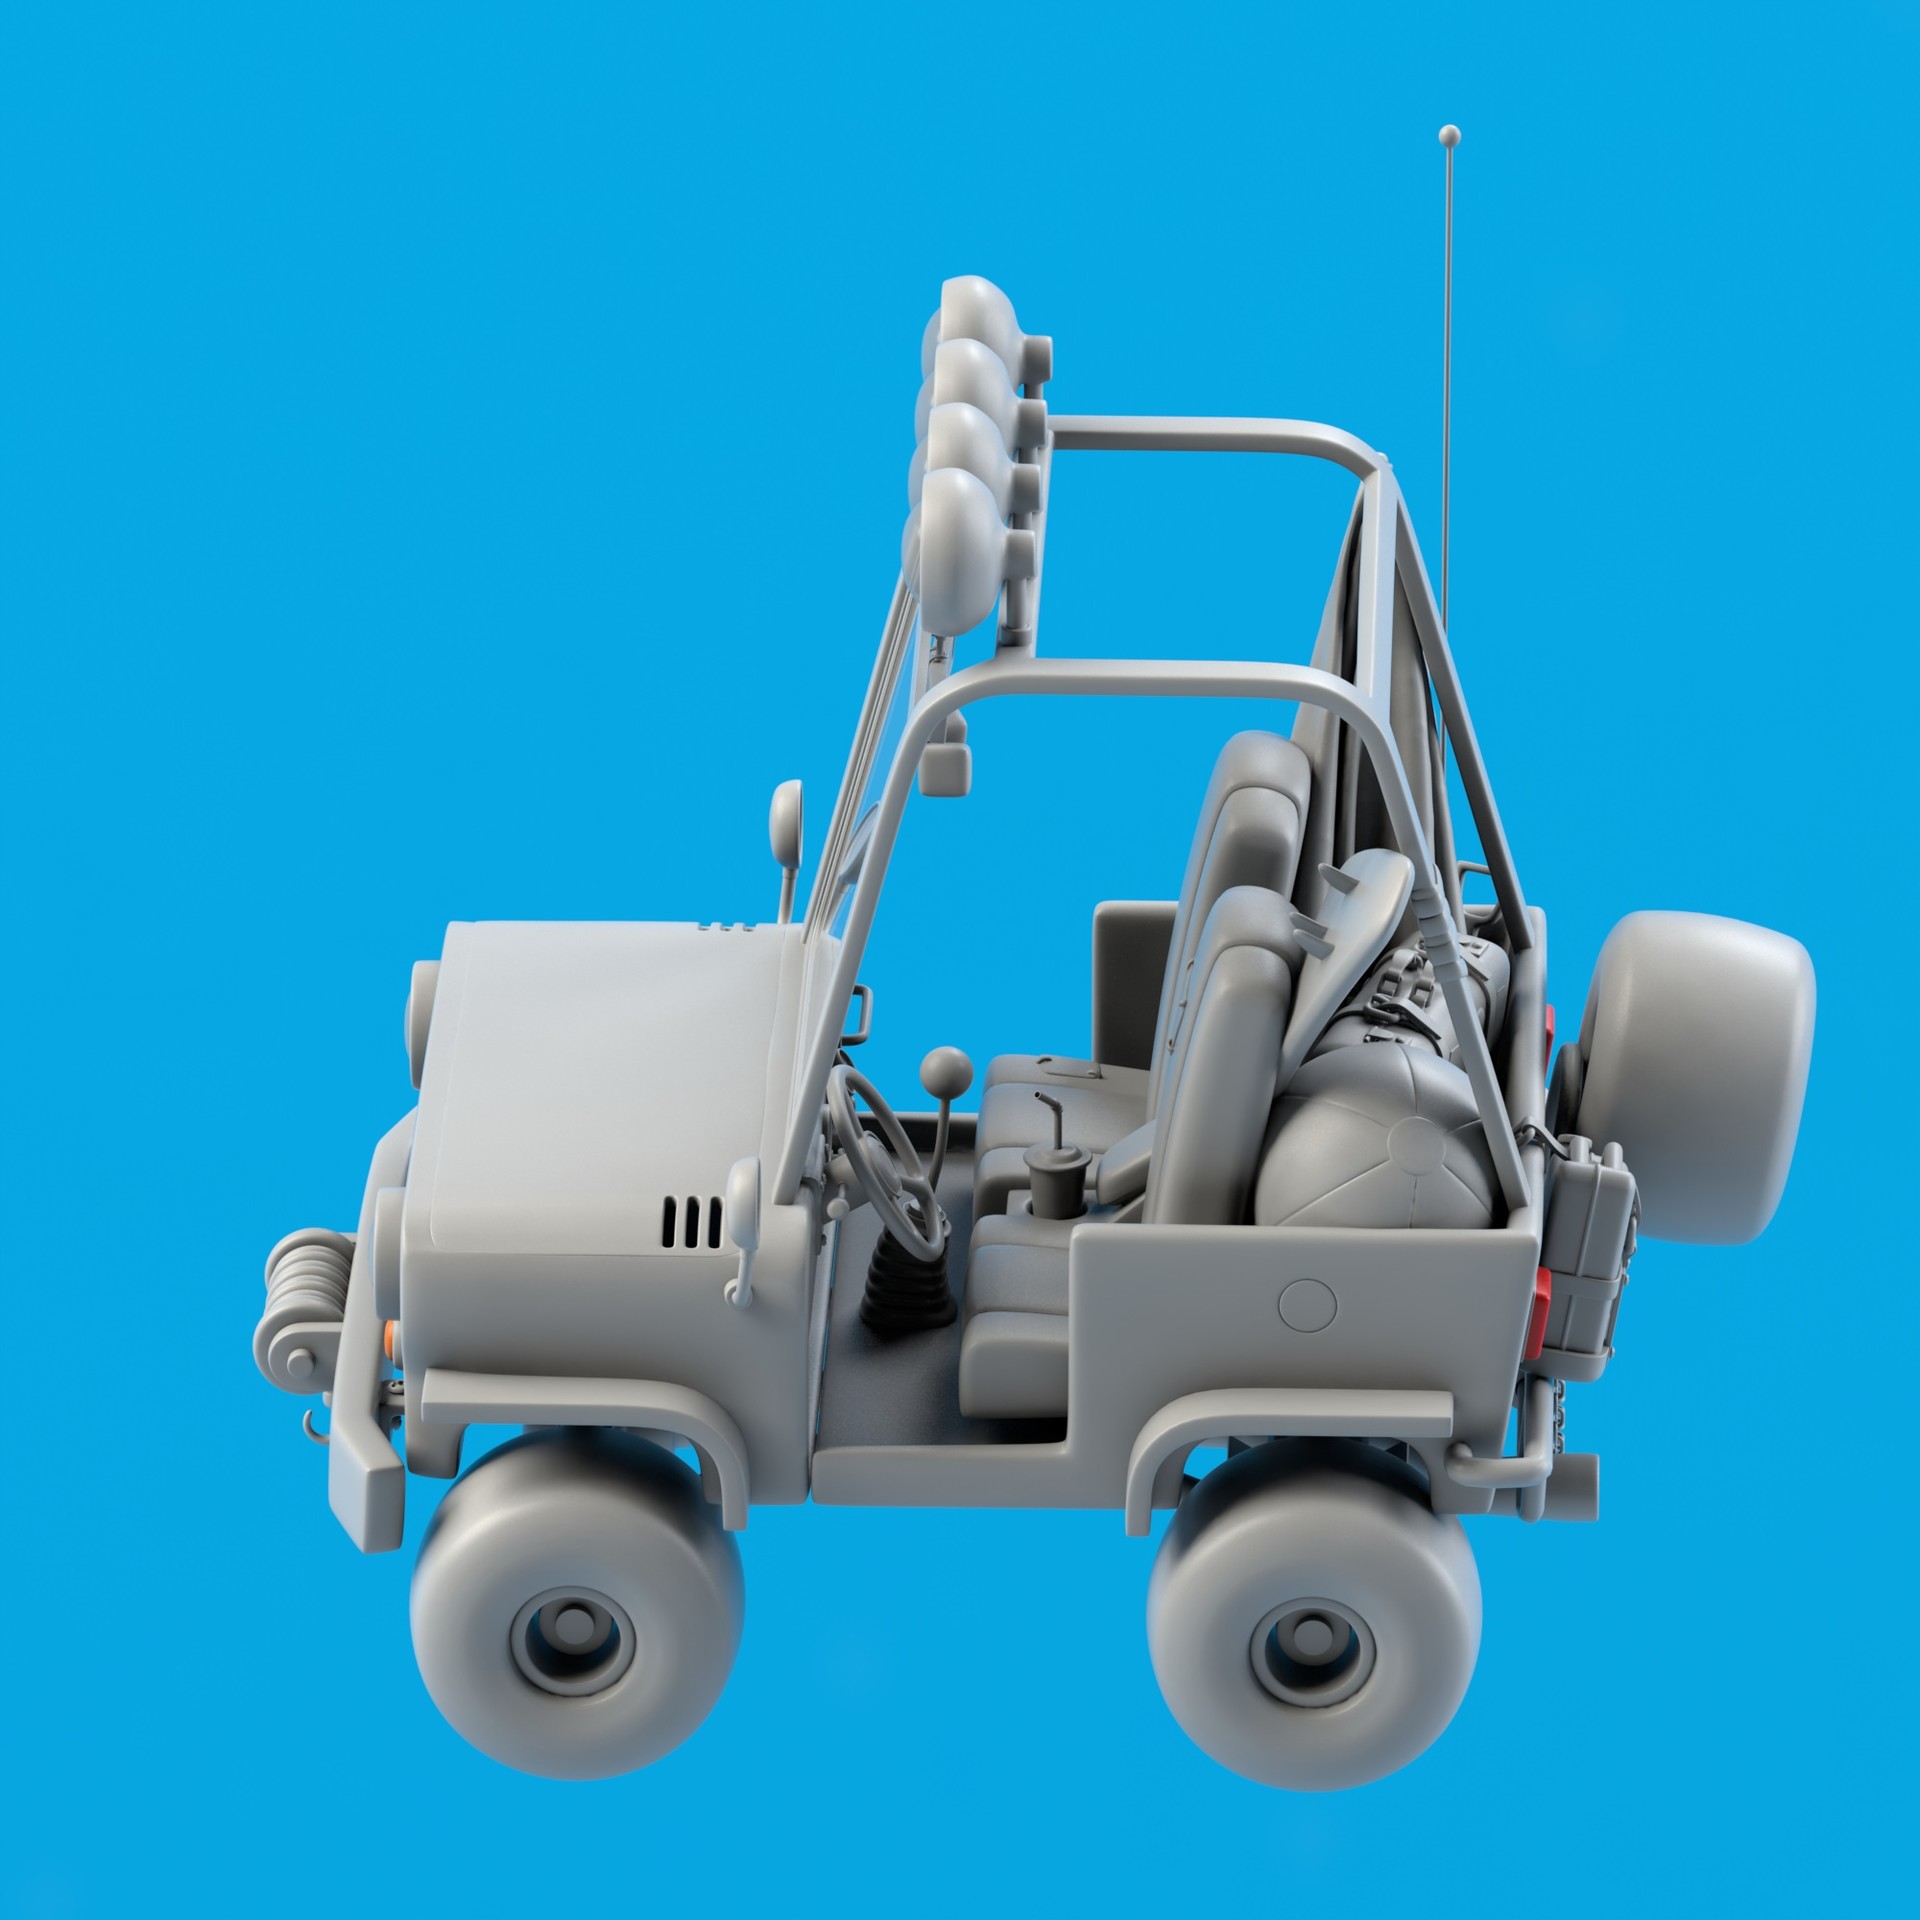
Some of the connections you see in between meshes are caused by MODO’s round edge shader. I enabled it to see how It would look like, but in the final version just turn it off and not use it anymore. It makes the model look way too high poly and like a plastic cast toy
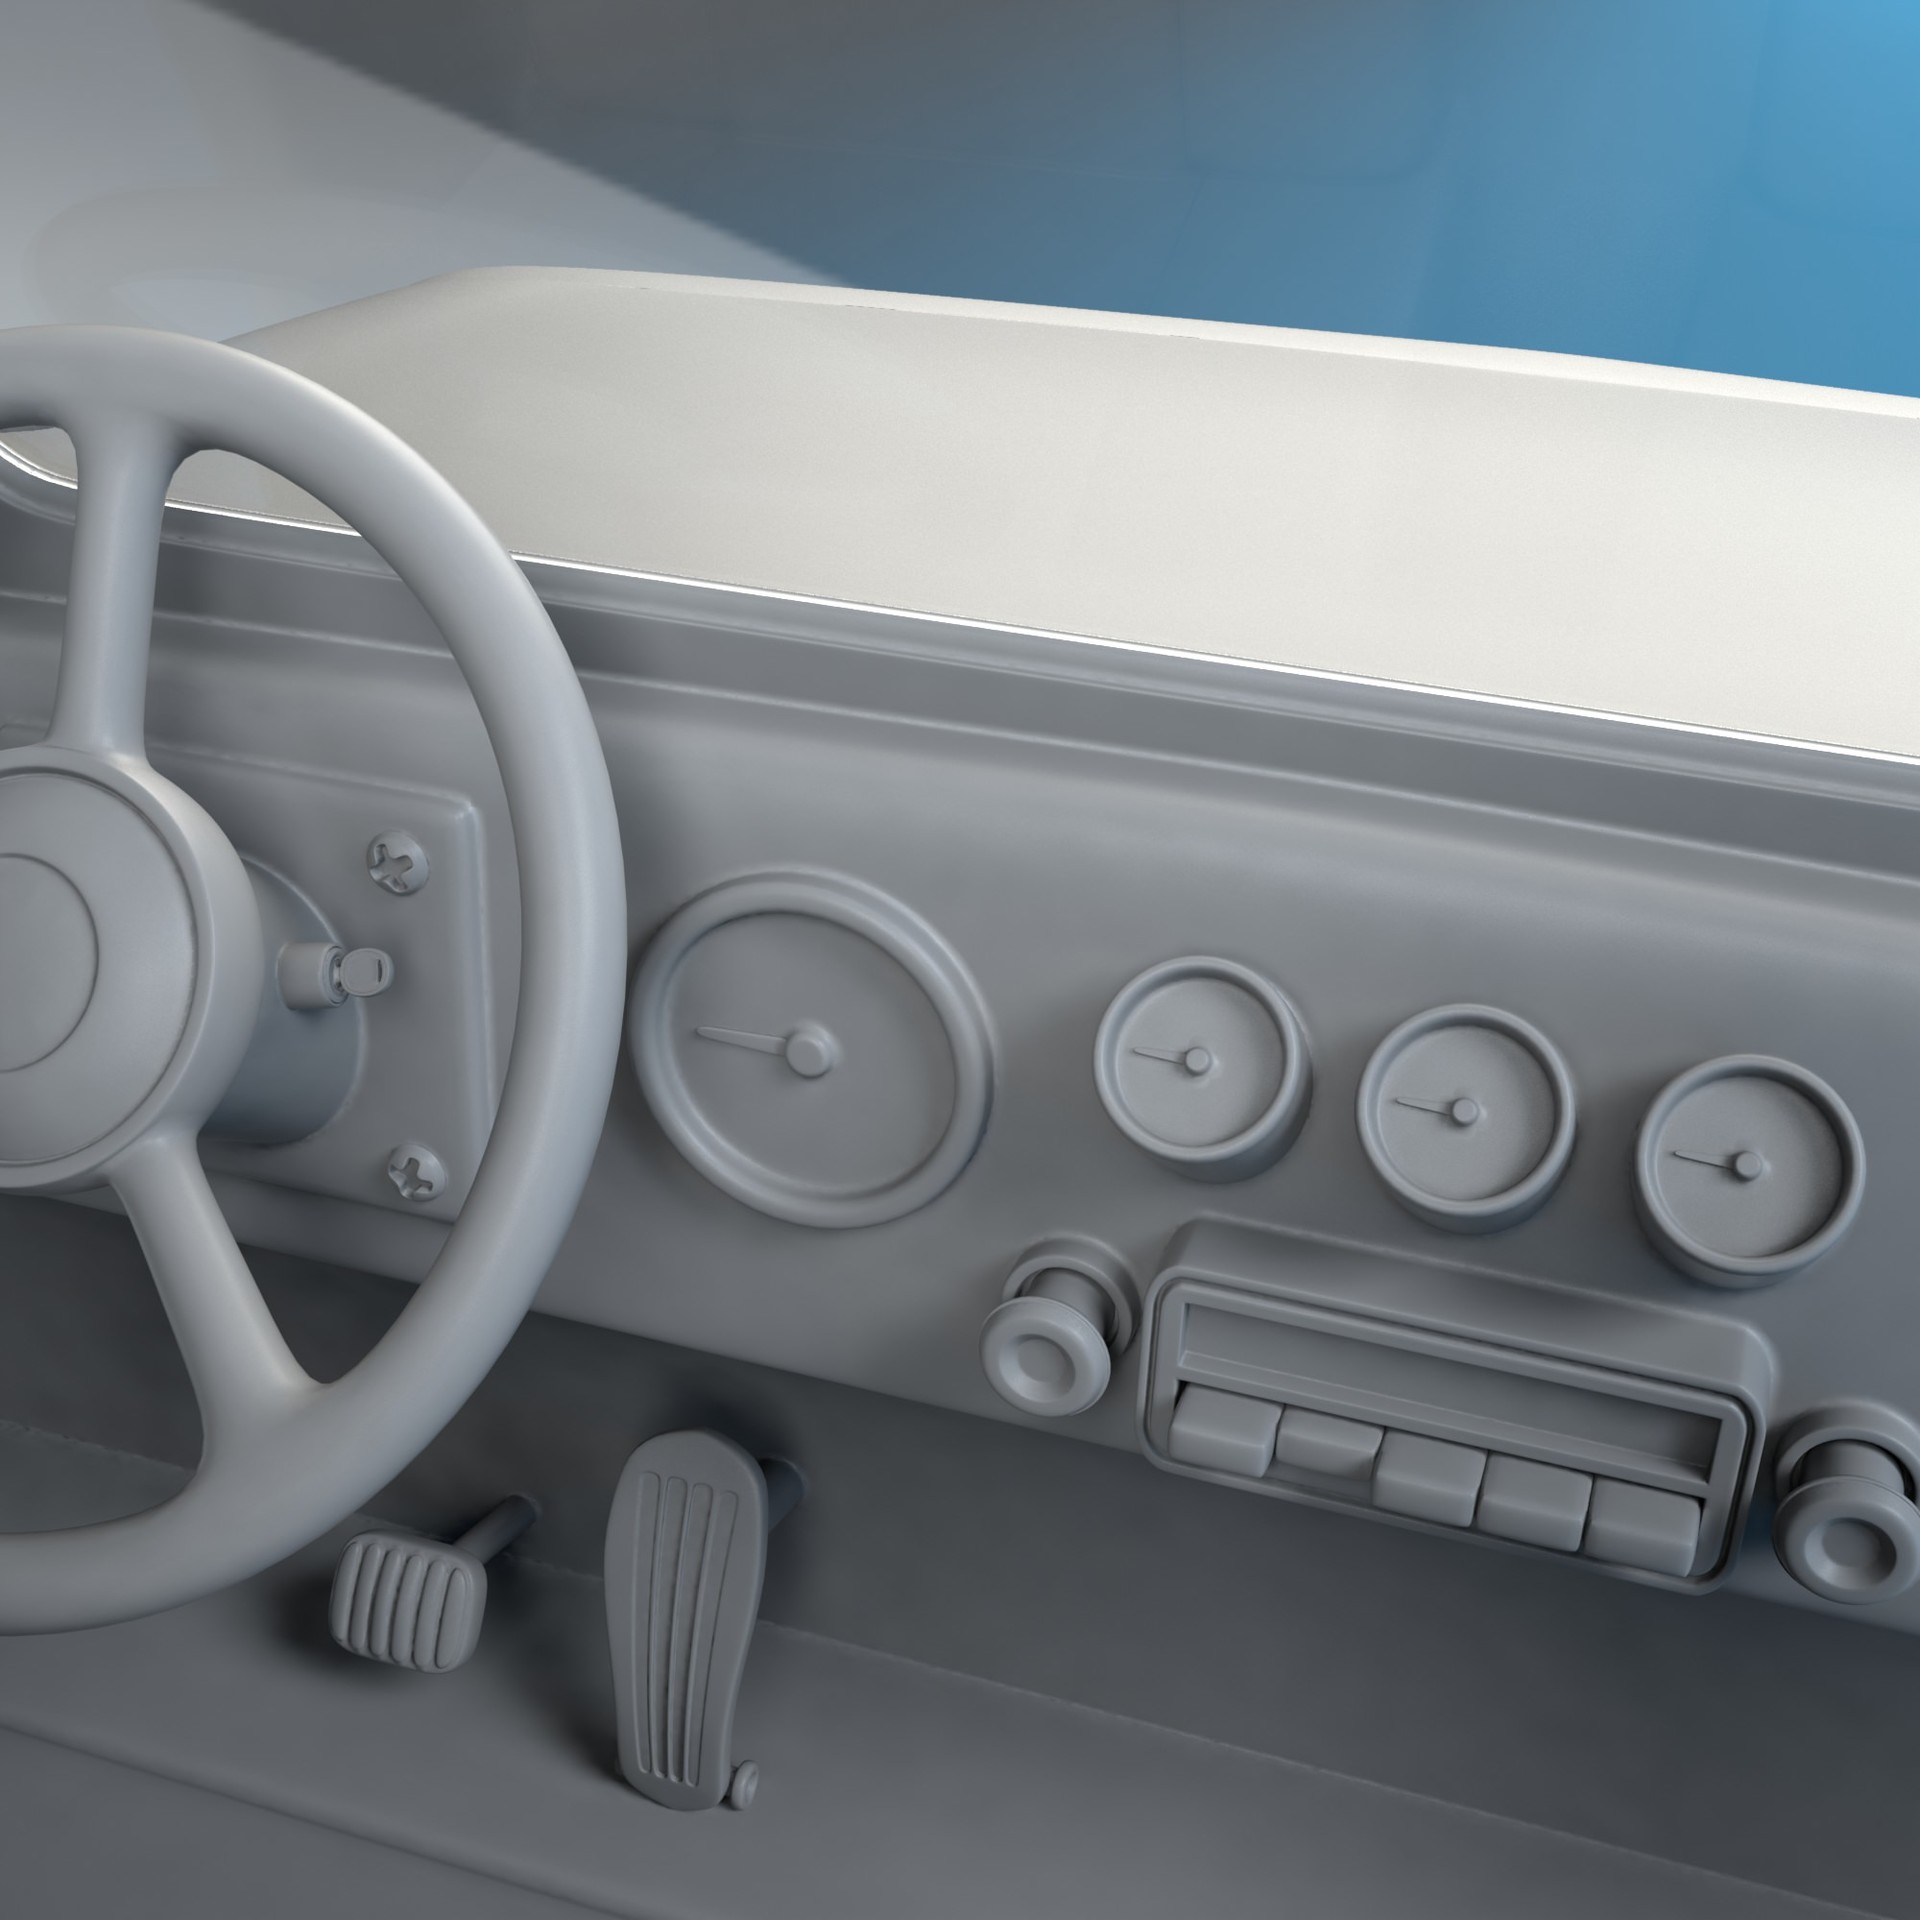
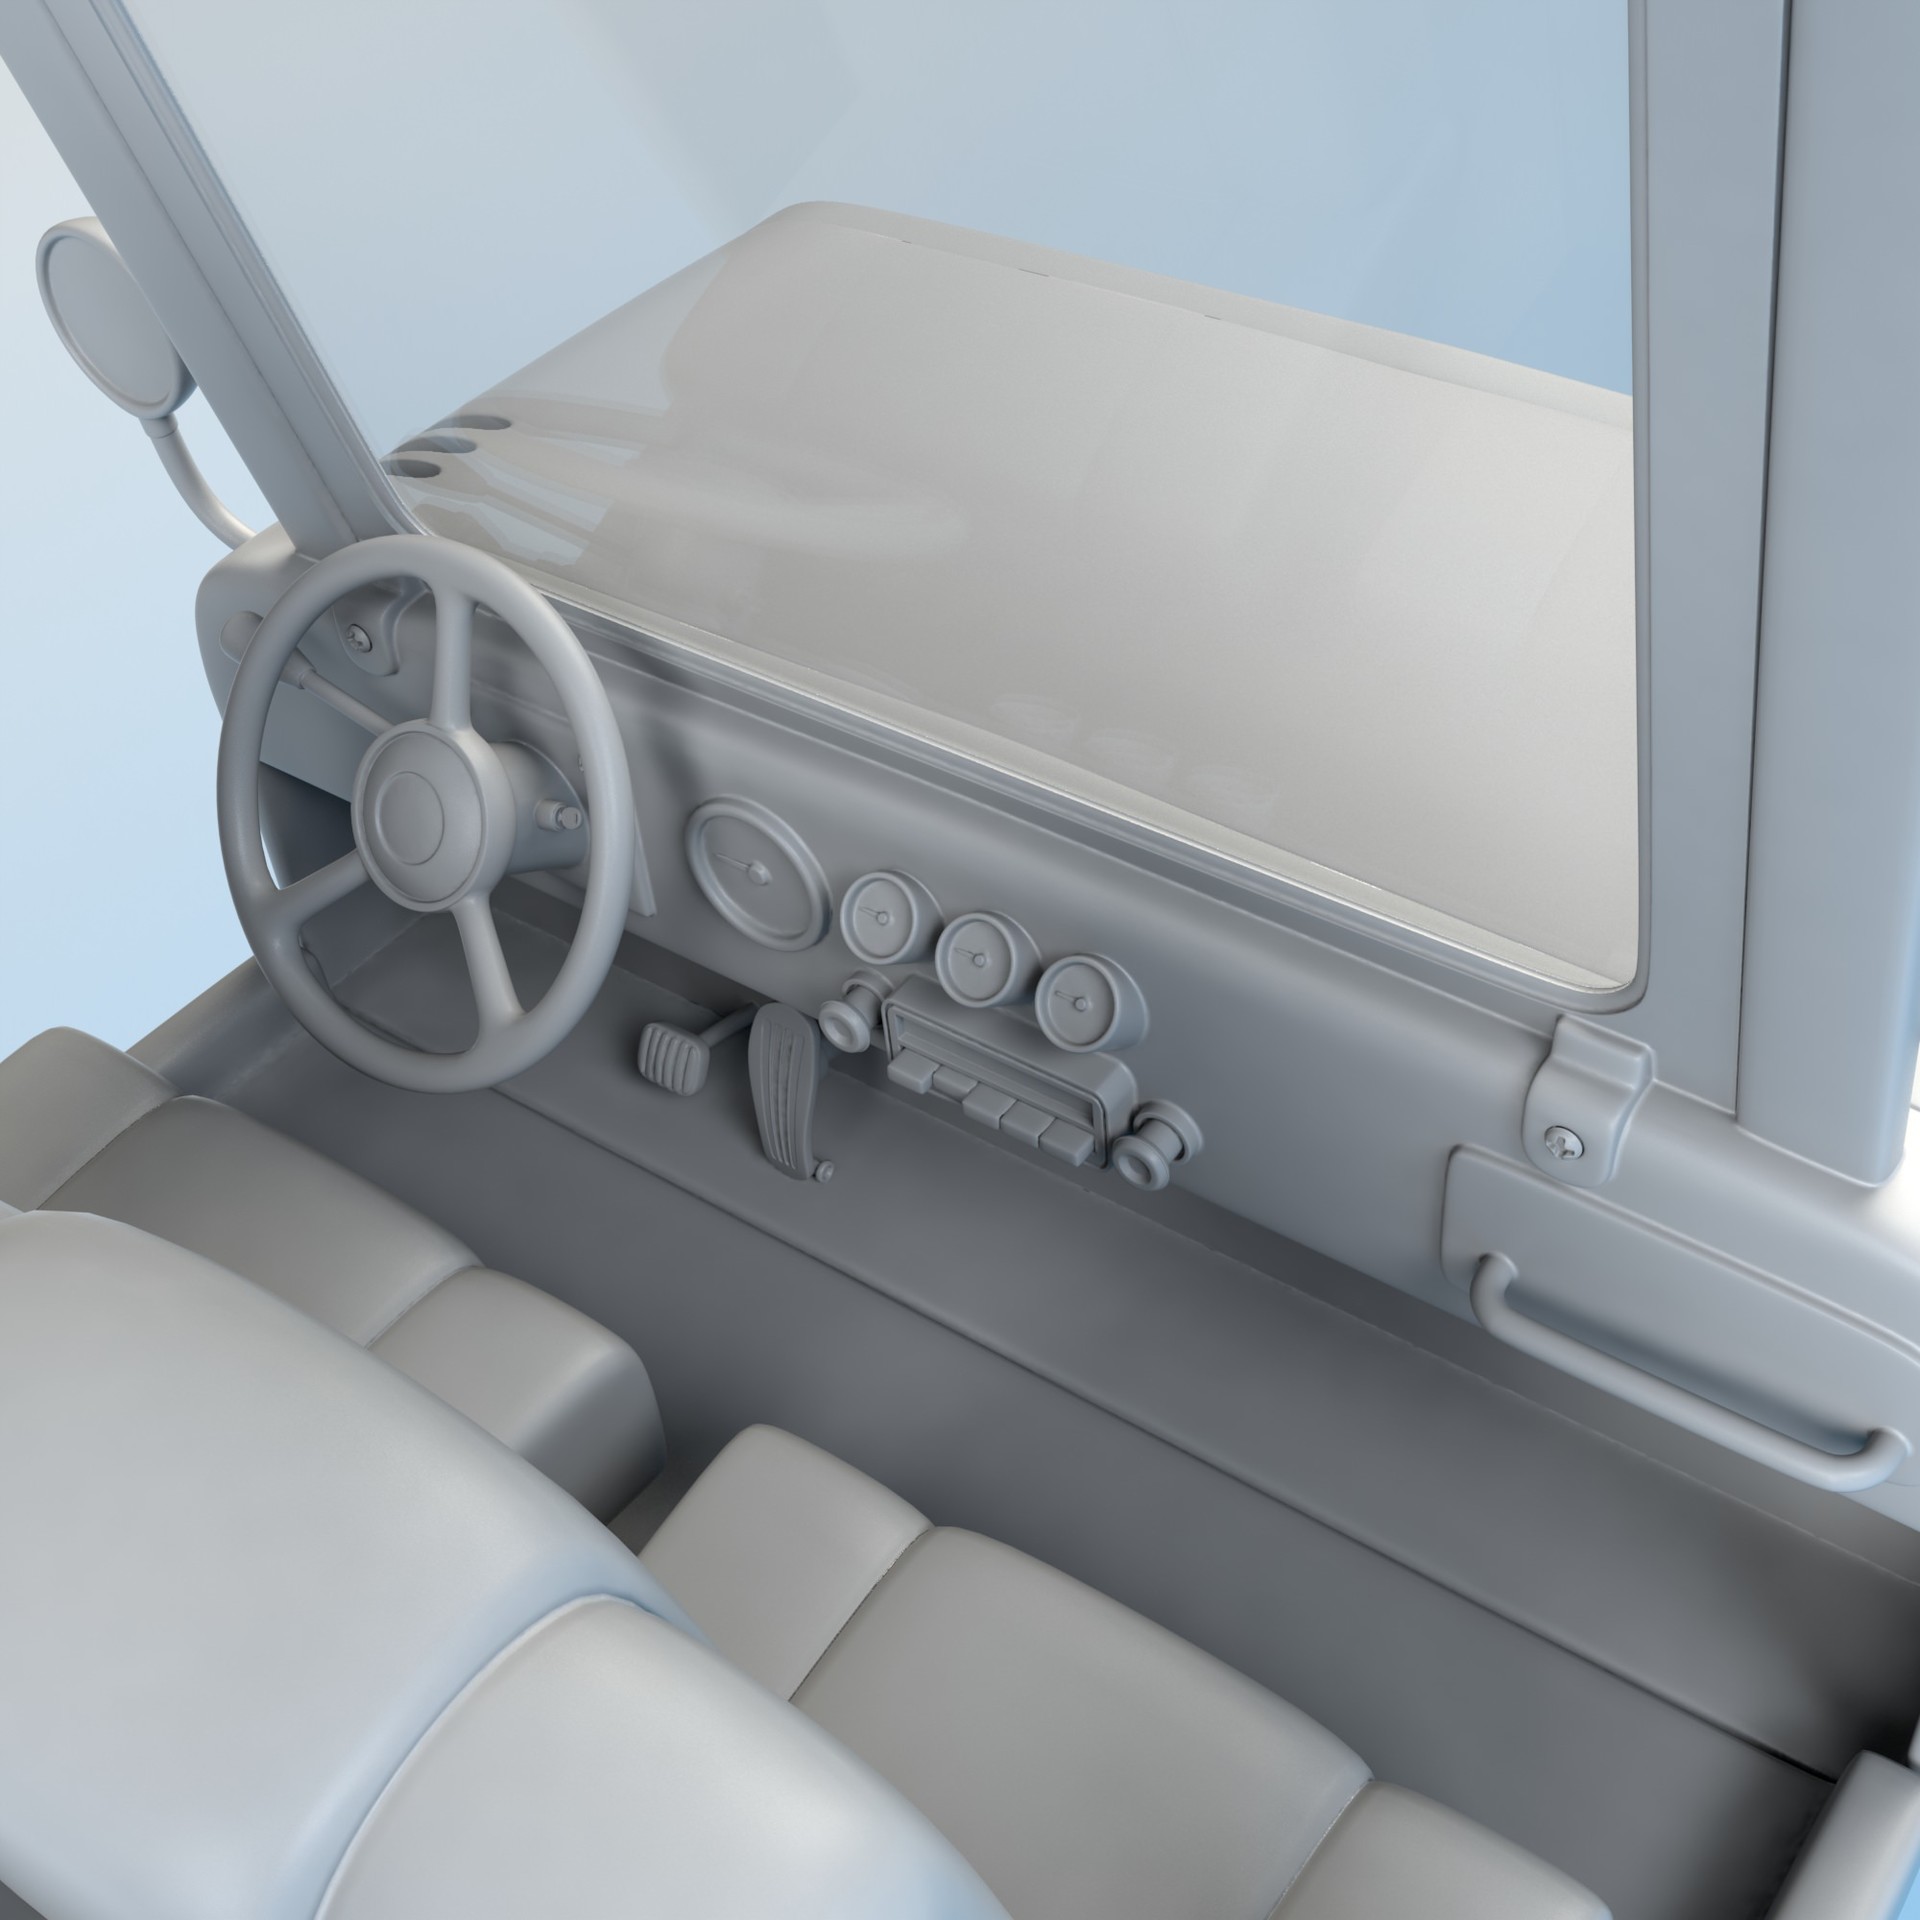

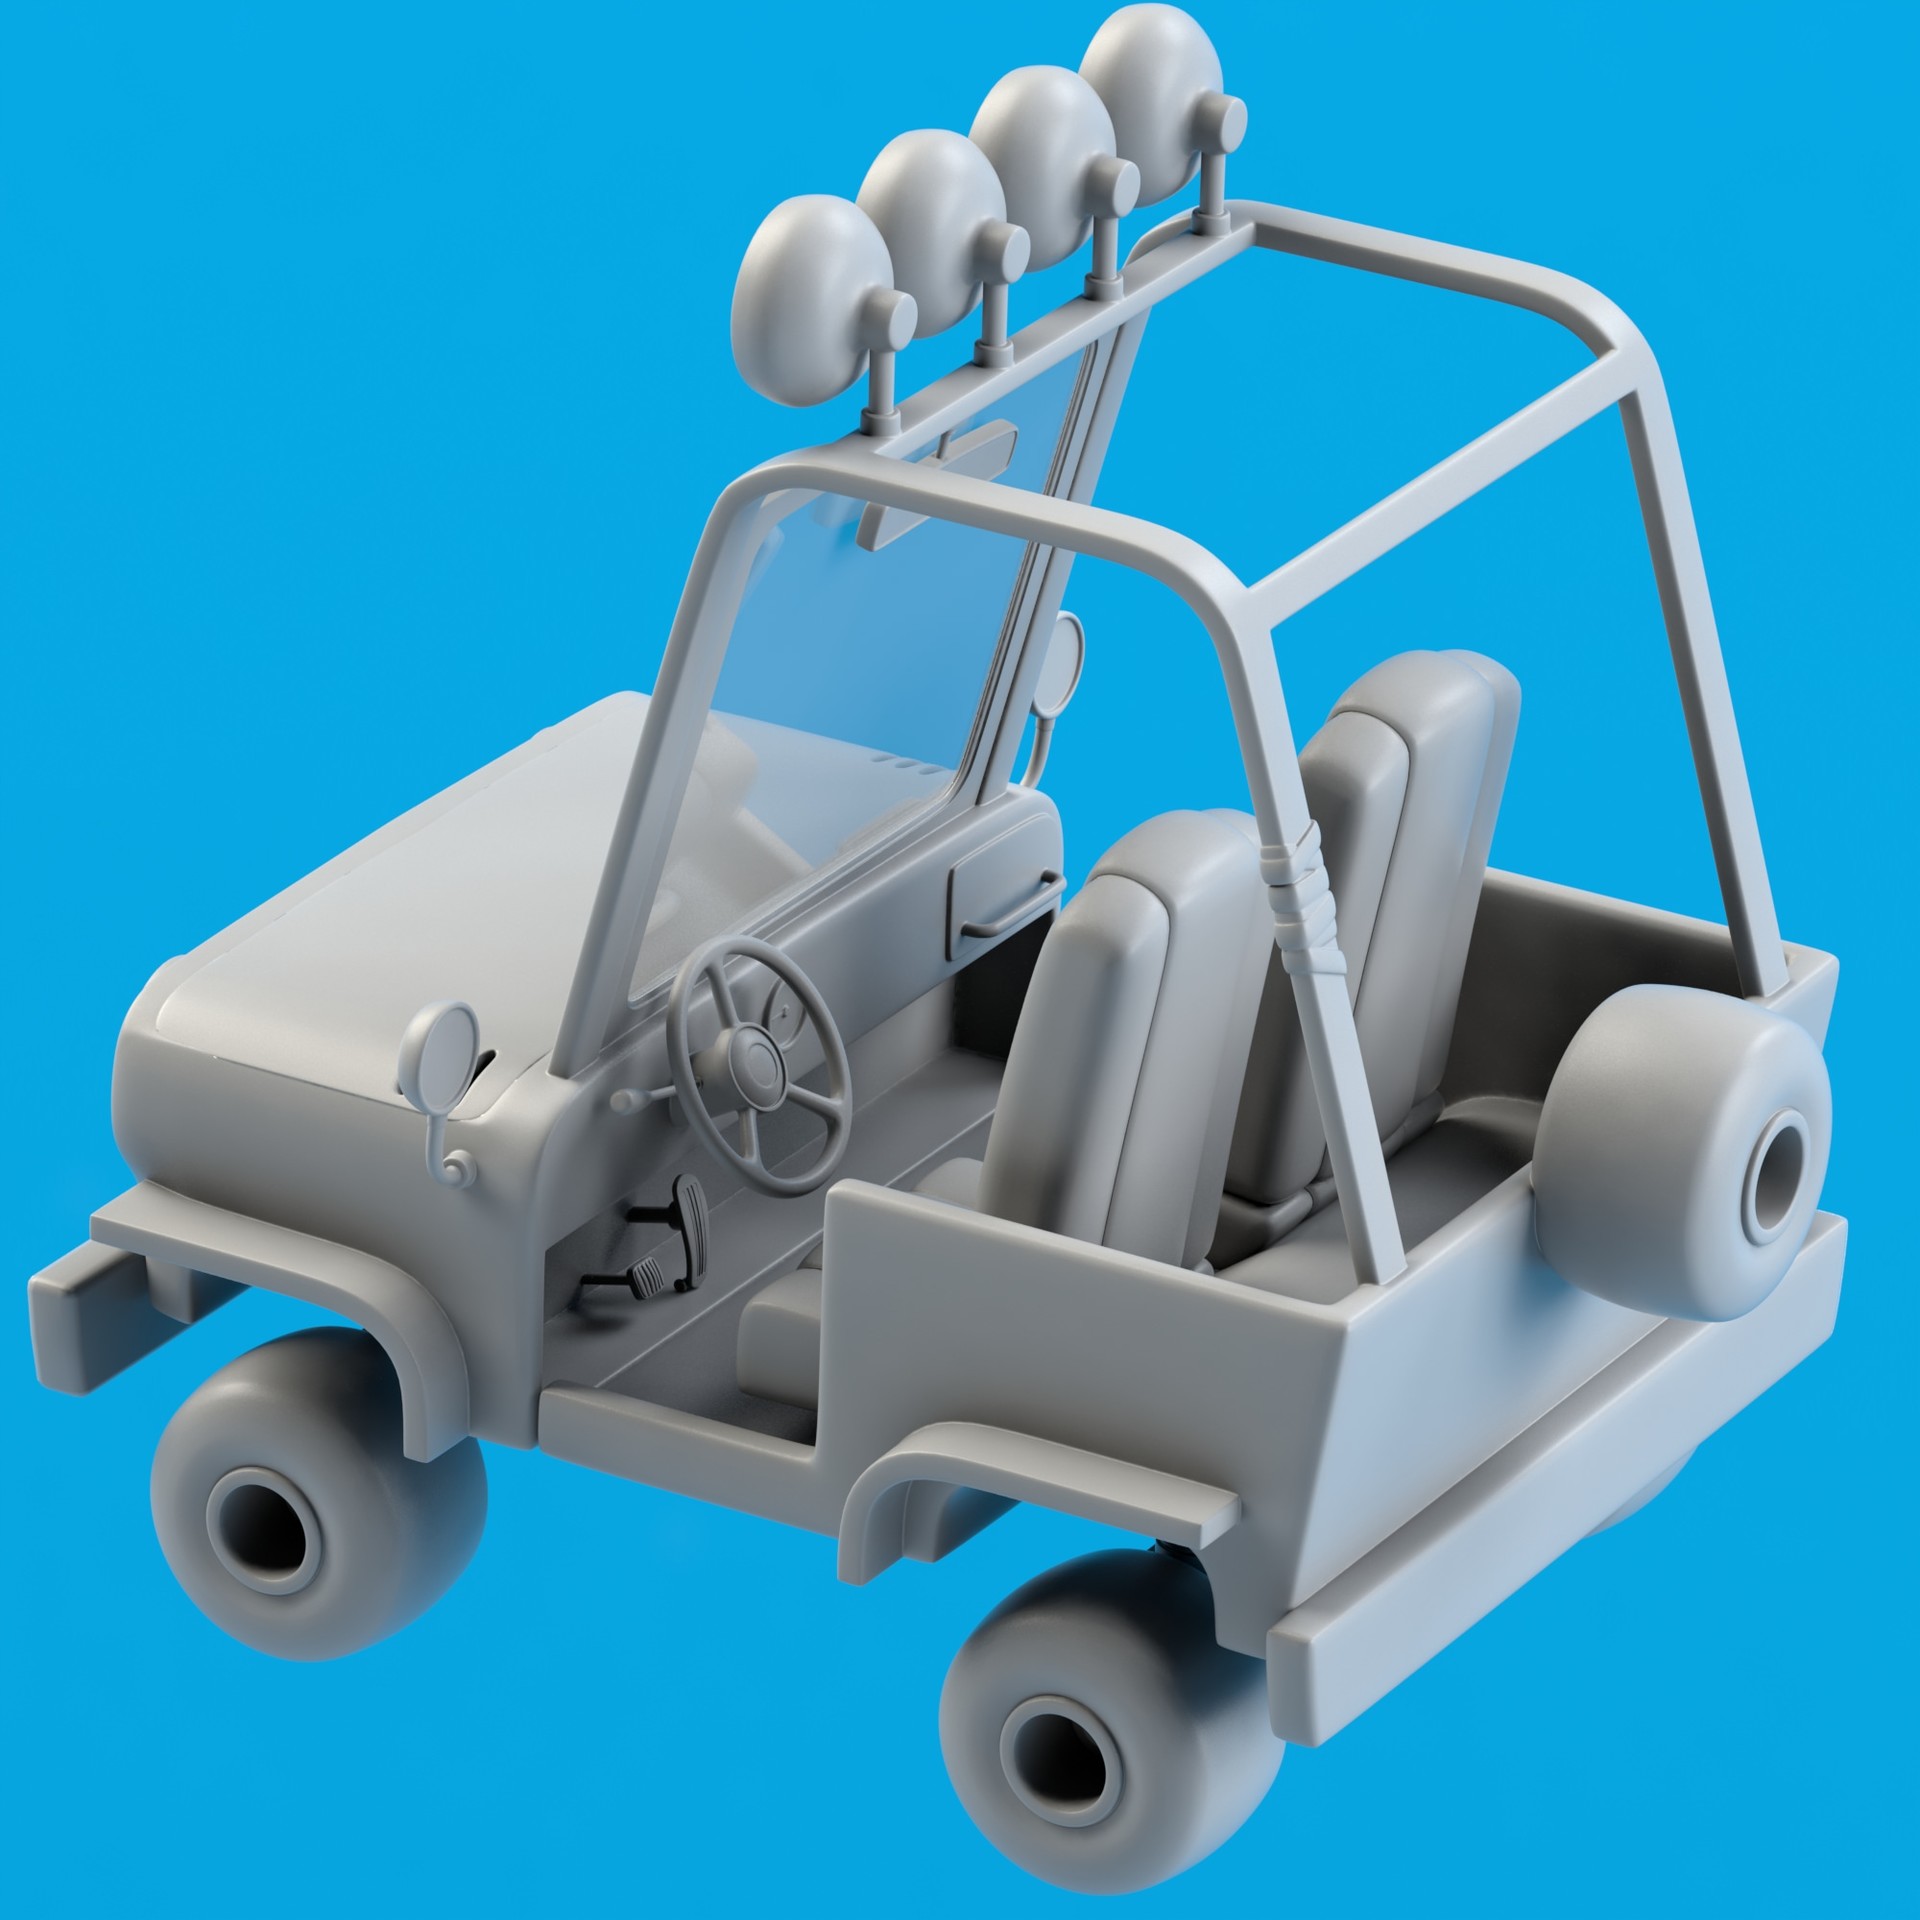
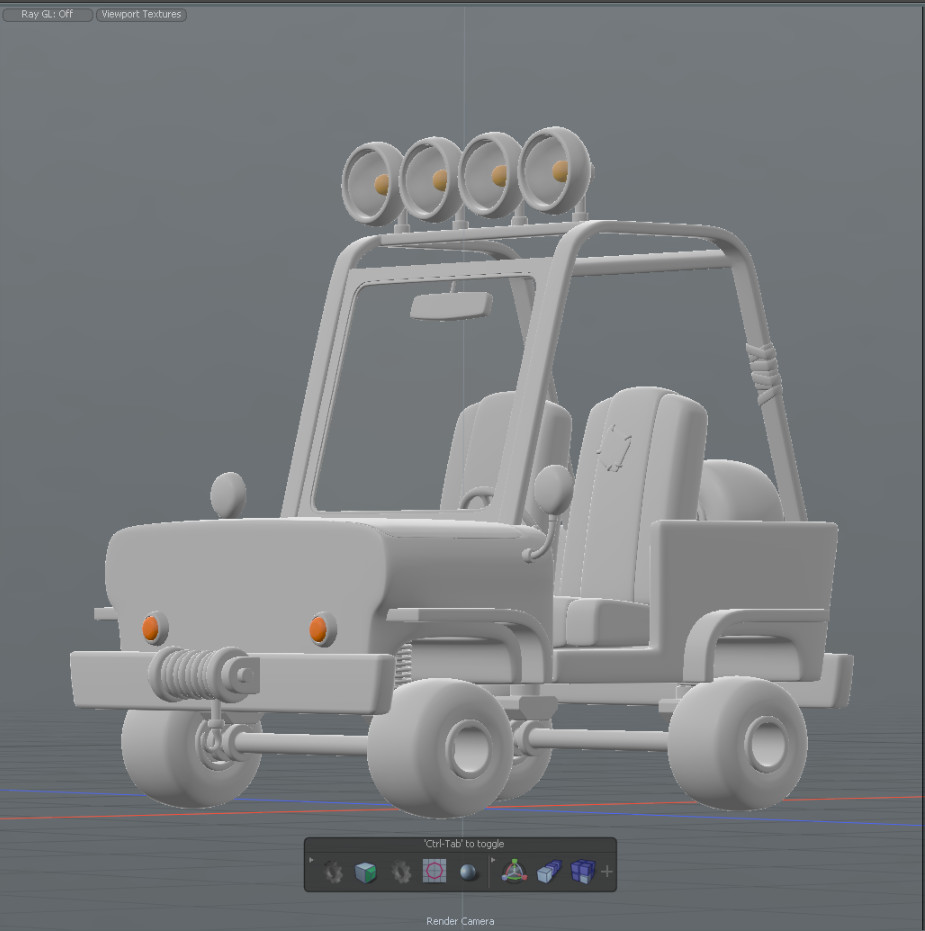
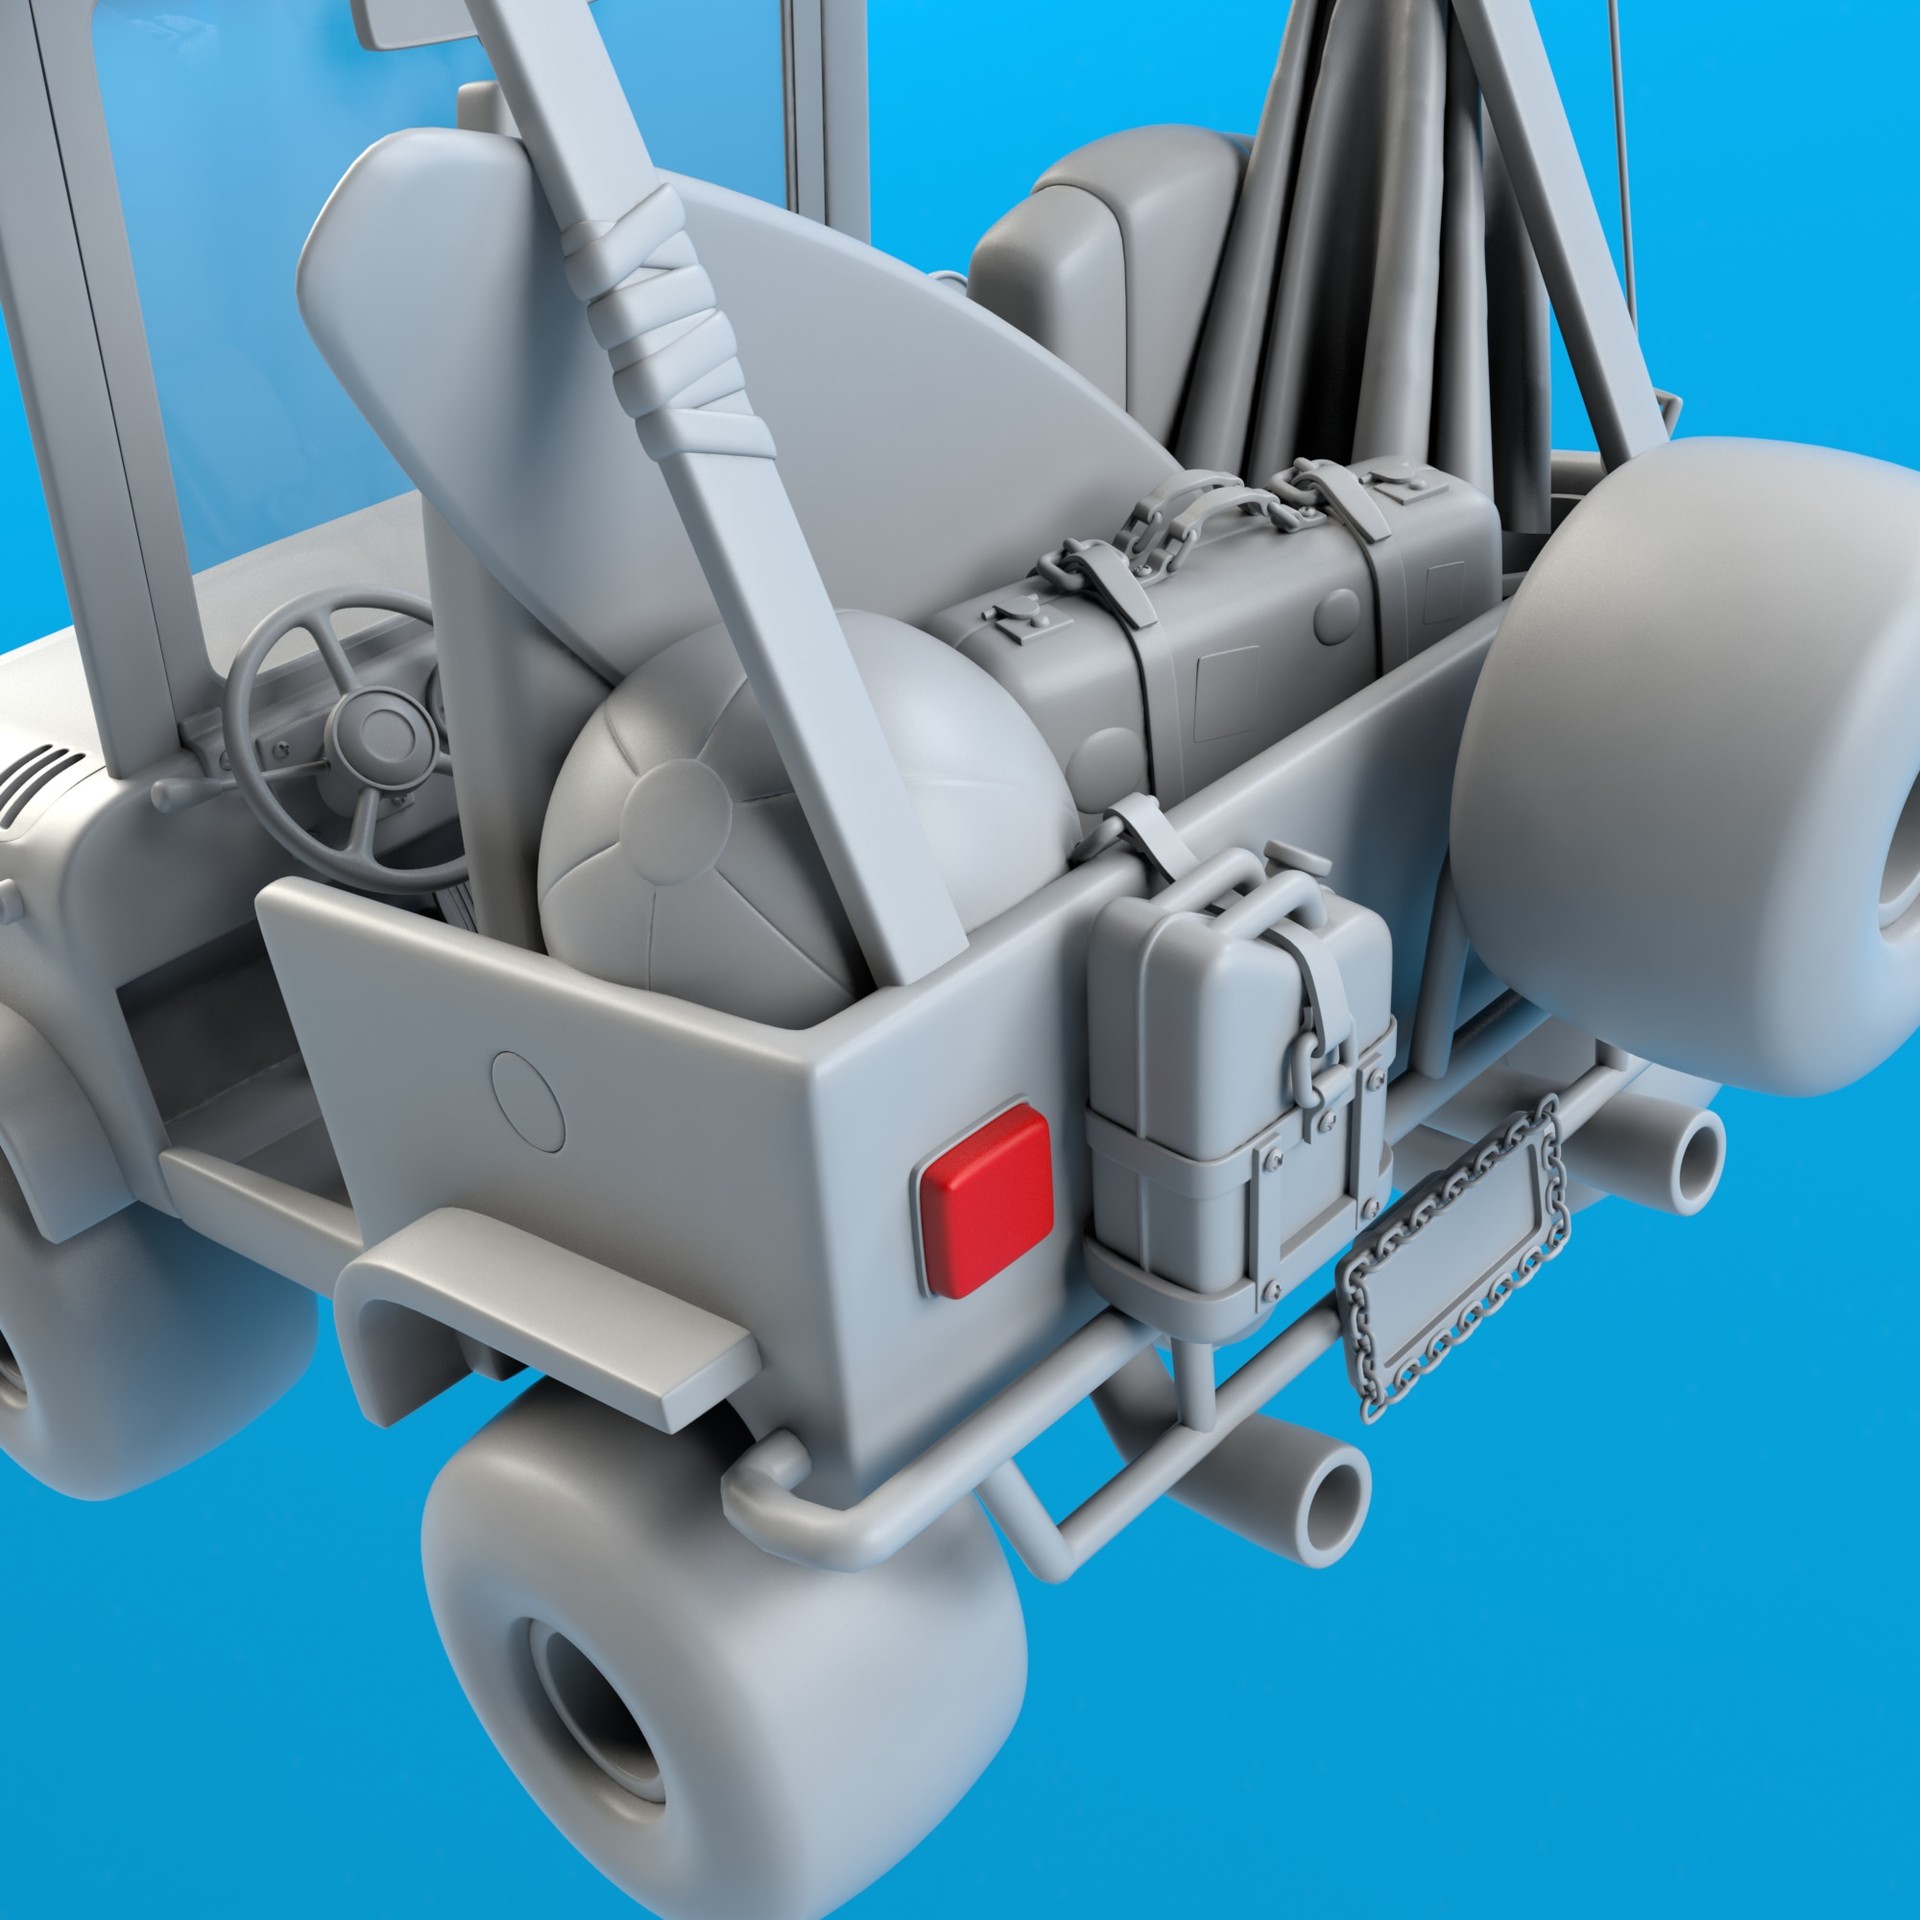
With the inside of the car basically done, I shifted my attention to the car mechanics and the details on the back. There was a bunch of empty space in the back so I decided to add extra assets to break up the car silhouette and tell a story.
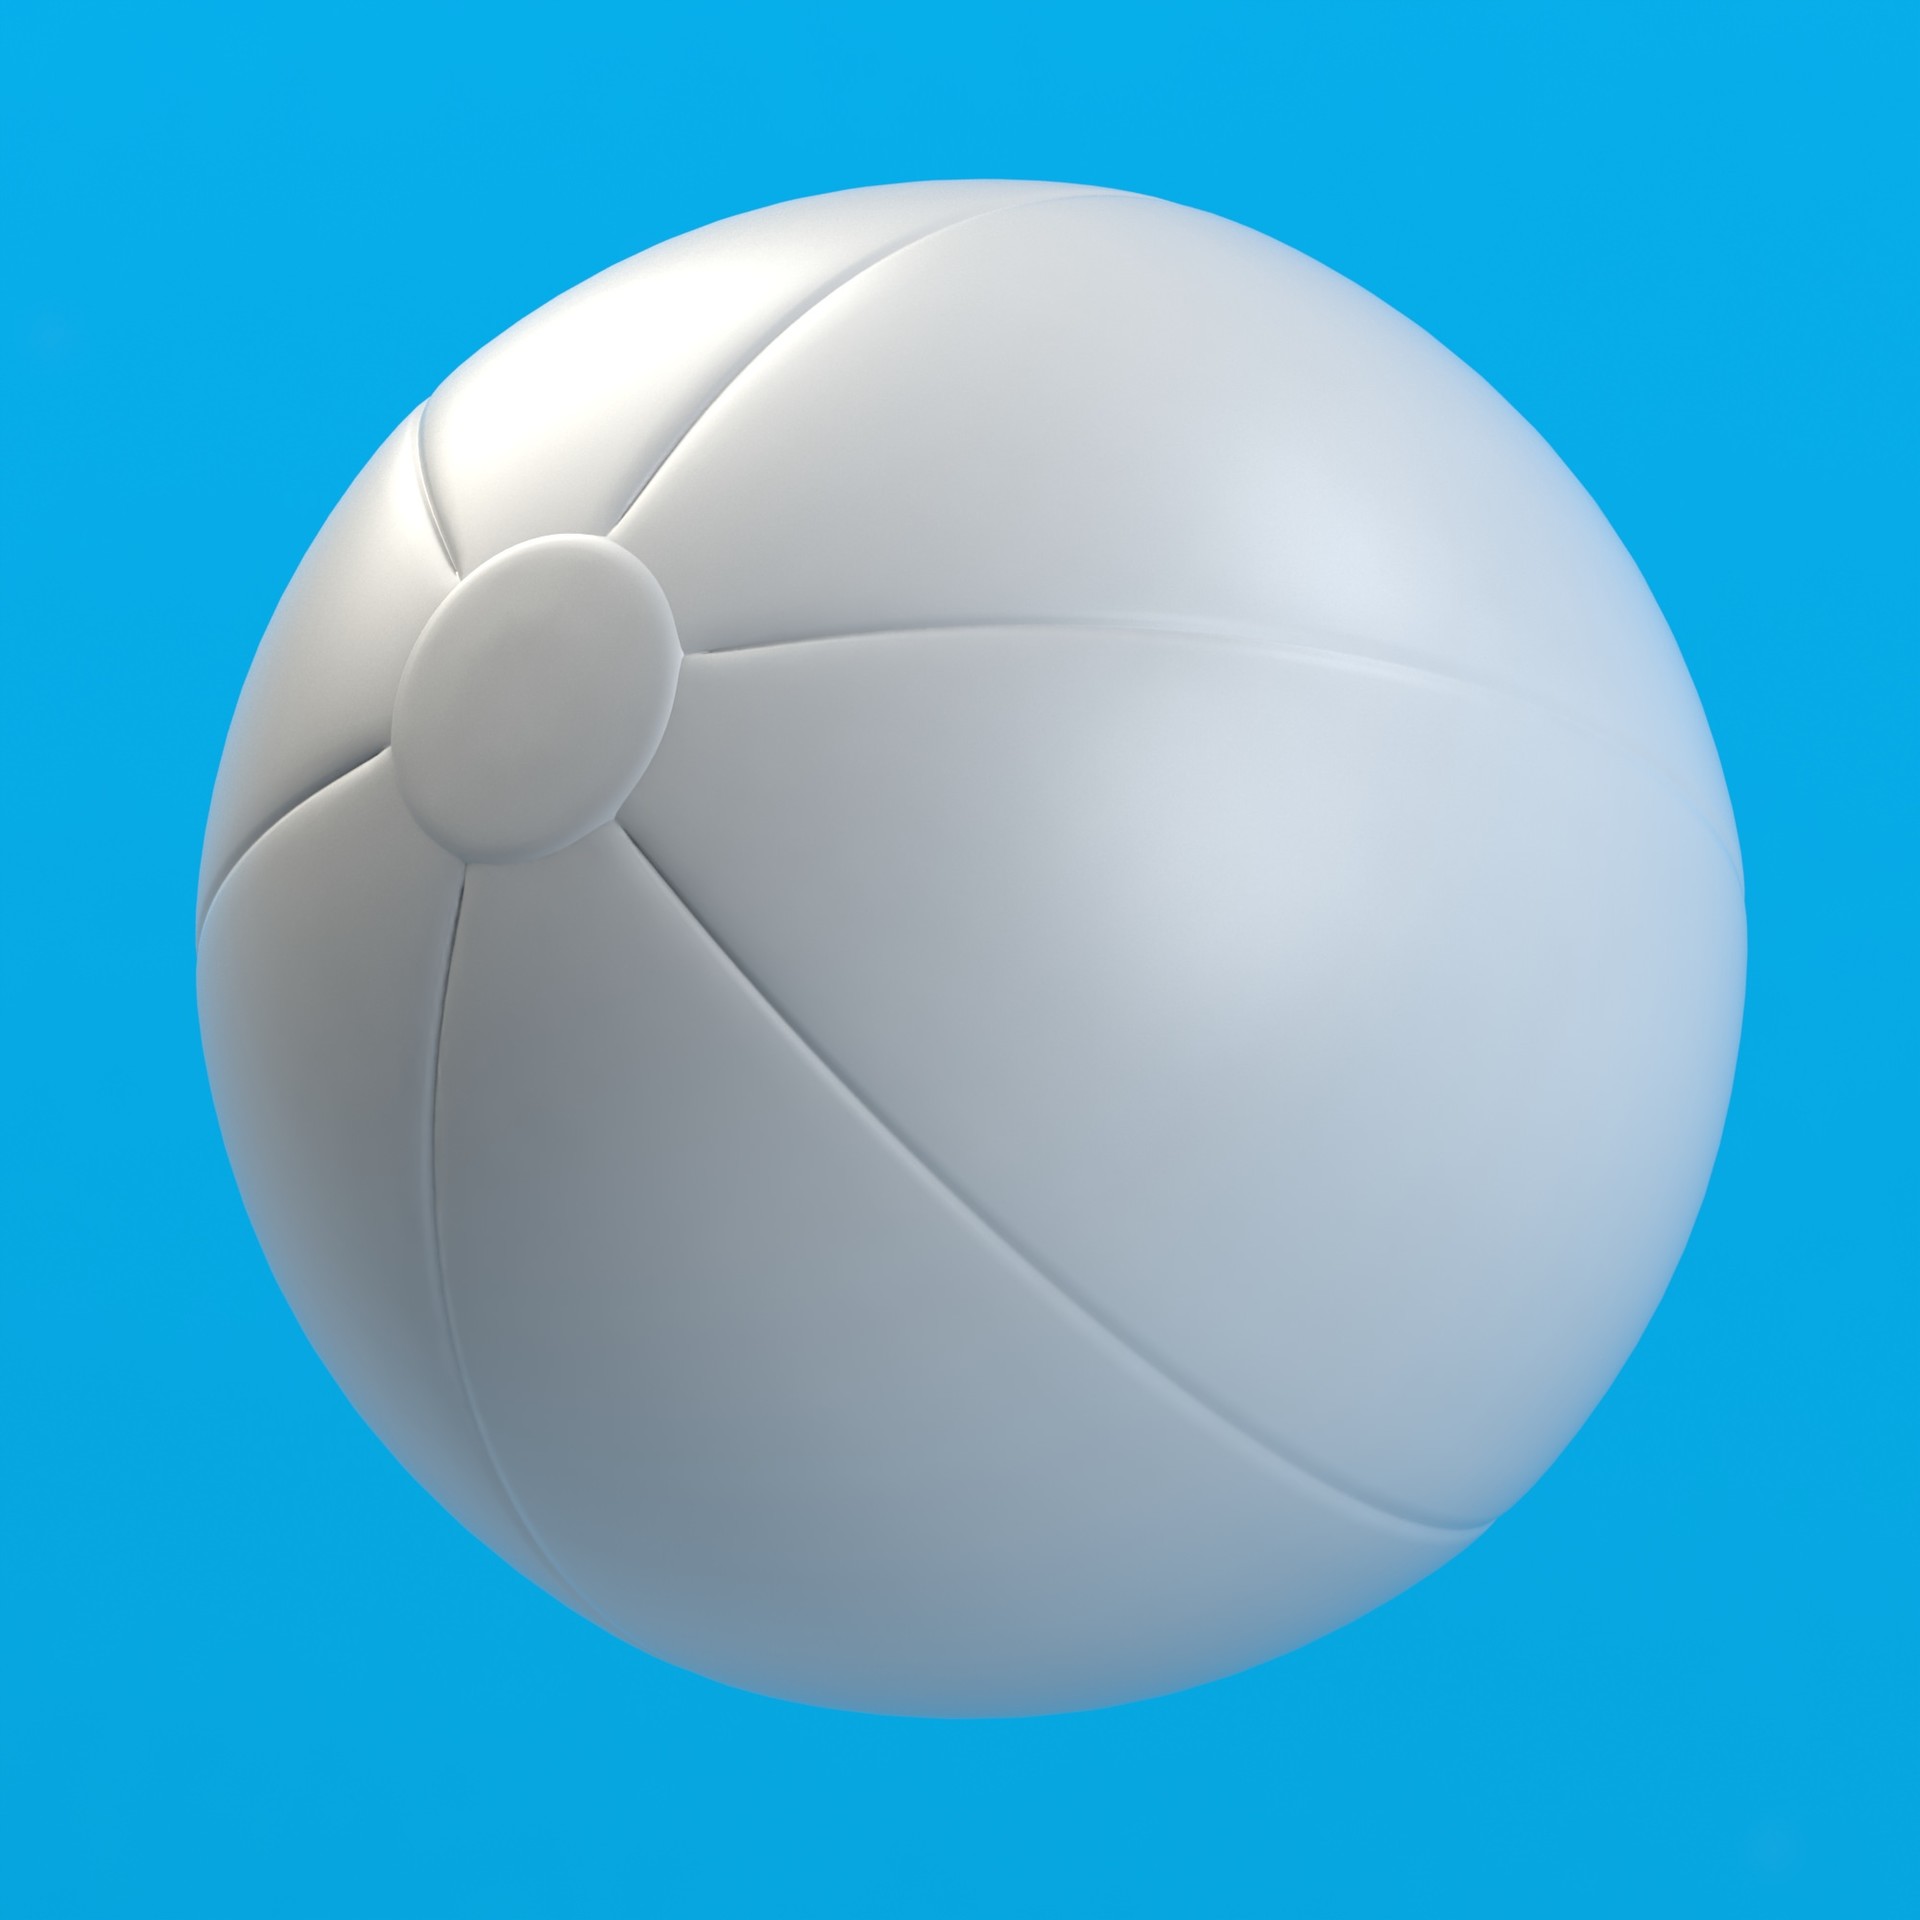
On this specific one, someone is going to the beach!
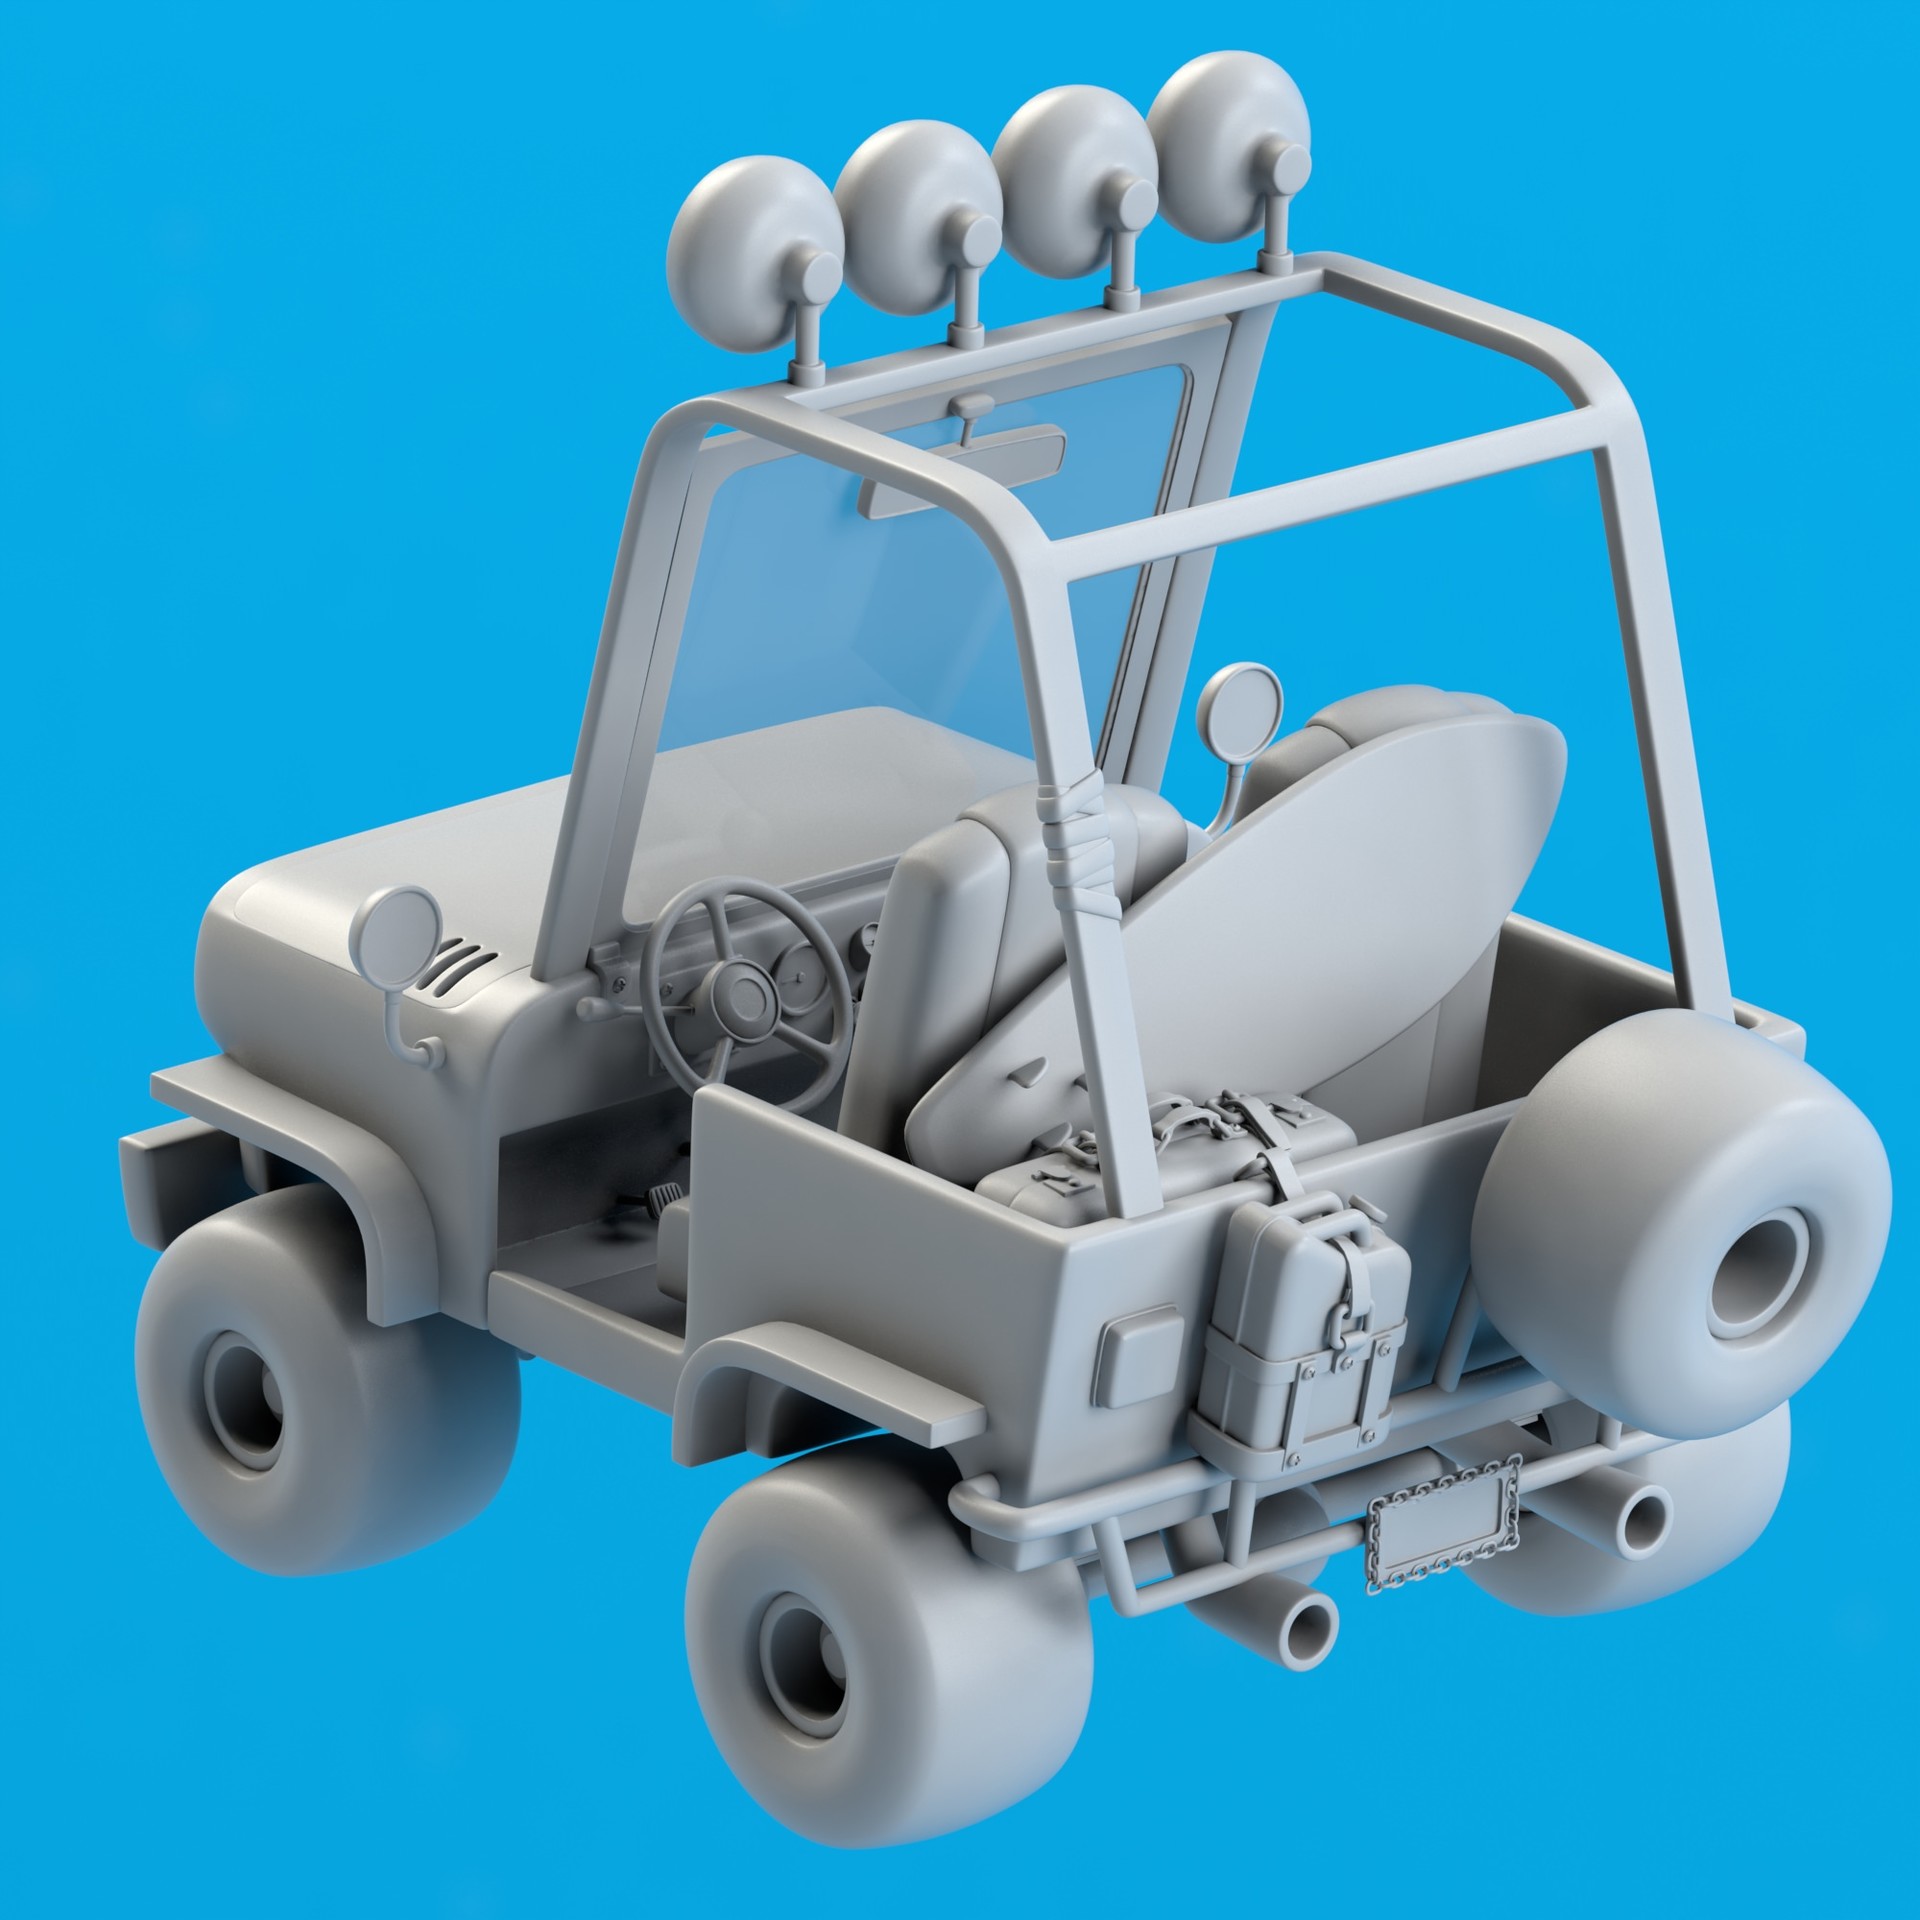

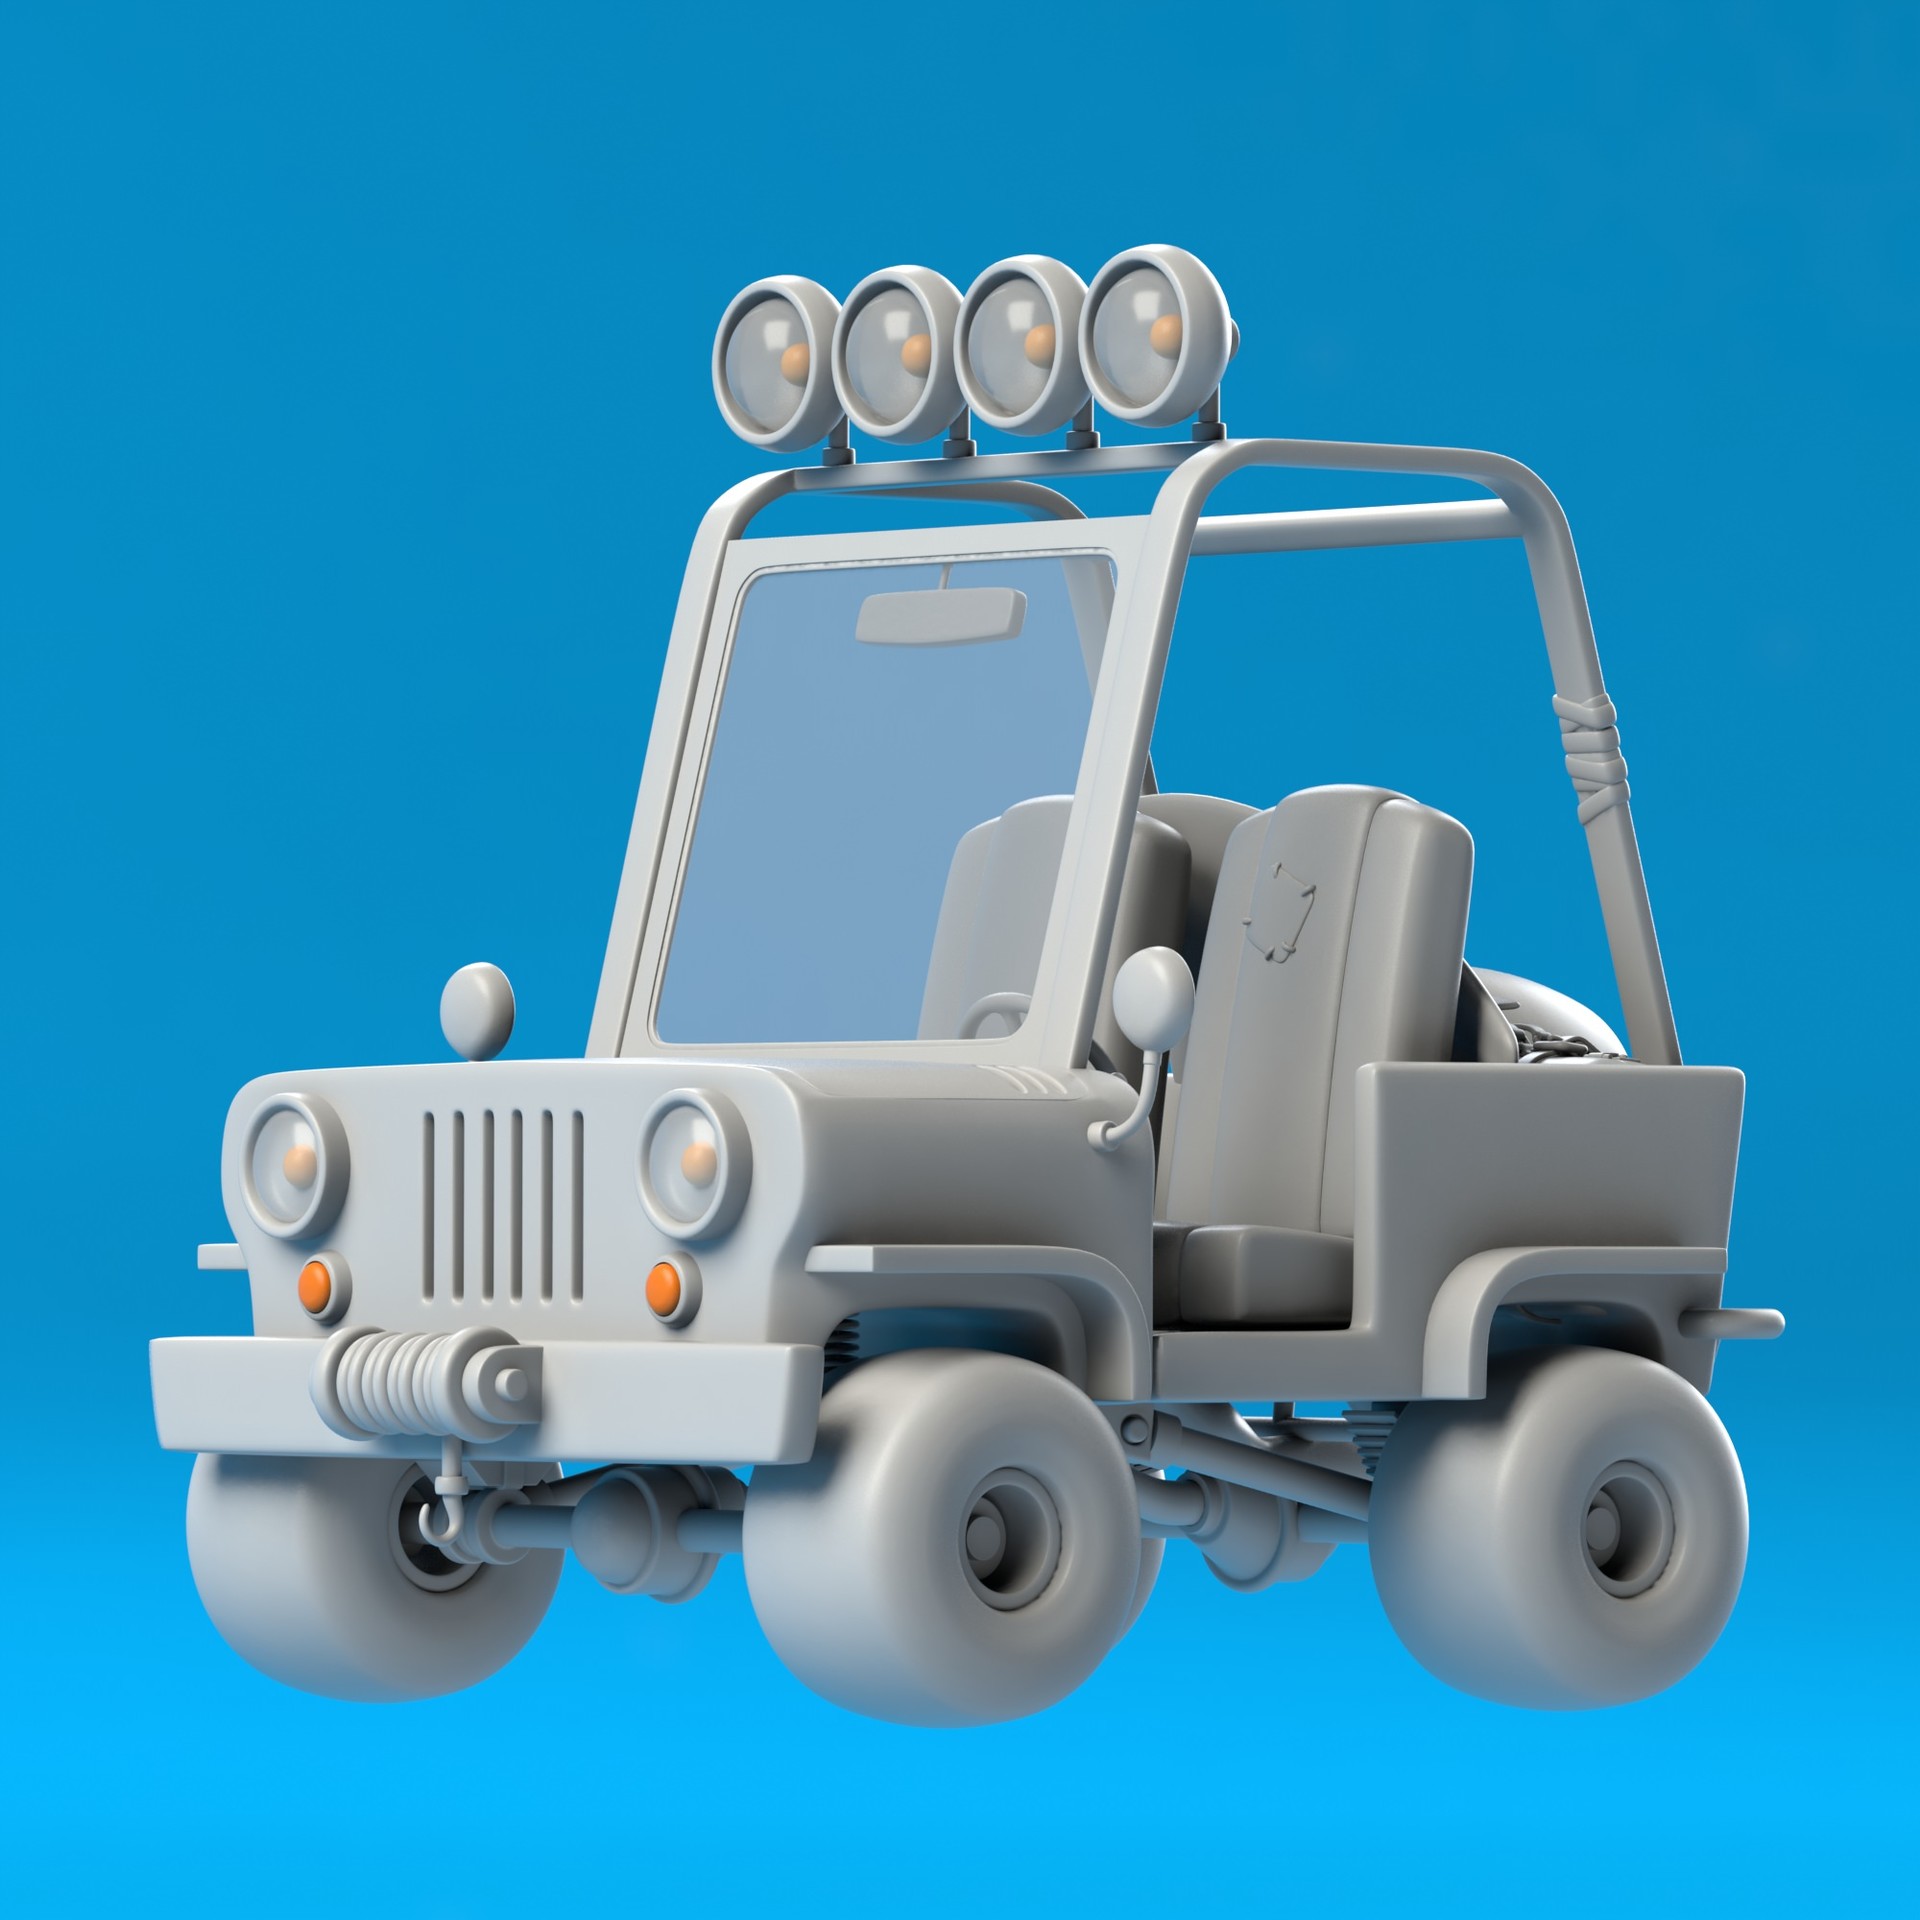

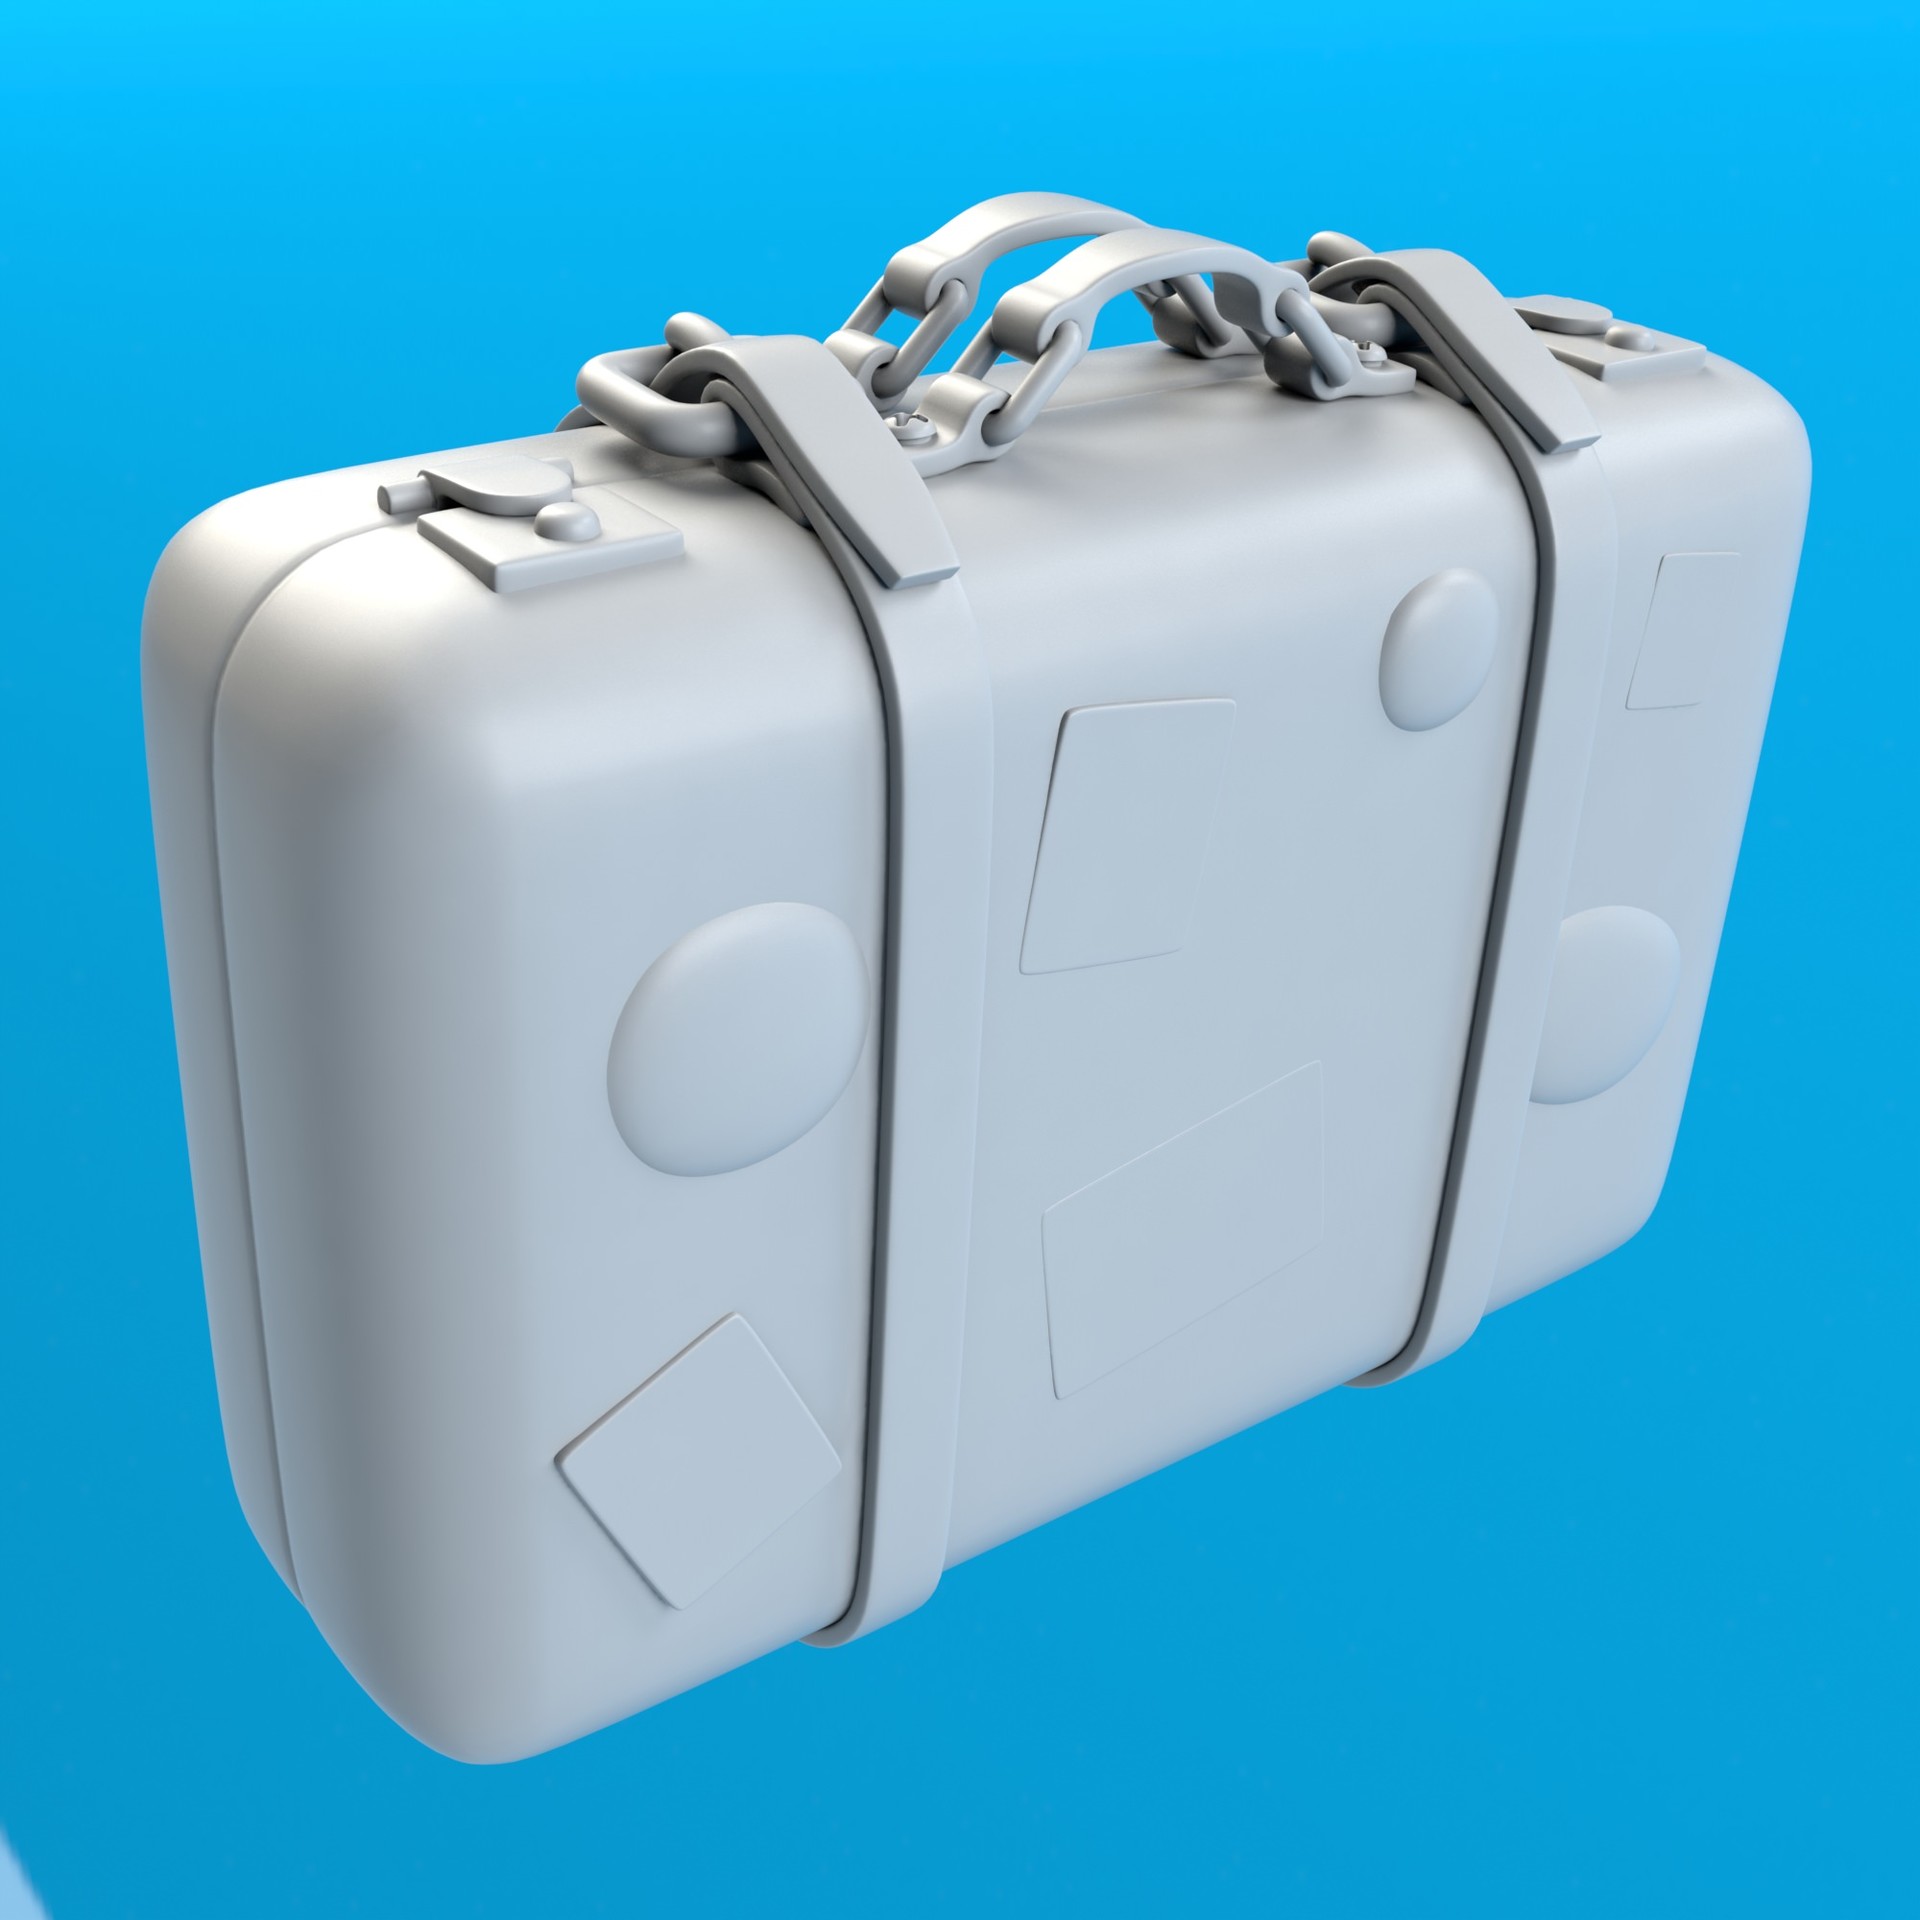
With a clear concept in mind, I spent the last day just adding small details to the car and working on the extra assets. I introduced a beach umbrella and a beach bucket and shovel. I also worked on the inside of the car adding a few details here and there.
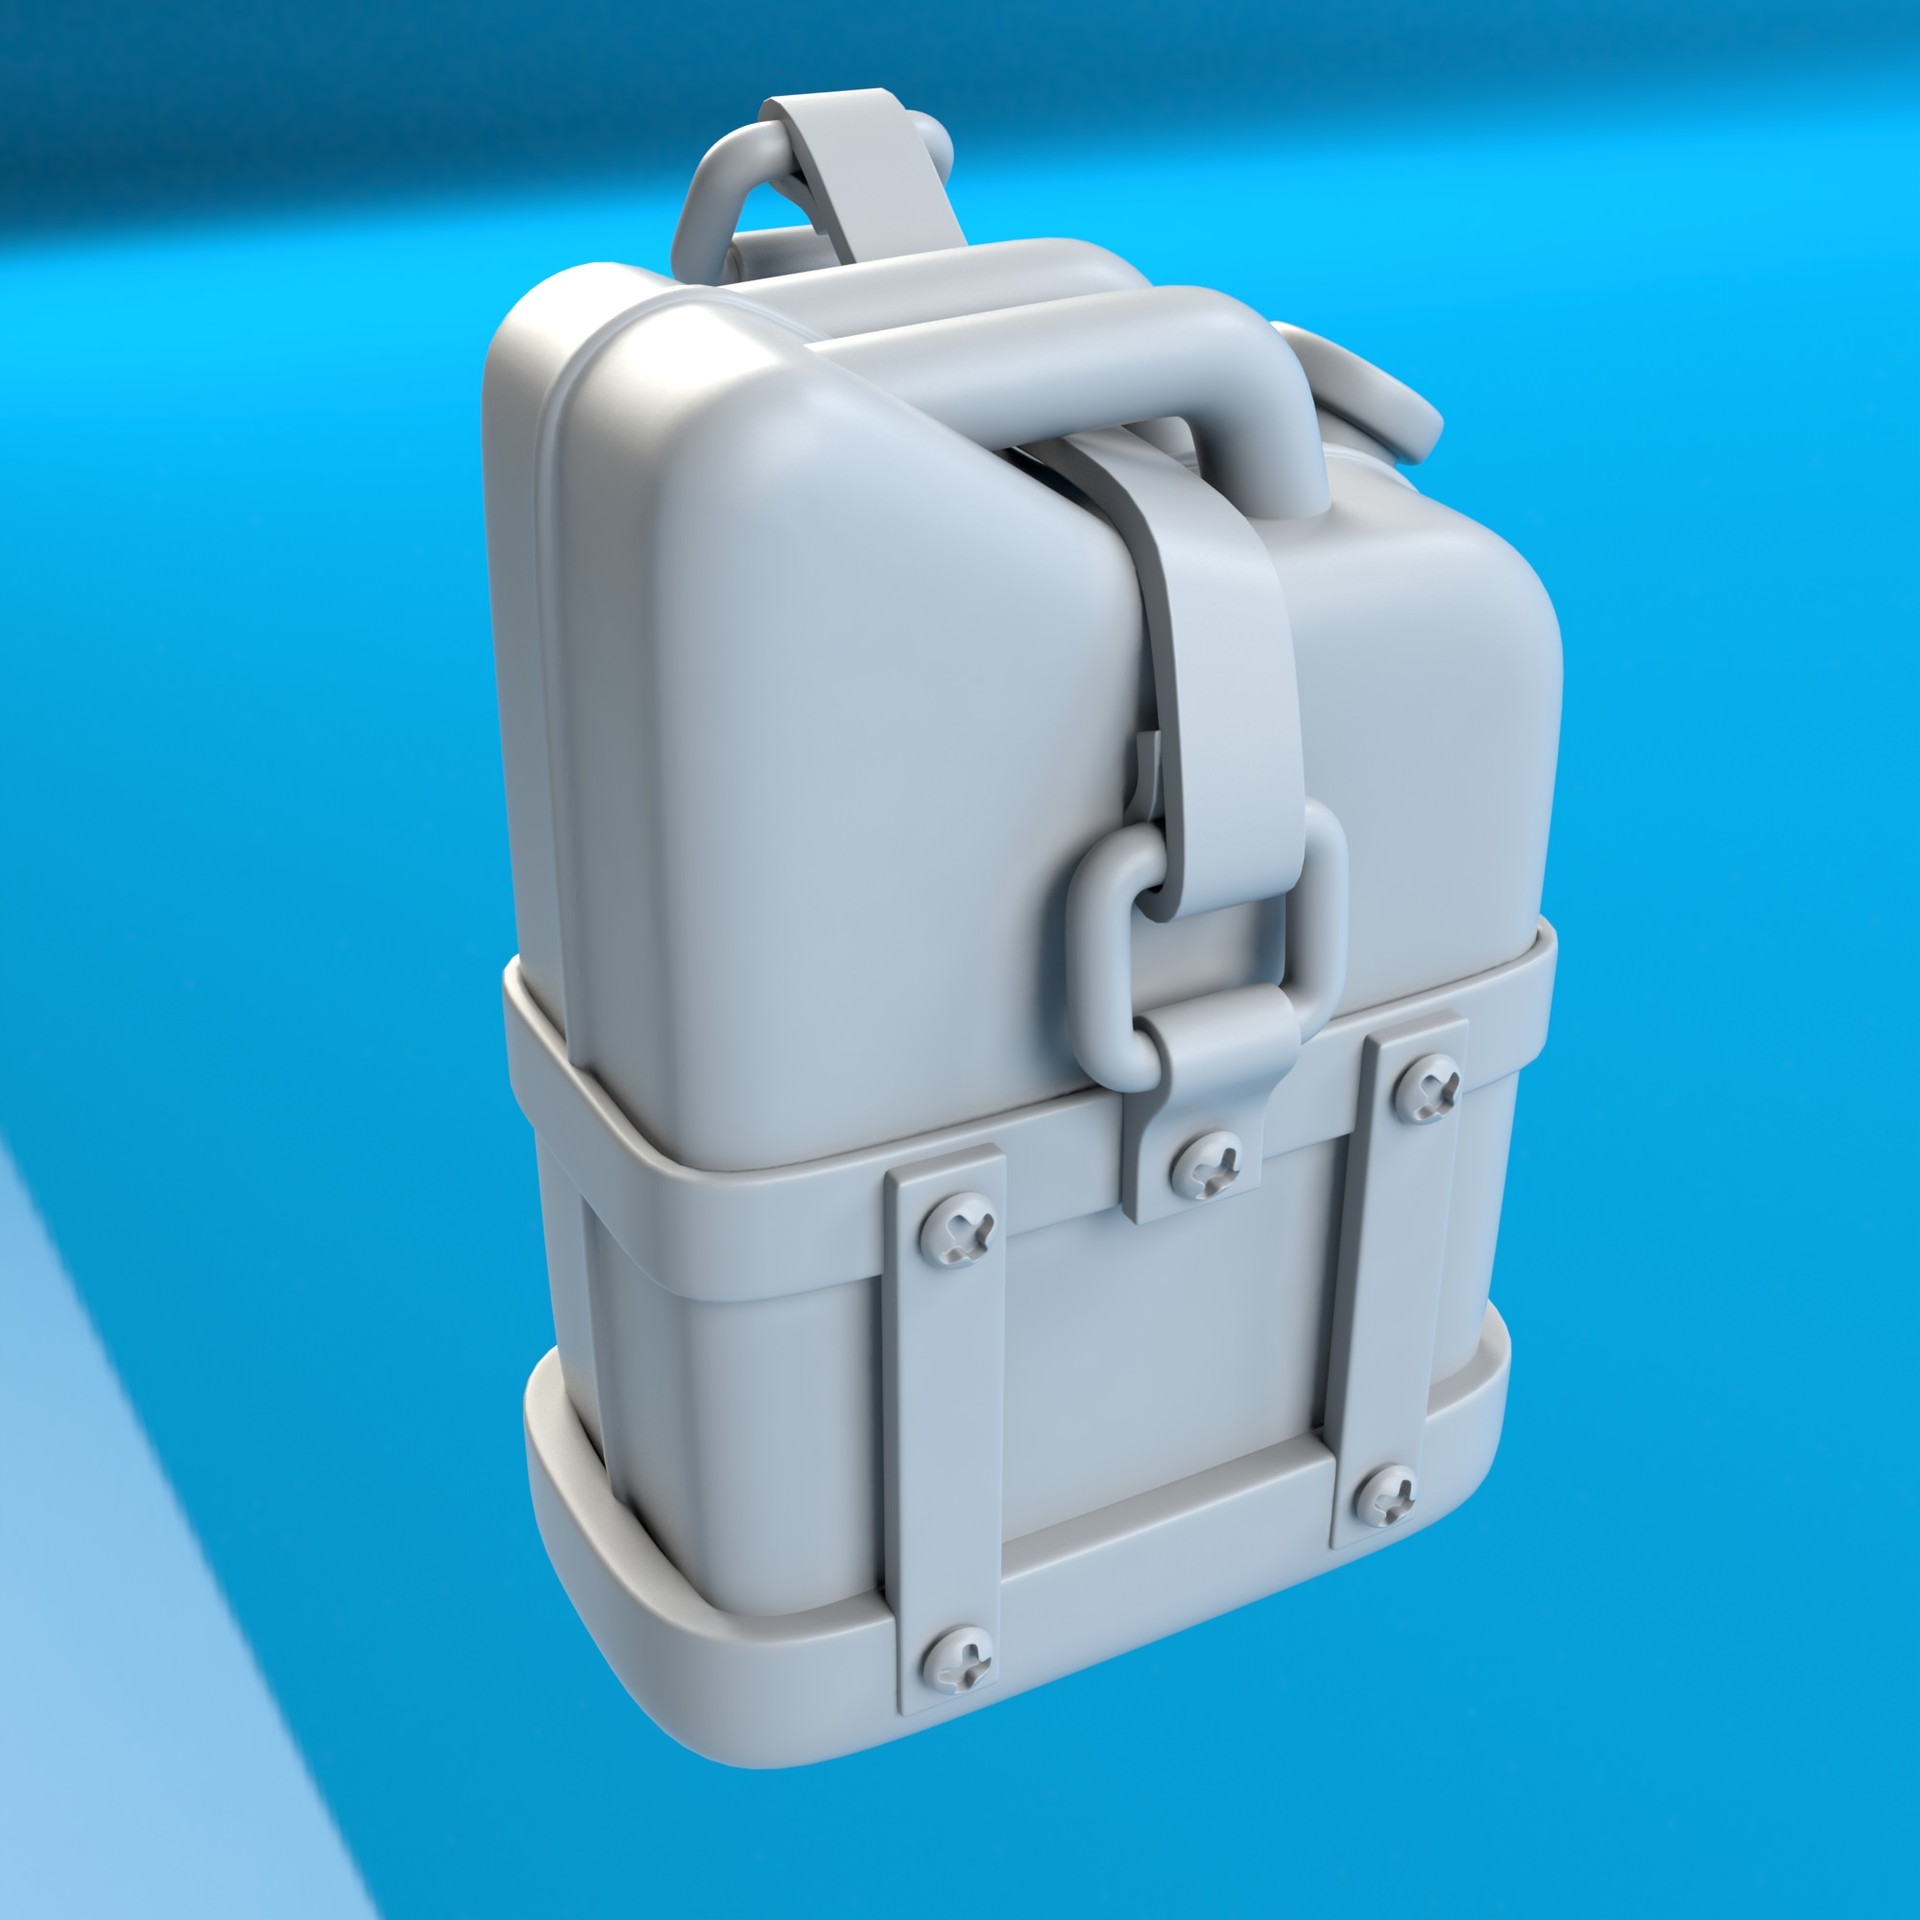
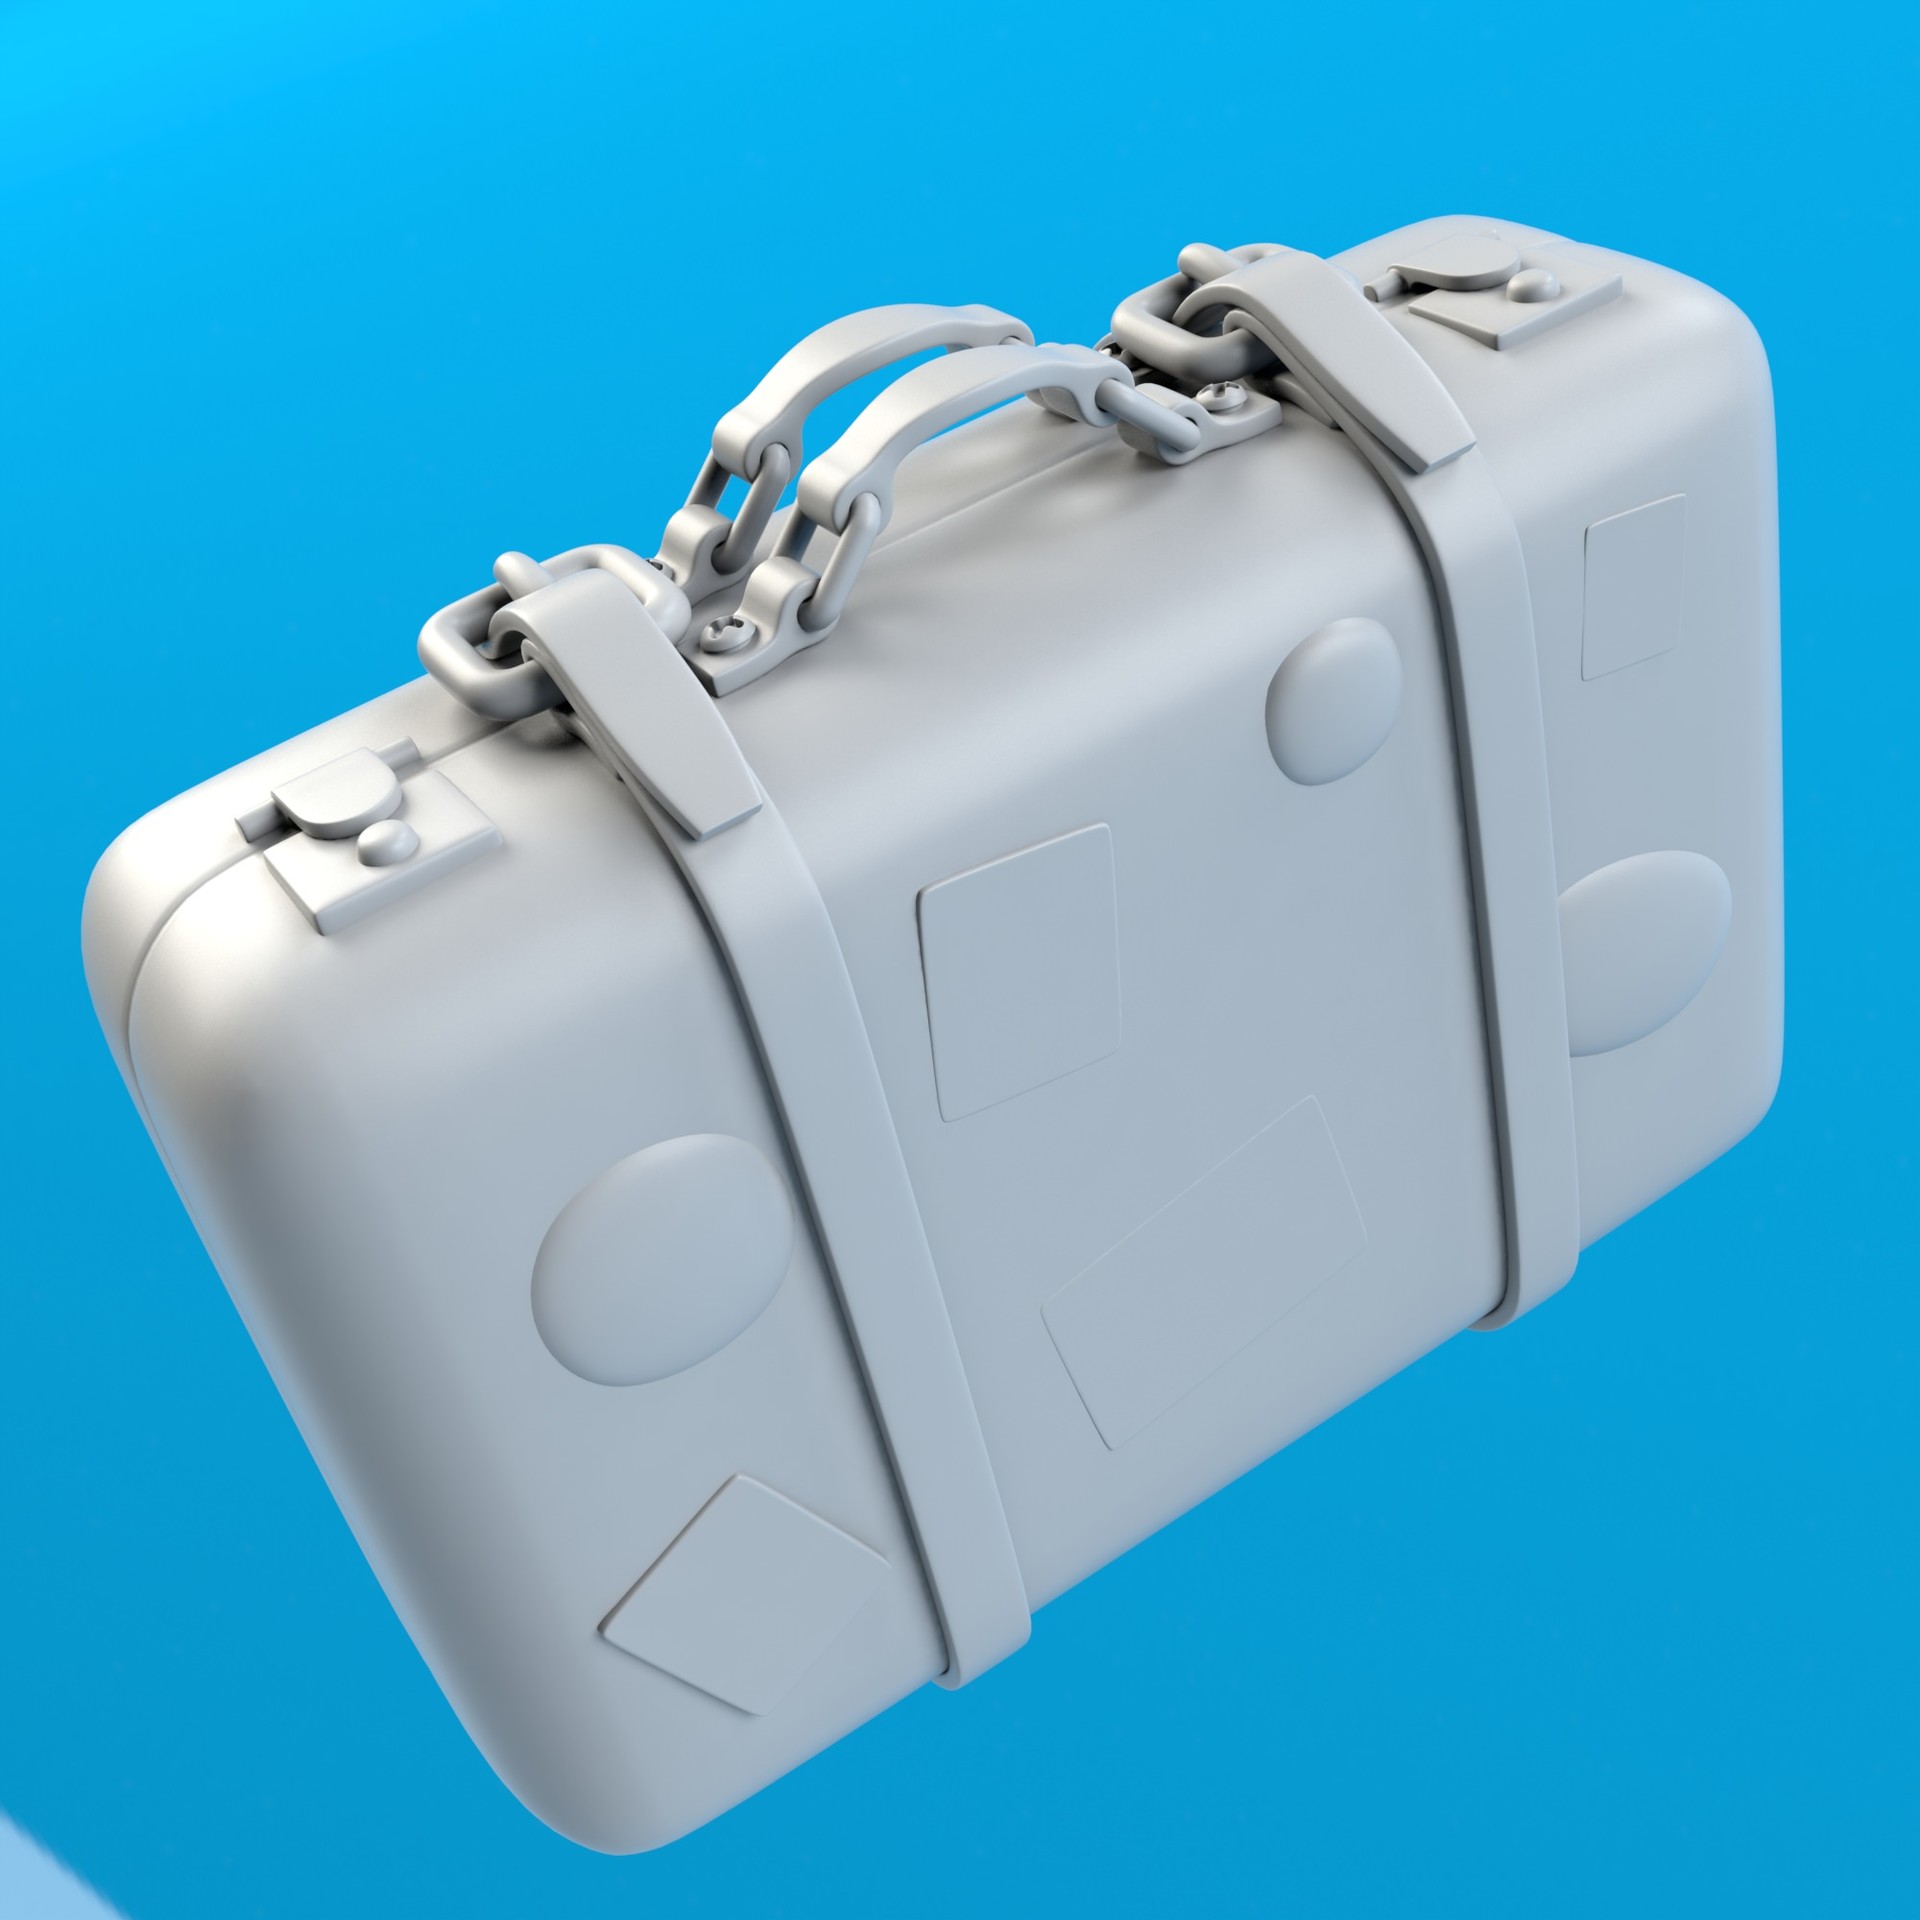
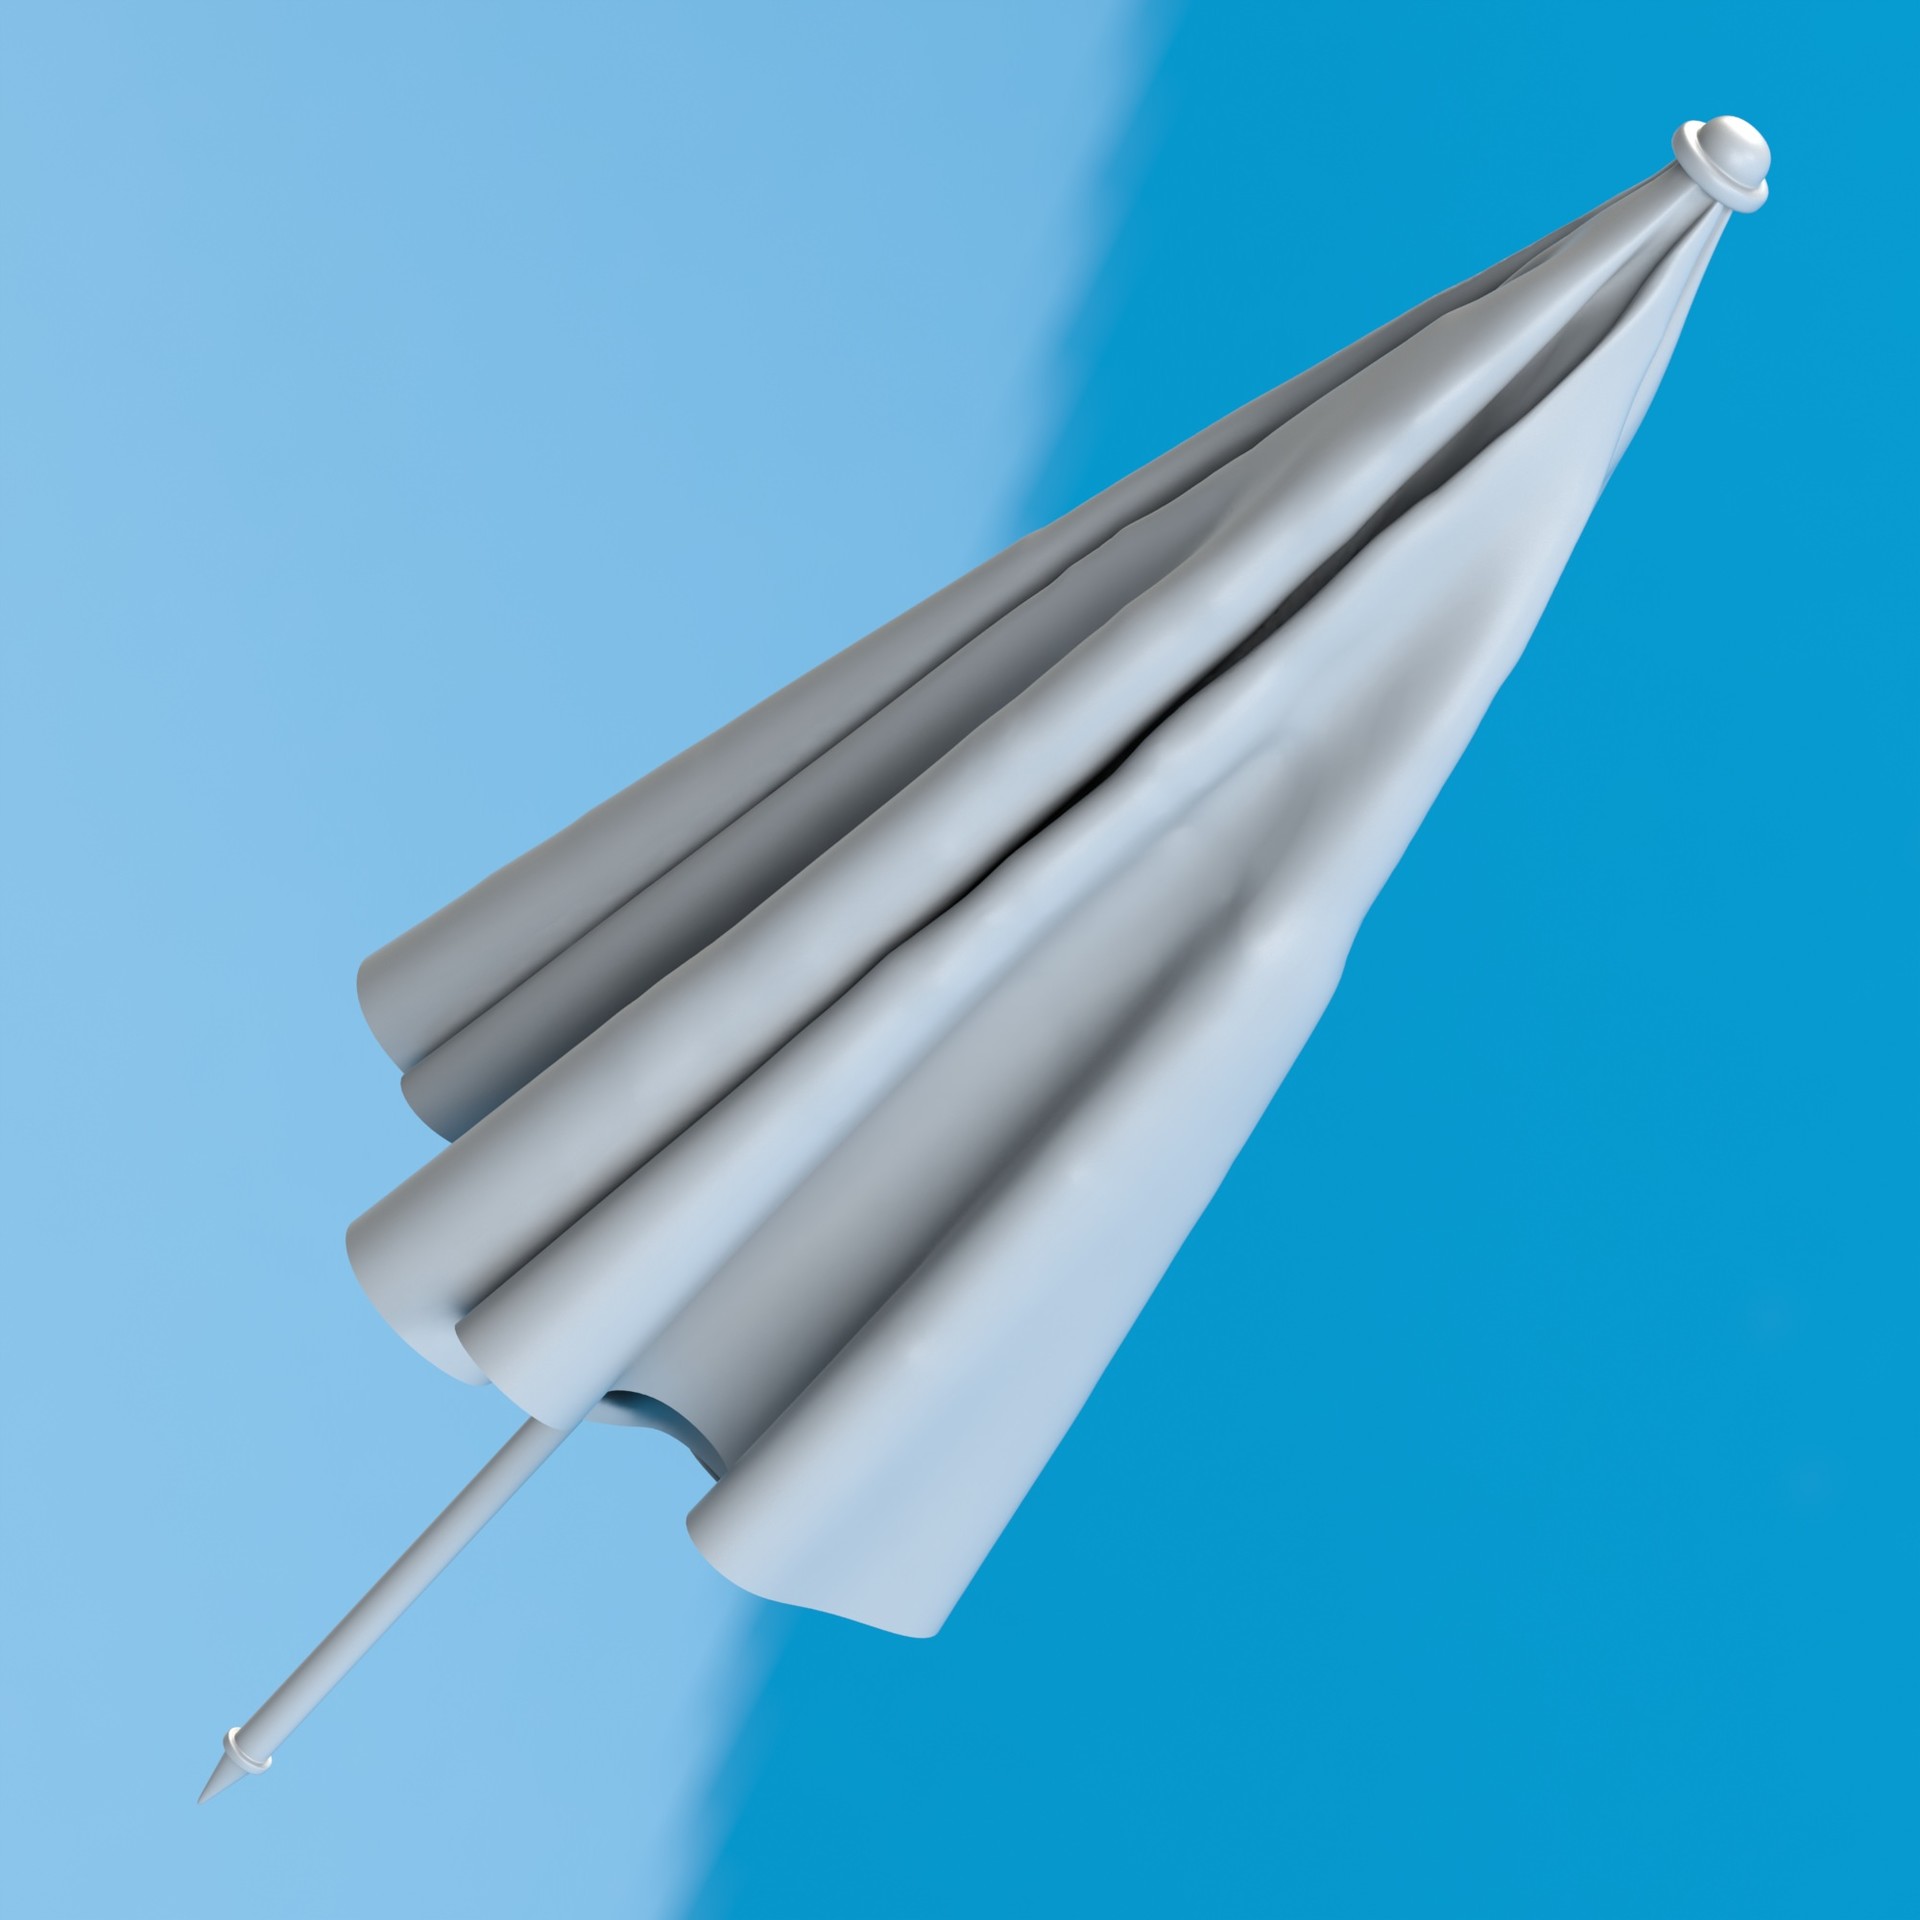
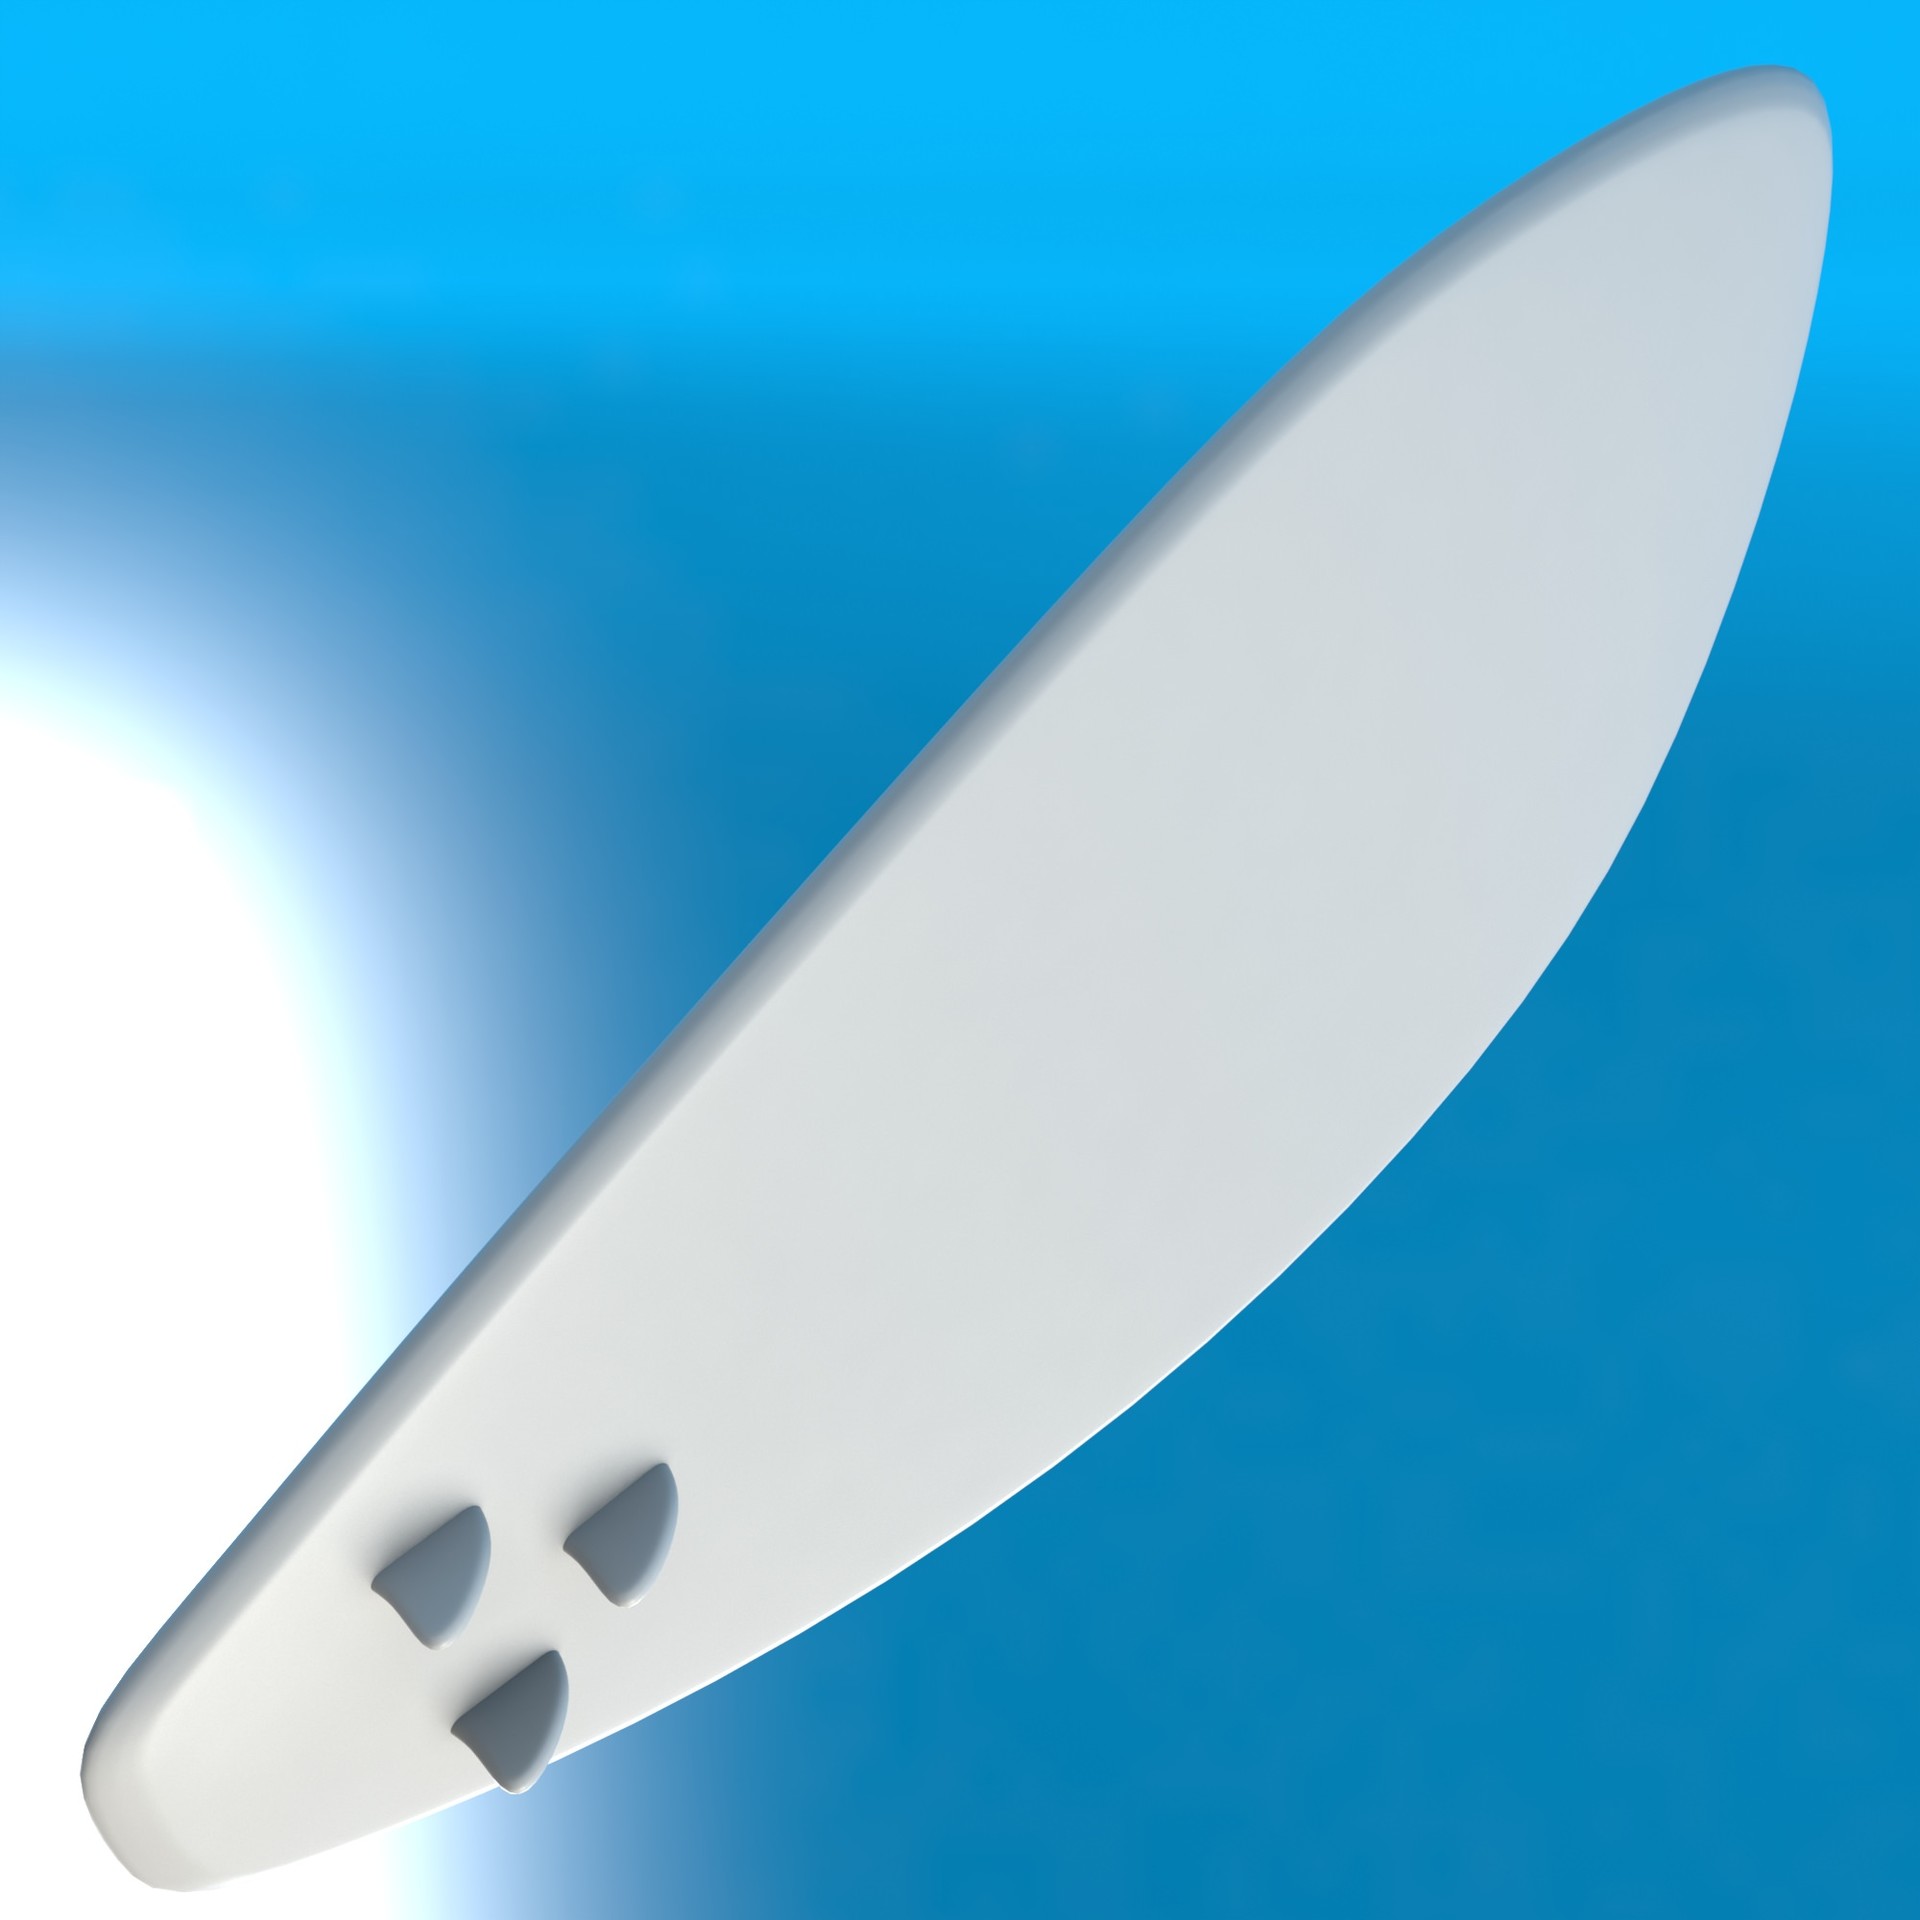
There are few things I need to address on the model, such as the placement of the stickers on the luggage, smoothing up the fabric on the Beach Umbrella, the position of the fins on the Surf Board and a few other minor details like this. So I’m using this time to seek feedback from other modelers and industry gurus on what to address to make the jeep silhouette even more pleasing.
As I address these changes I’m also getting ready for the UVing and Texturing phase. I plan to use Substance Painter for the bulk of the texturing process but I haven’t yet decided if I’m going full realistic or some sort of stylized look.
With that said, what do you think? Give me your feedback and leave a comment! If it wasn’t for the constructive feedback I’ve gotten so far I wouldn’t be able to achieve this result.
Keep in touch for a blog update in a week! If you want to see daily updates make sure to follow me on my Instagramand Twitterat @EdgeBevel, or follow me on my Facebook page!
I’ll leave you today with this turntable of the model, hope you enjoy!
The post WIP / 3D 4×4 Cartoon Jeep – Modeling in MODO appeared first on The Art of Thiago Carneiro.
I have a confession to make. I know it might sound weird to other 3D artists, but I simply LOVE Product Photography and by extent, 3D Product Rendering.
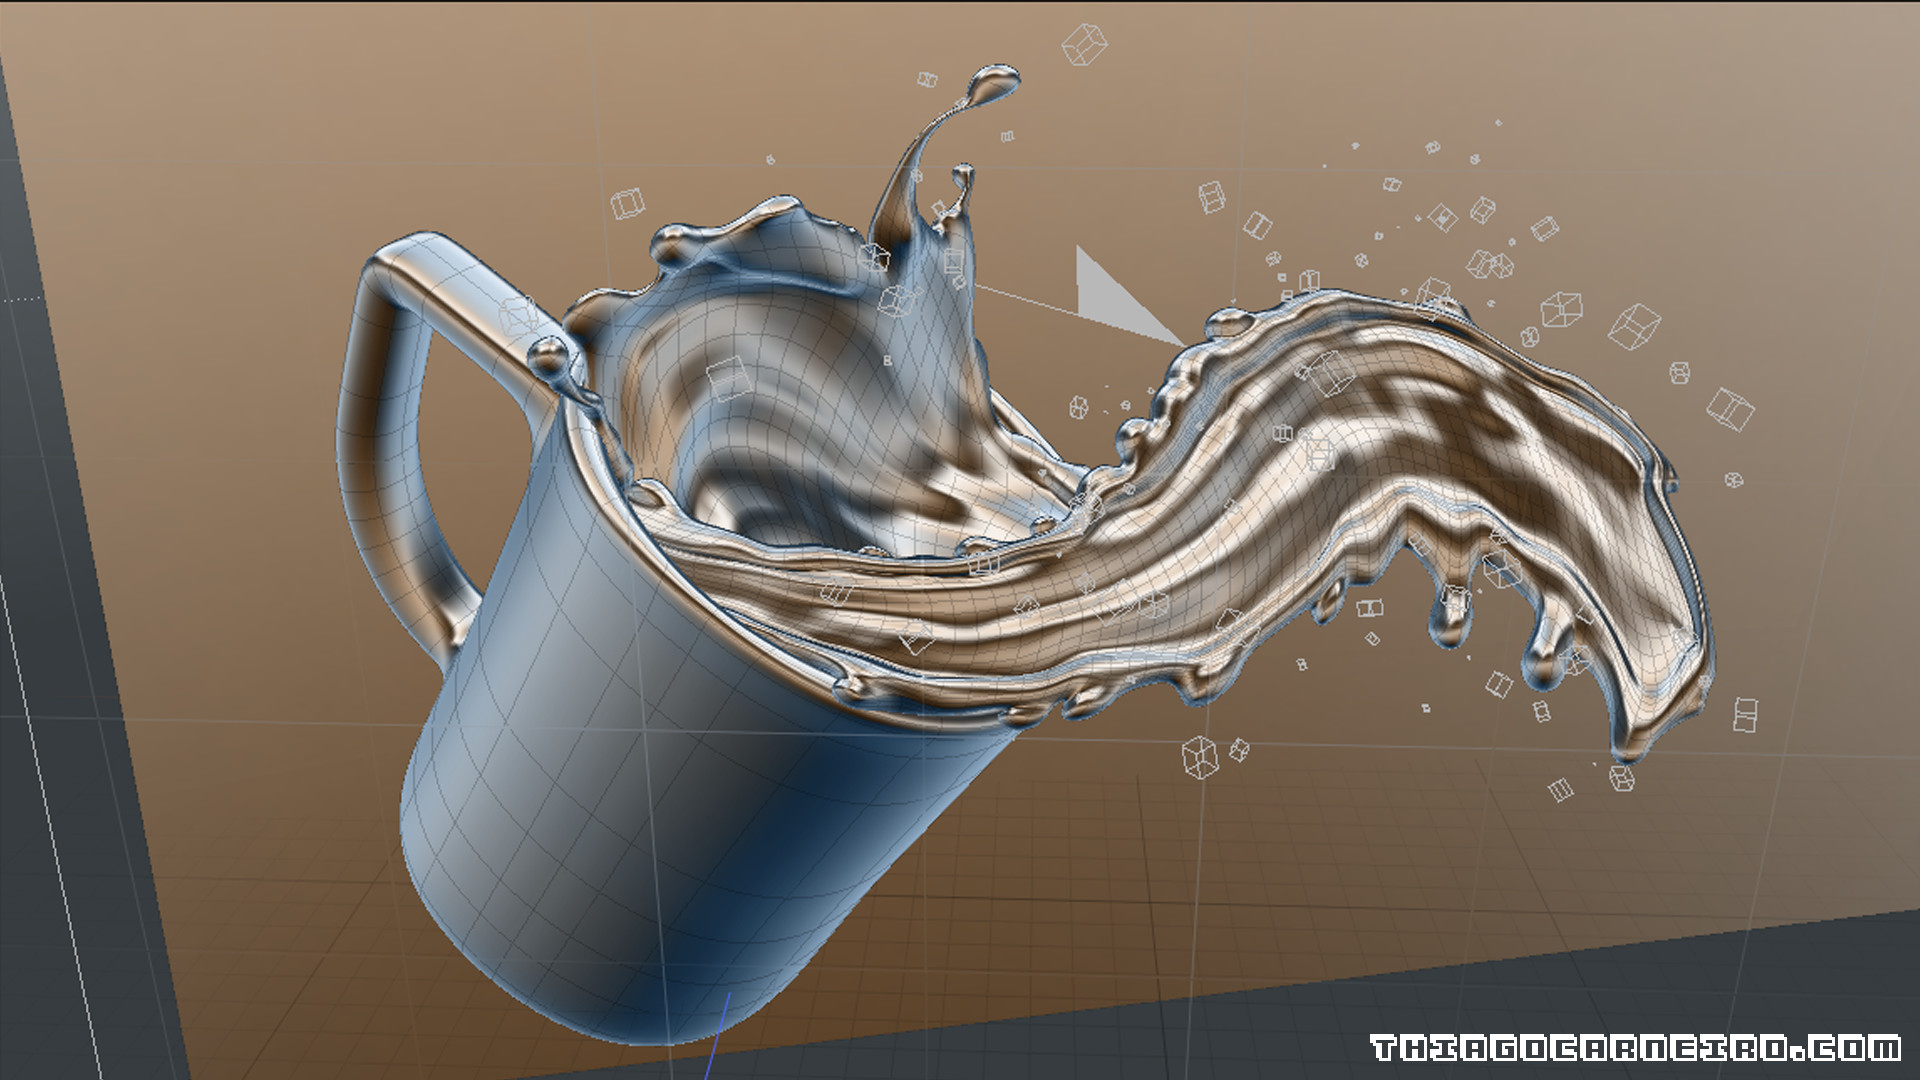
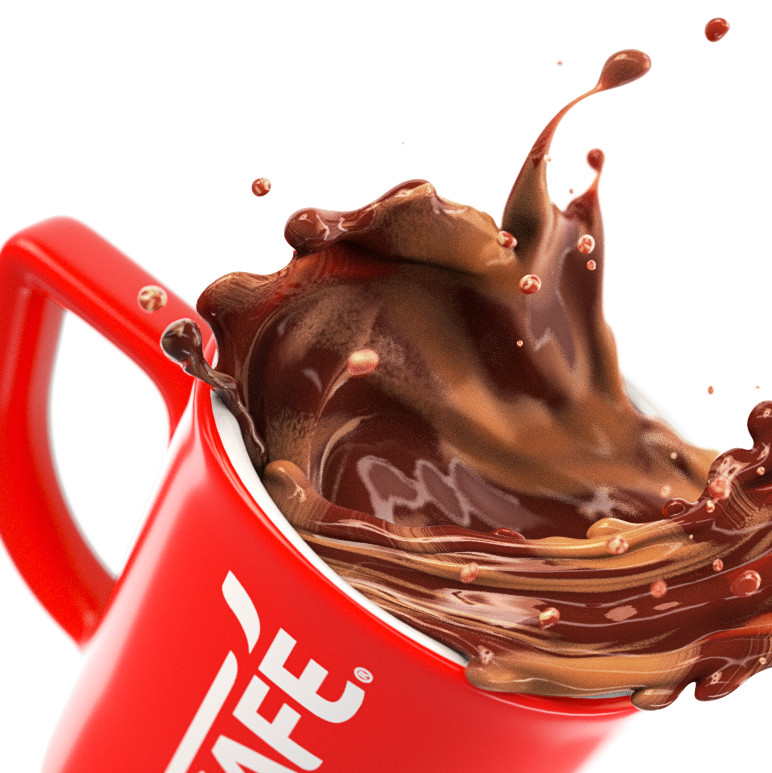
For many artists, the idea of spending countless hours modeling packs of shampoo, bags of chips, milk cartons or even ice cream is nightmare fuel, but for me, is literally what makes me wake up early in the morning and going to bed past midnight. In between all the flashy explosions and cool 3D assets I model for work, I spend my spare time studying photography and modeling simple assets, like this Nescafé mug for example. The splash is from Modo’s Splash Kit, slightly modified for a better image flow.
There’s just something magical when you create an image that looks like it belongs on an advertising magazine or on a big billboard in the subway.
I’m still a mere padawan on a quest to master this skills, that’s why I decided to initiate this series of posts as a way to keep track of my improvements and to ask for feedback from the community.
Caffè Mocha, also called Mochaccino, one of my favorite beverages, the perfect mix between espresso, hot milk and chocolate. And it’s probably the Canadian favorite beverage in the morning on a cold Winter.
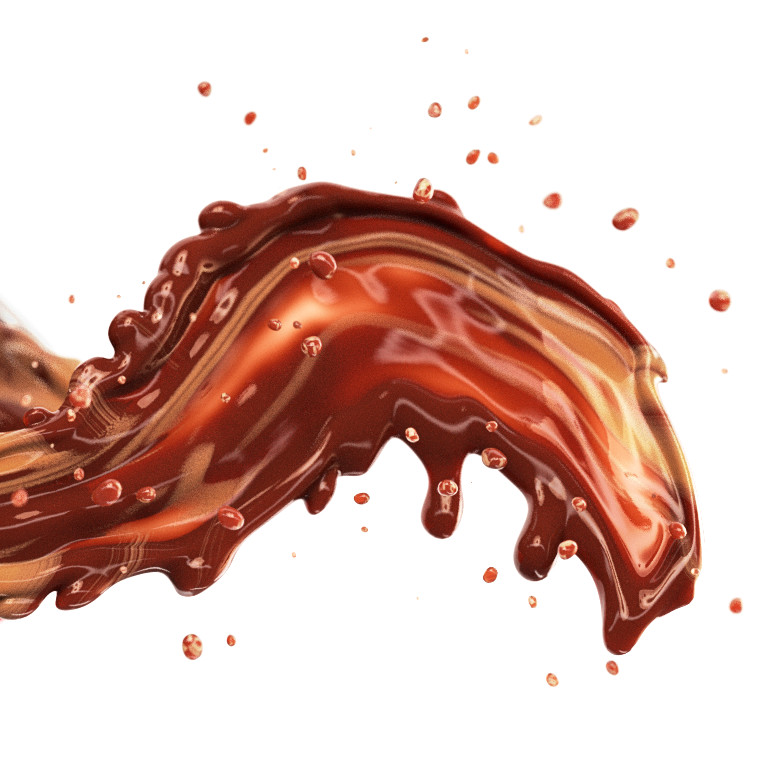
I really love how the liquids look when they’re mixing together, so I’ve decided to use Octane Renderer and try to simulate that look.

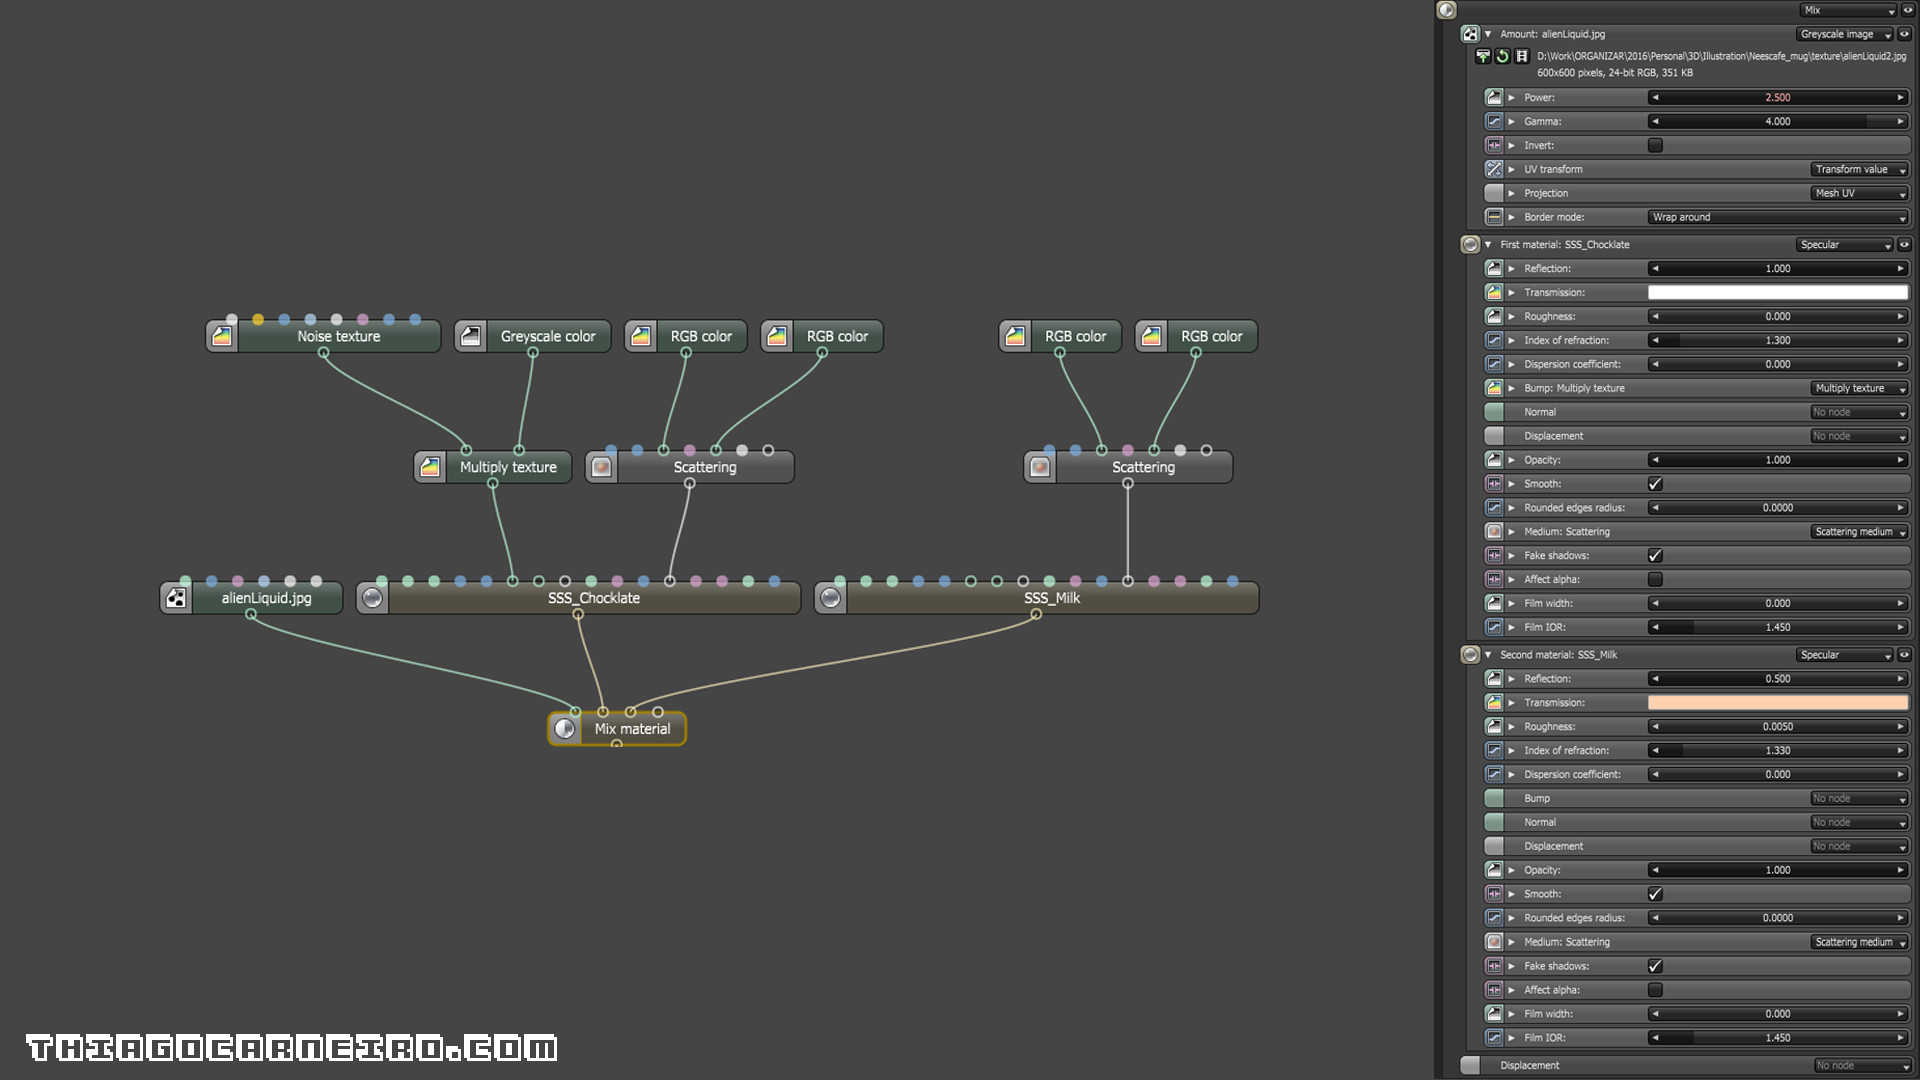
On a first glance, I believe I managed to create a good mixing between both materials. I used a noise map I created inside Filter Forge as a mask, to simulate the organic nature of the mixing of the coffee and the chocolate. However, I still believe that the SSS (Sub Surface Scattering) needs some work.
Below you can see how I mixed both materials to achieve this look inside Octane Renderer.
I’m going to continue working on this image and post regular updates here on the blog.
So if you’re interested or have any feedback to give, please comment below.
The post RND / Mixing Coffee and Chocolate with Modo and Octane Materials appeared first on The Art of Thiago Carneiro.